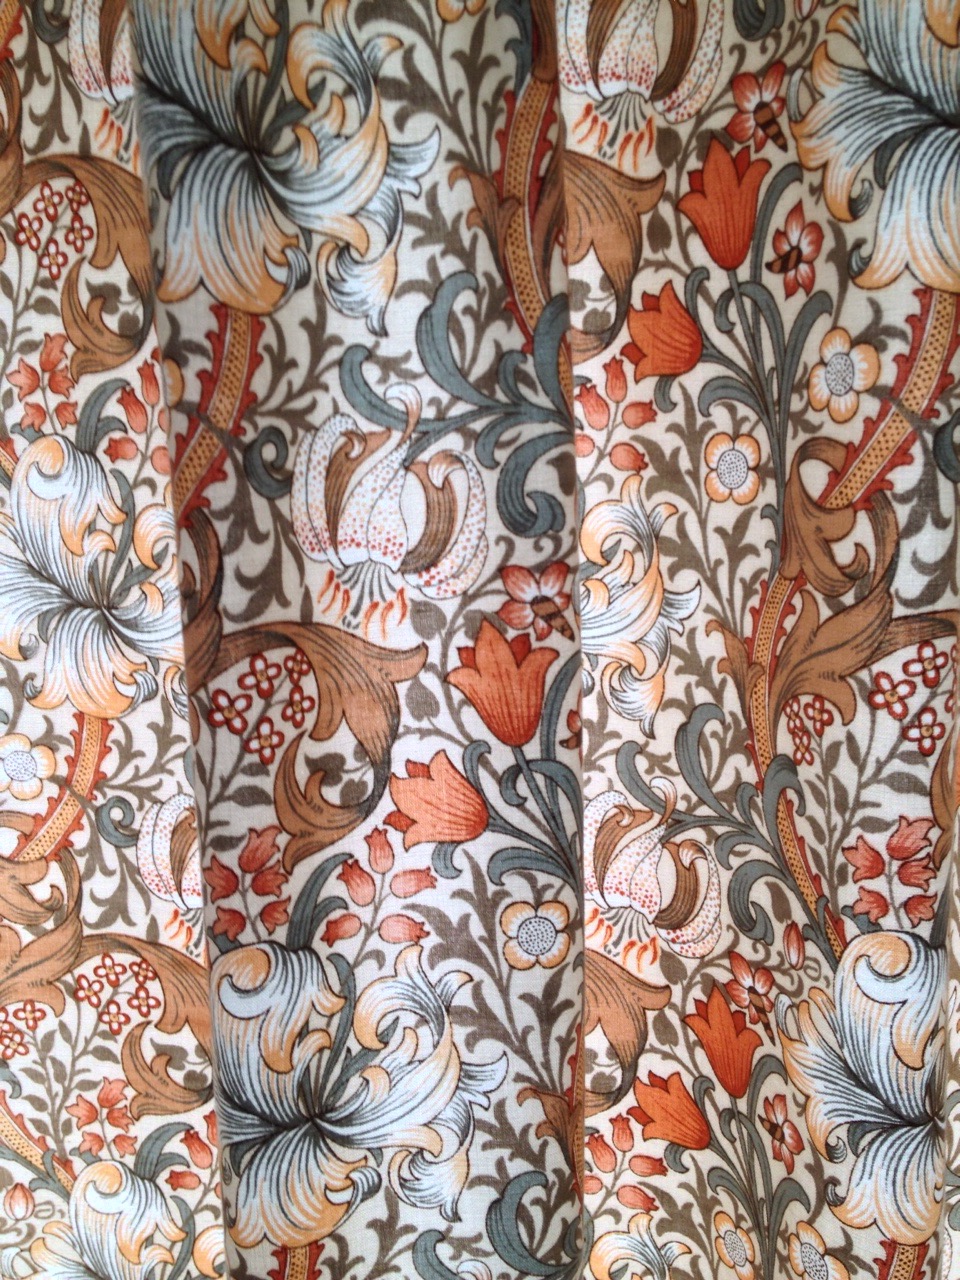

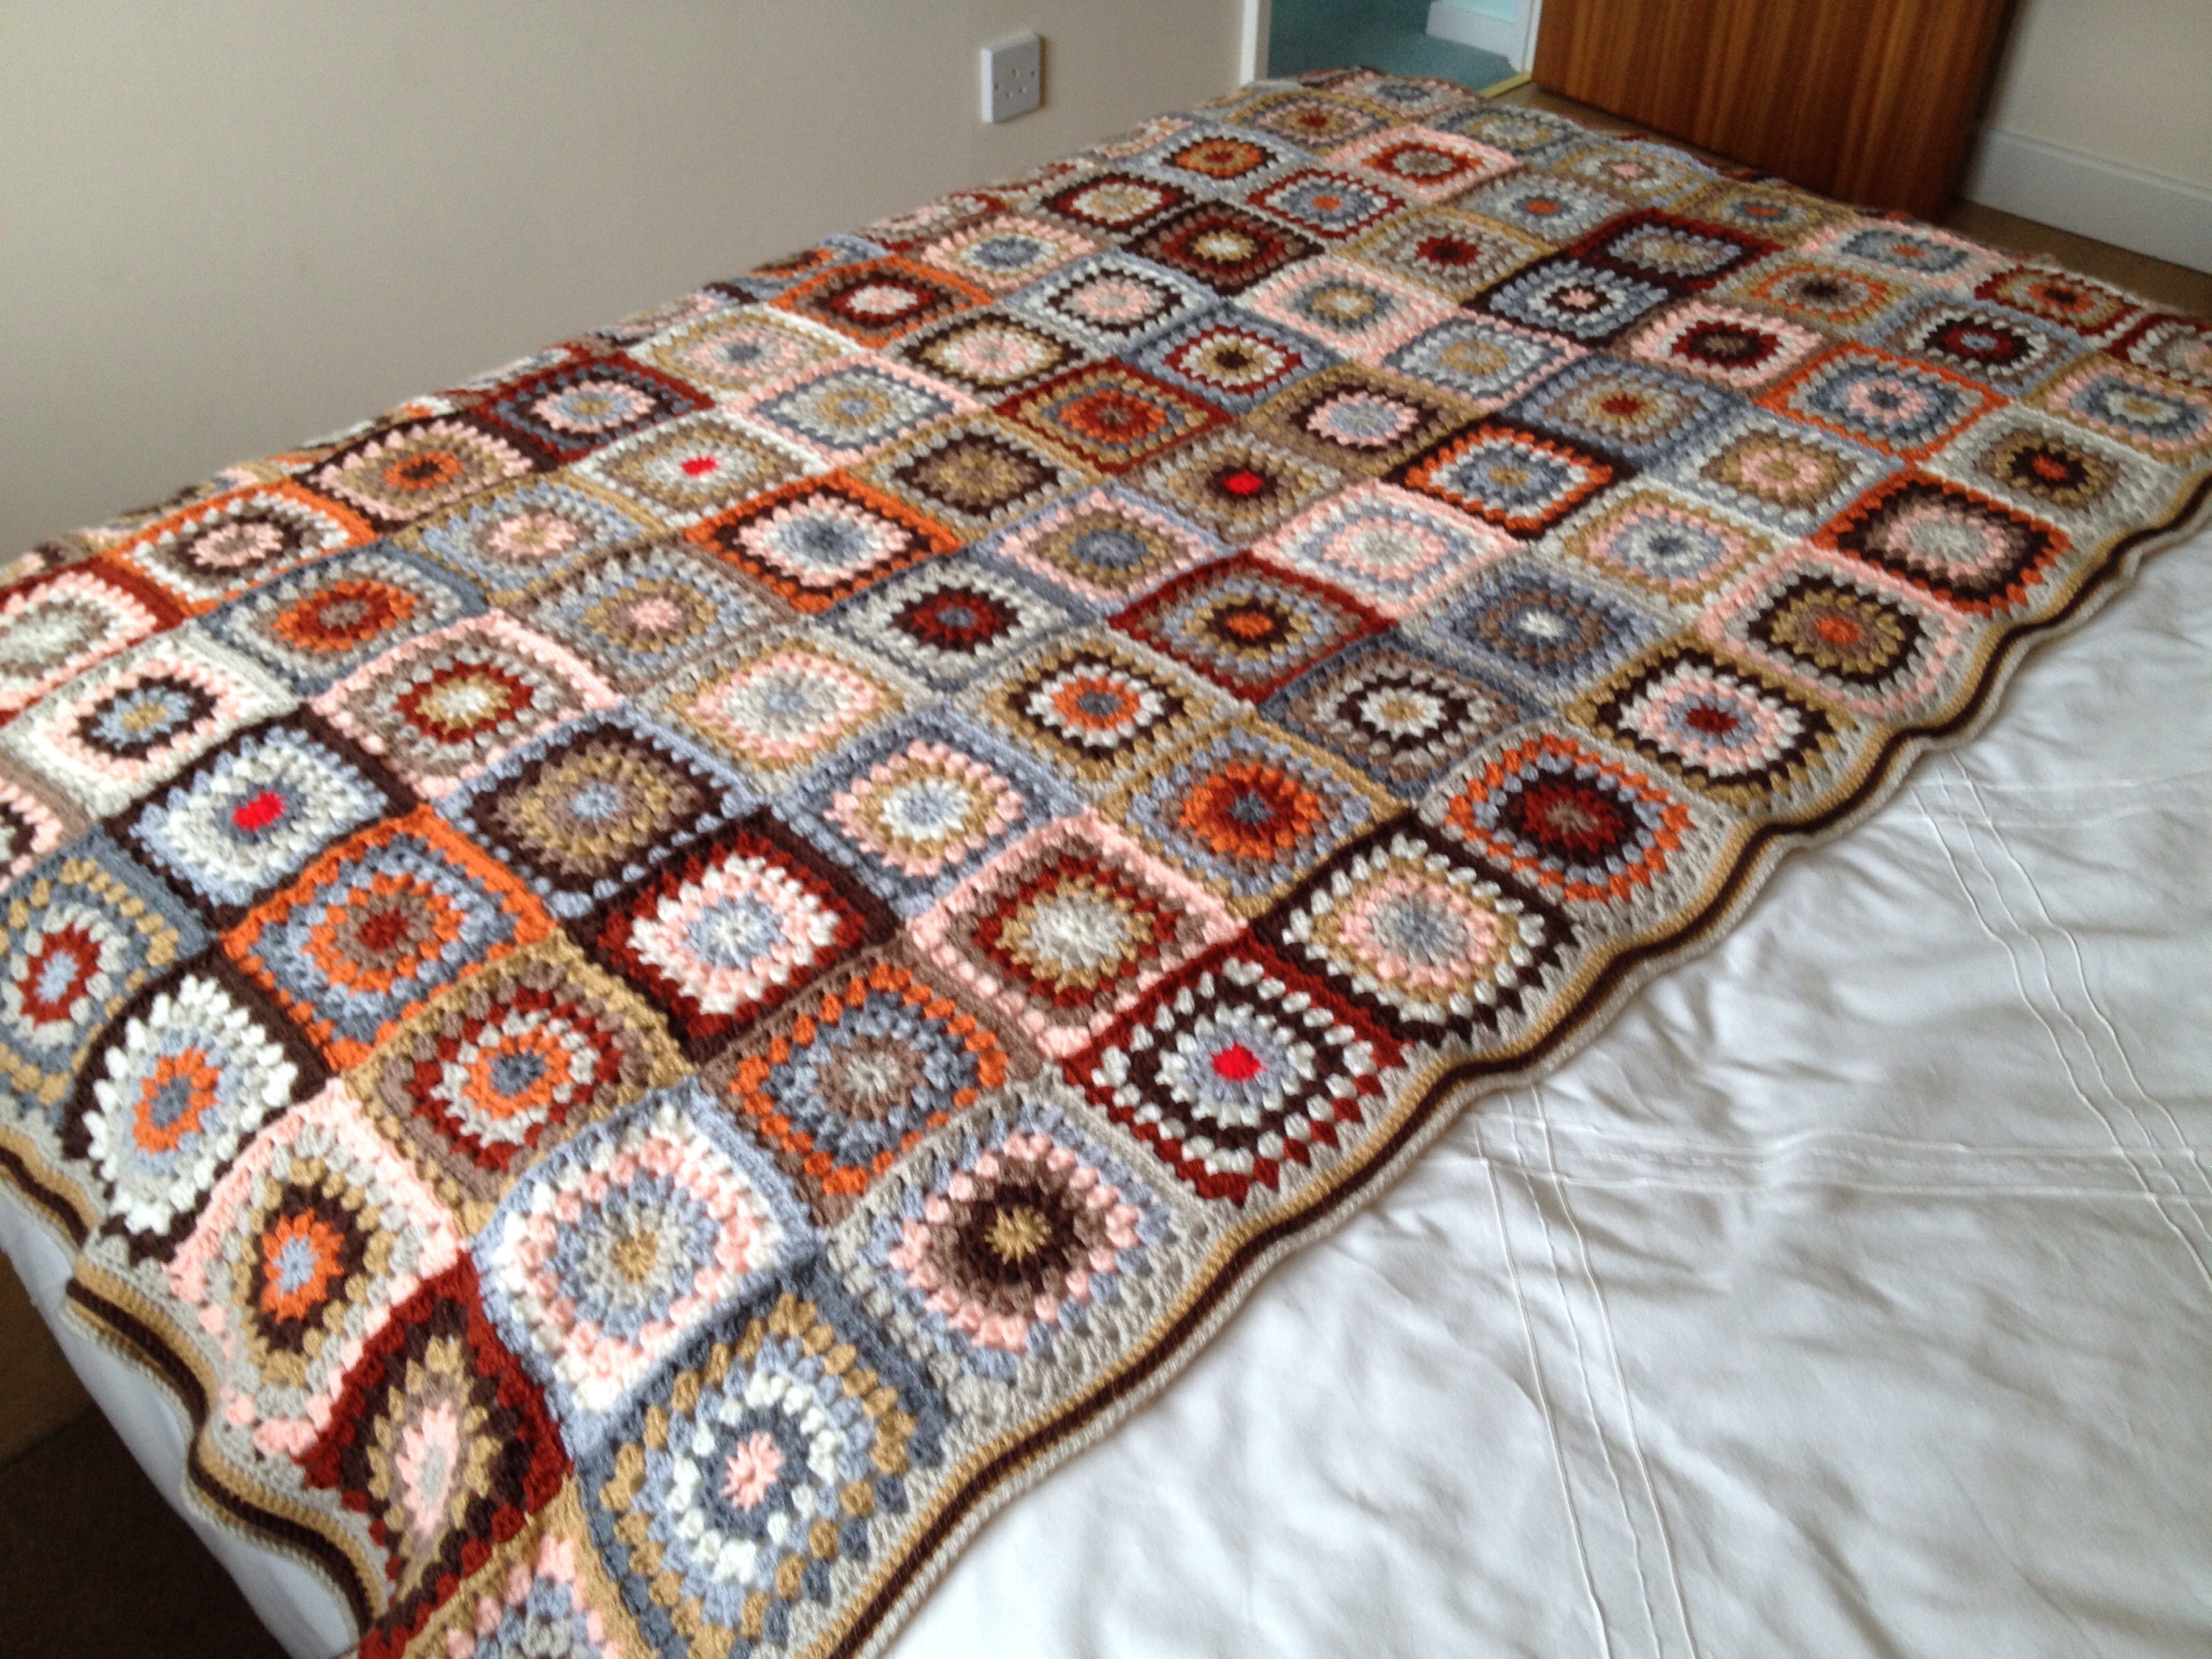
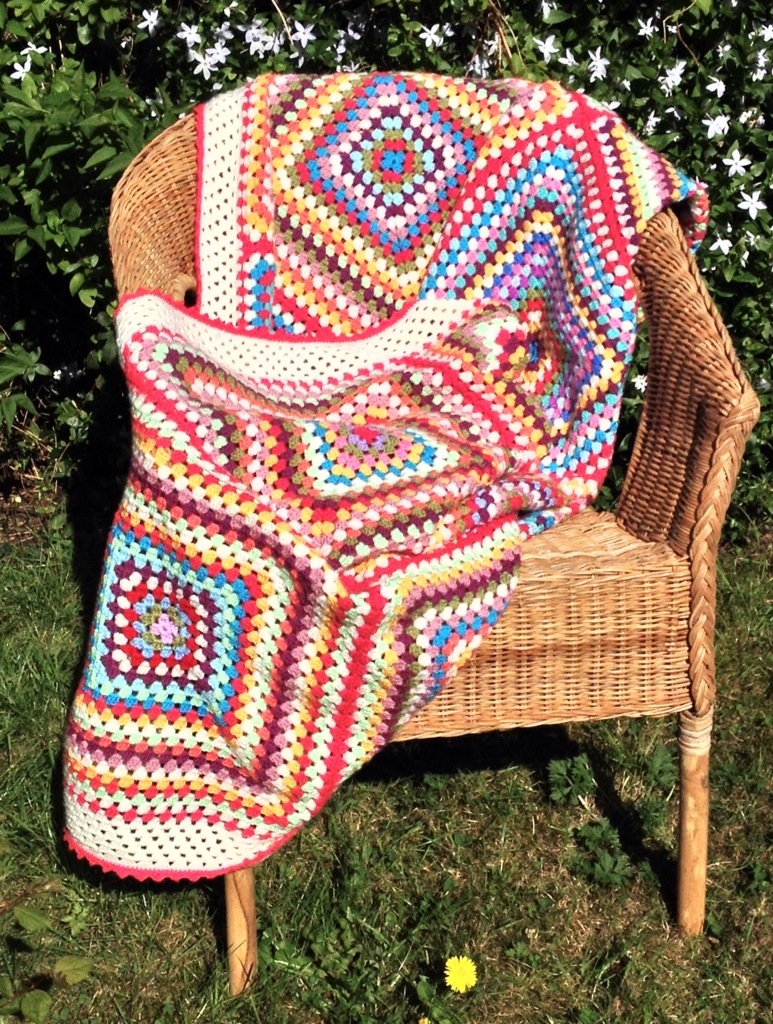
If you hadn’t already guessed; the blanket is for my Mother and the William Morris design curtains are hers. She wanted a new blanket for the end of her bed to keep her feet warm and to snuggle up in during Winter. This will replace one that was made by my great grandmother for her many years ago, when I was just a twinkle in the sky. So, the pressure to get this blanket right and as lovely as I could make it, was high. I did wrap it in Christmas paper, singing falalalala, la la la LA! and it was received with pleasure.

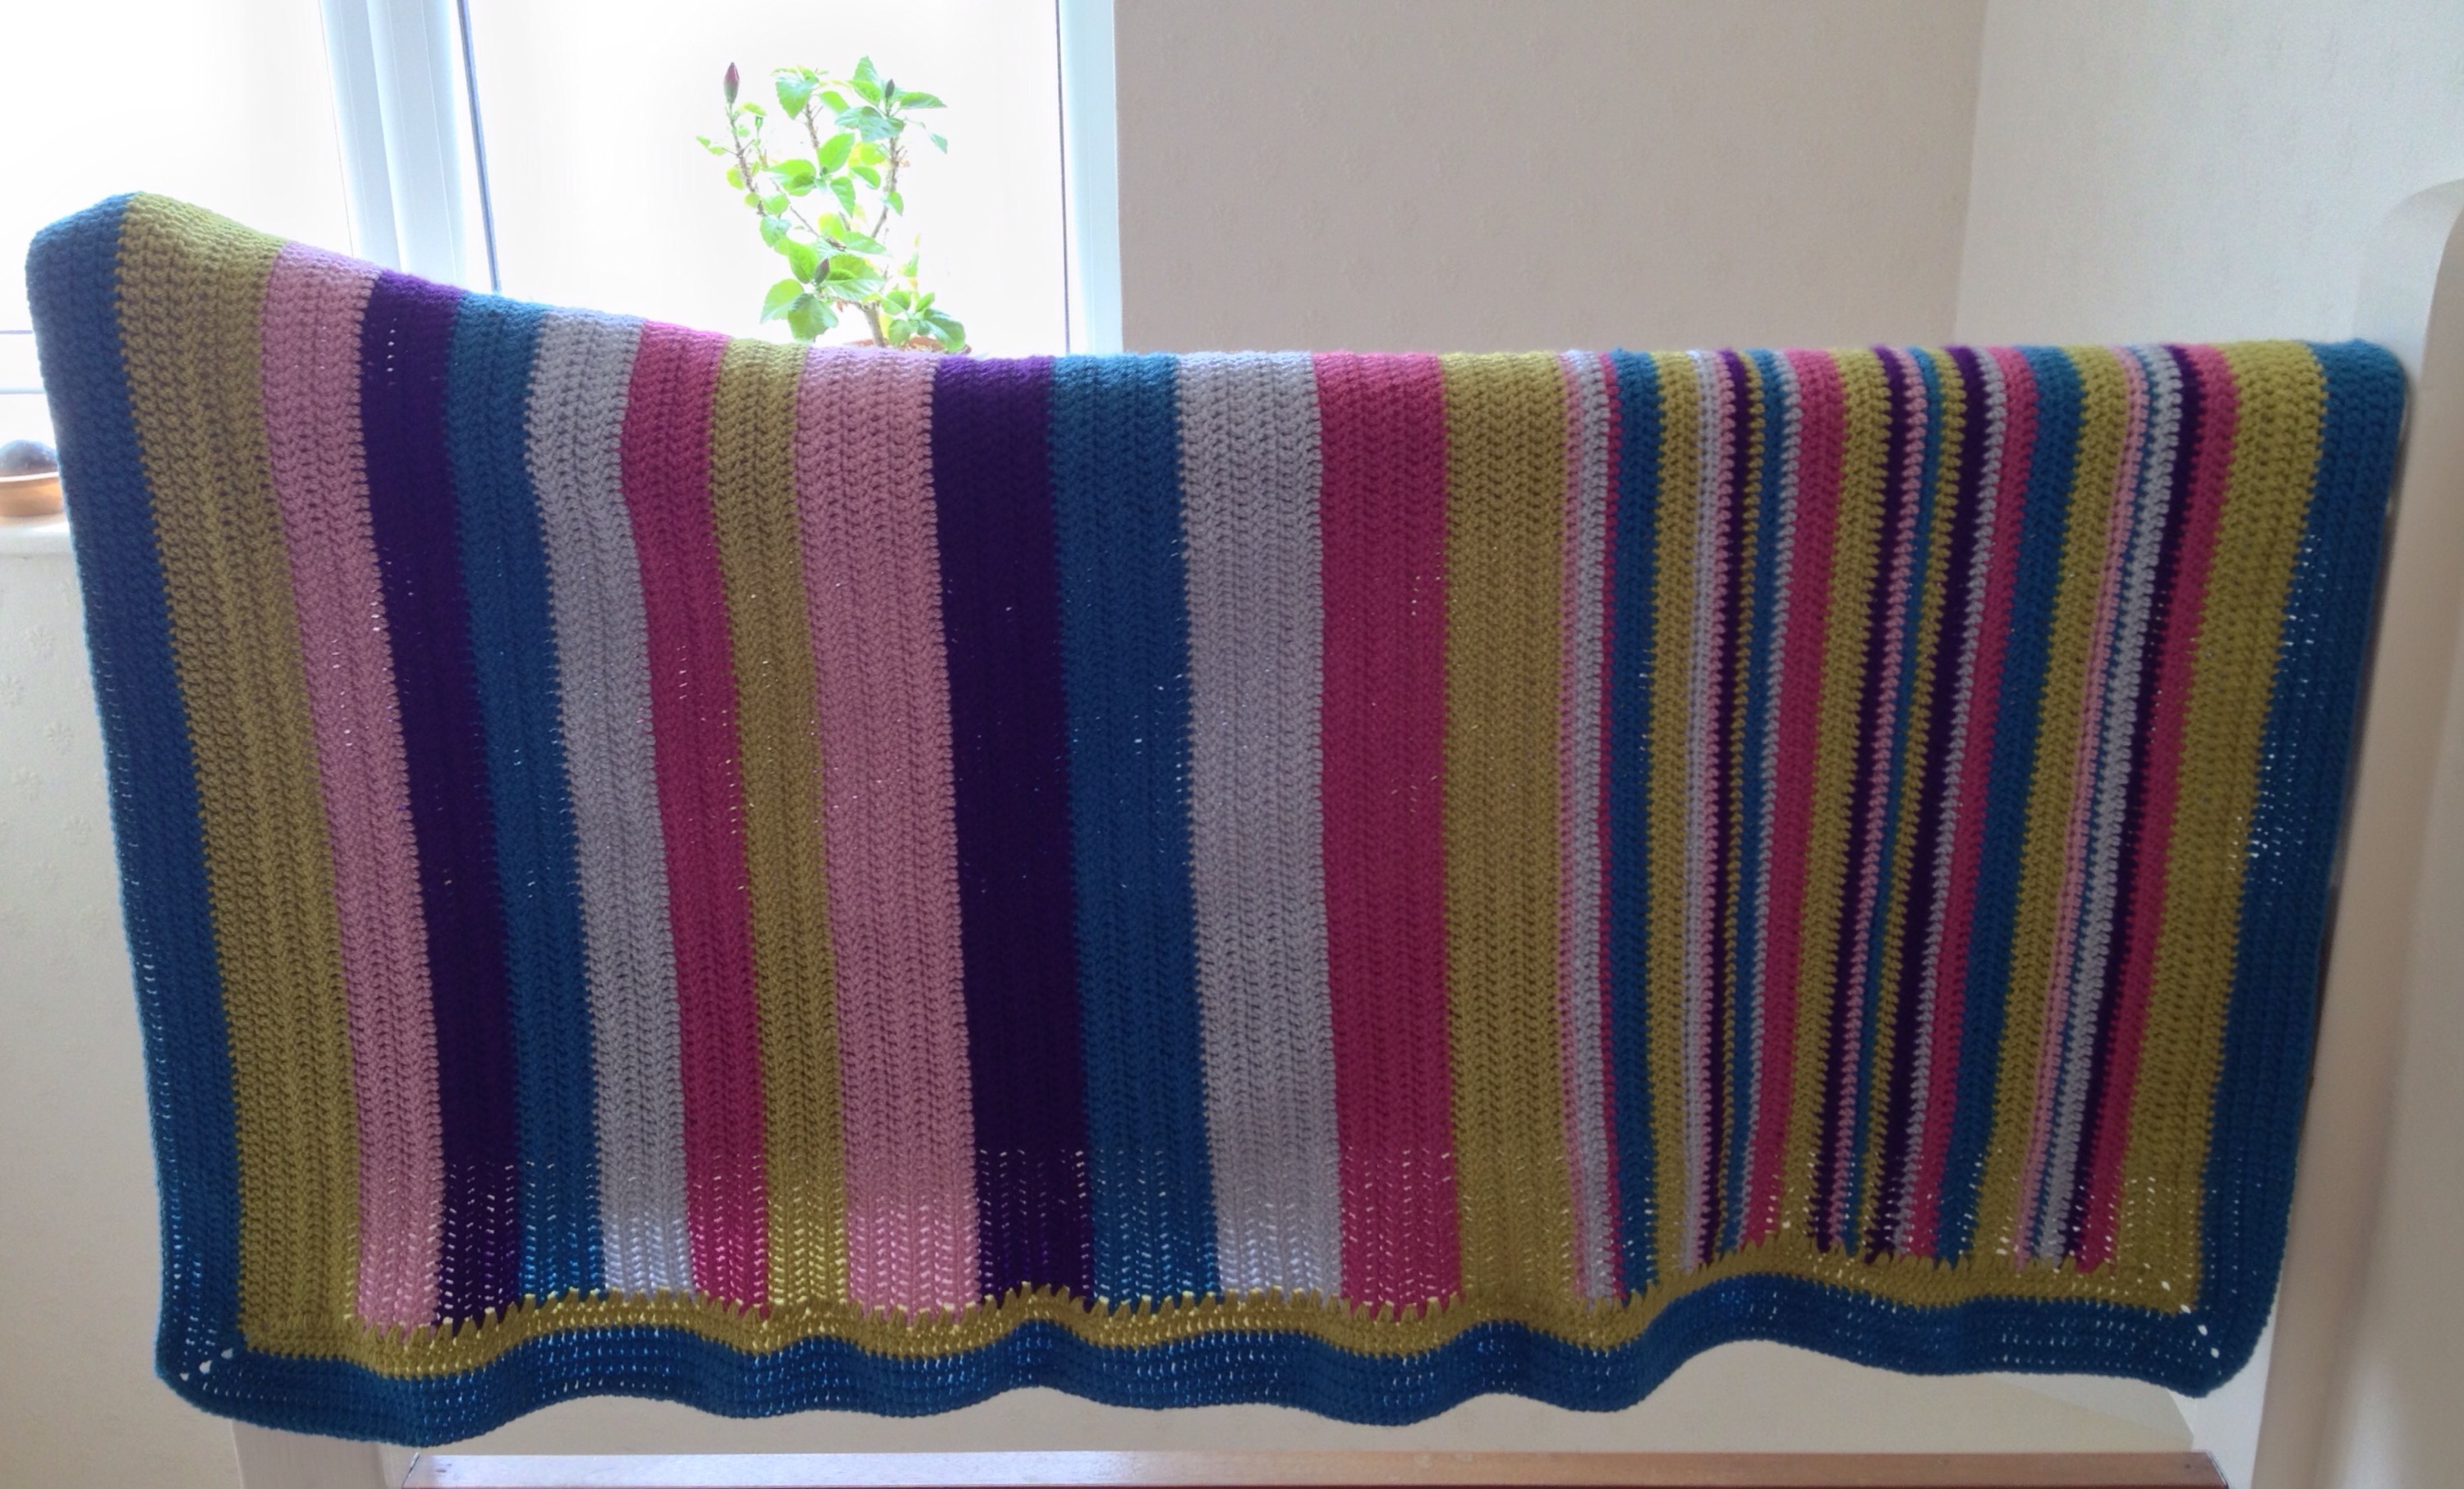
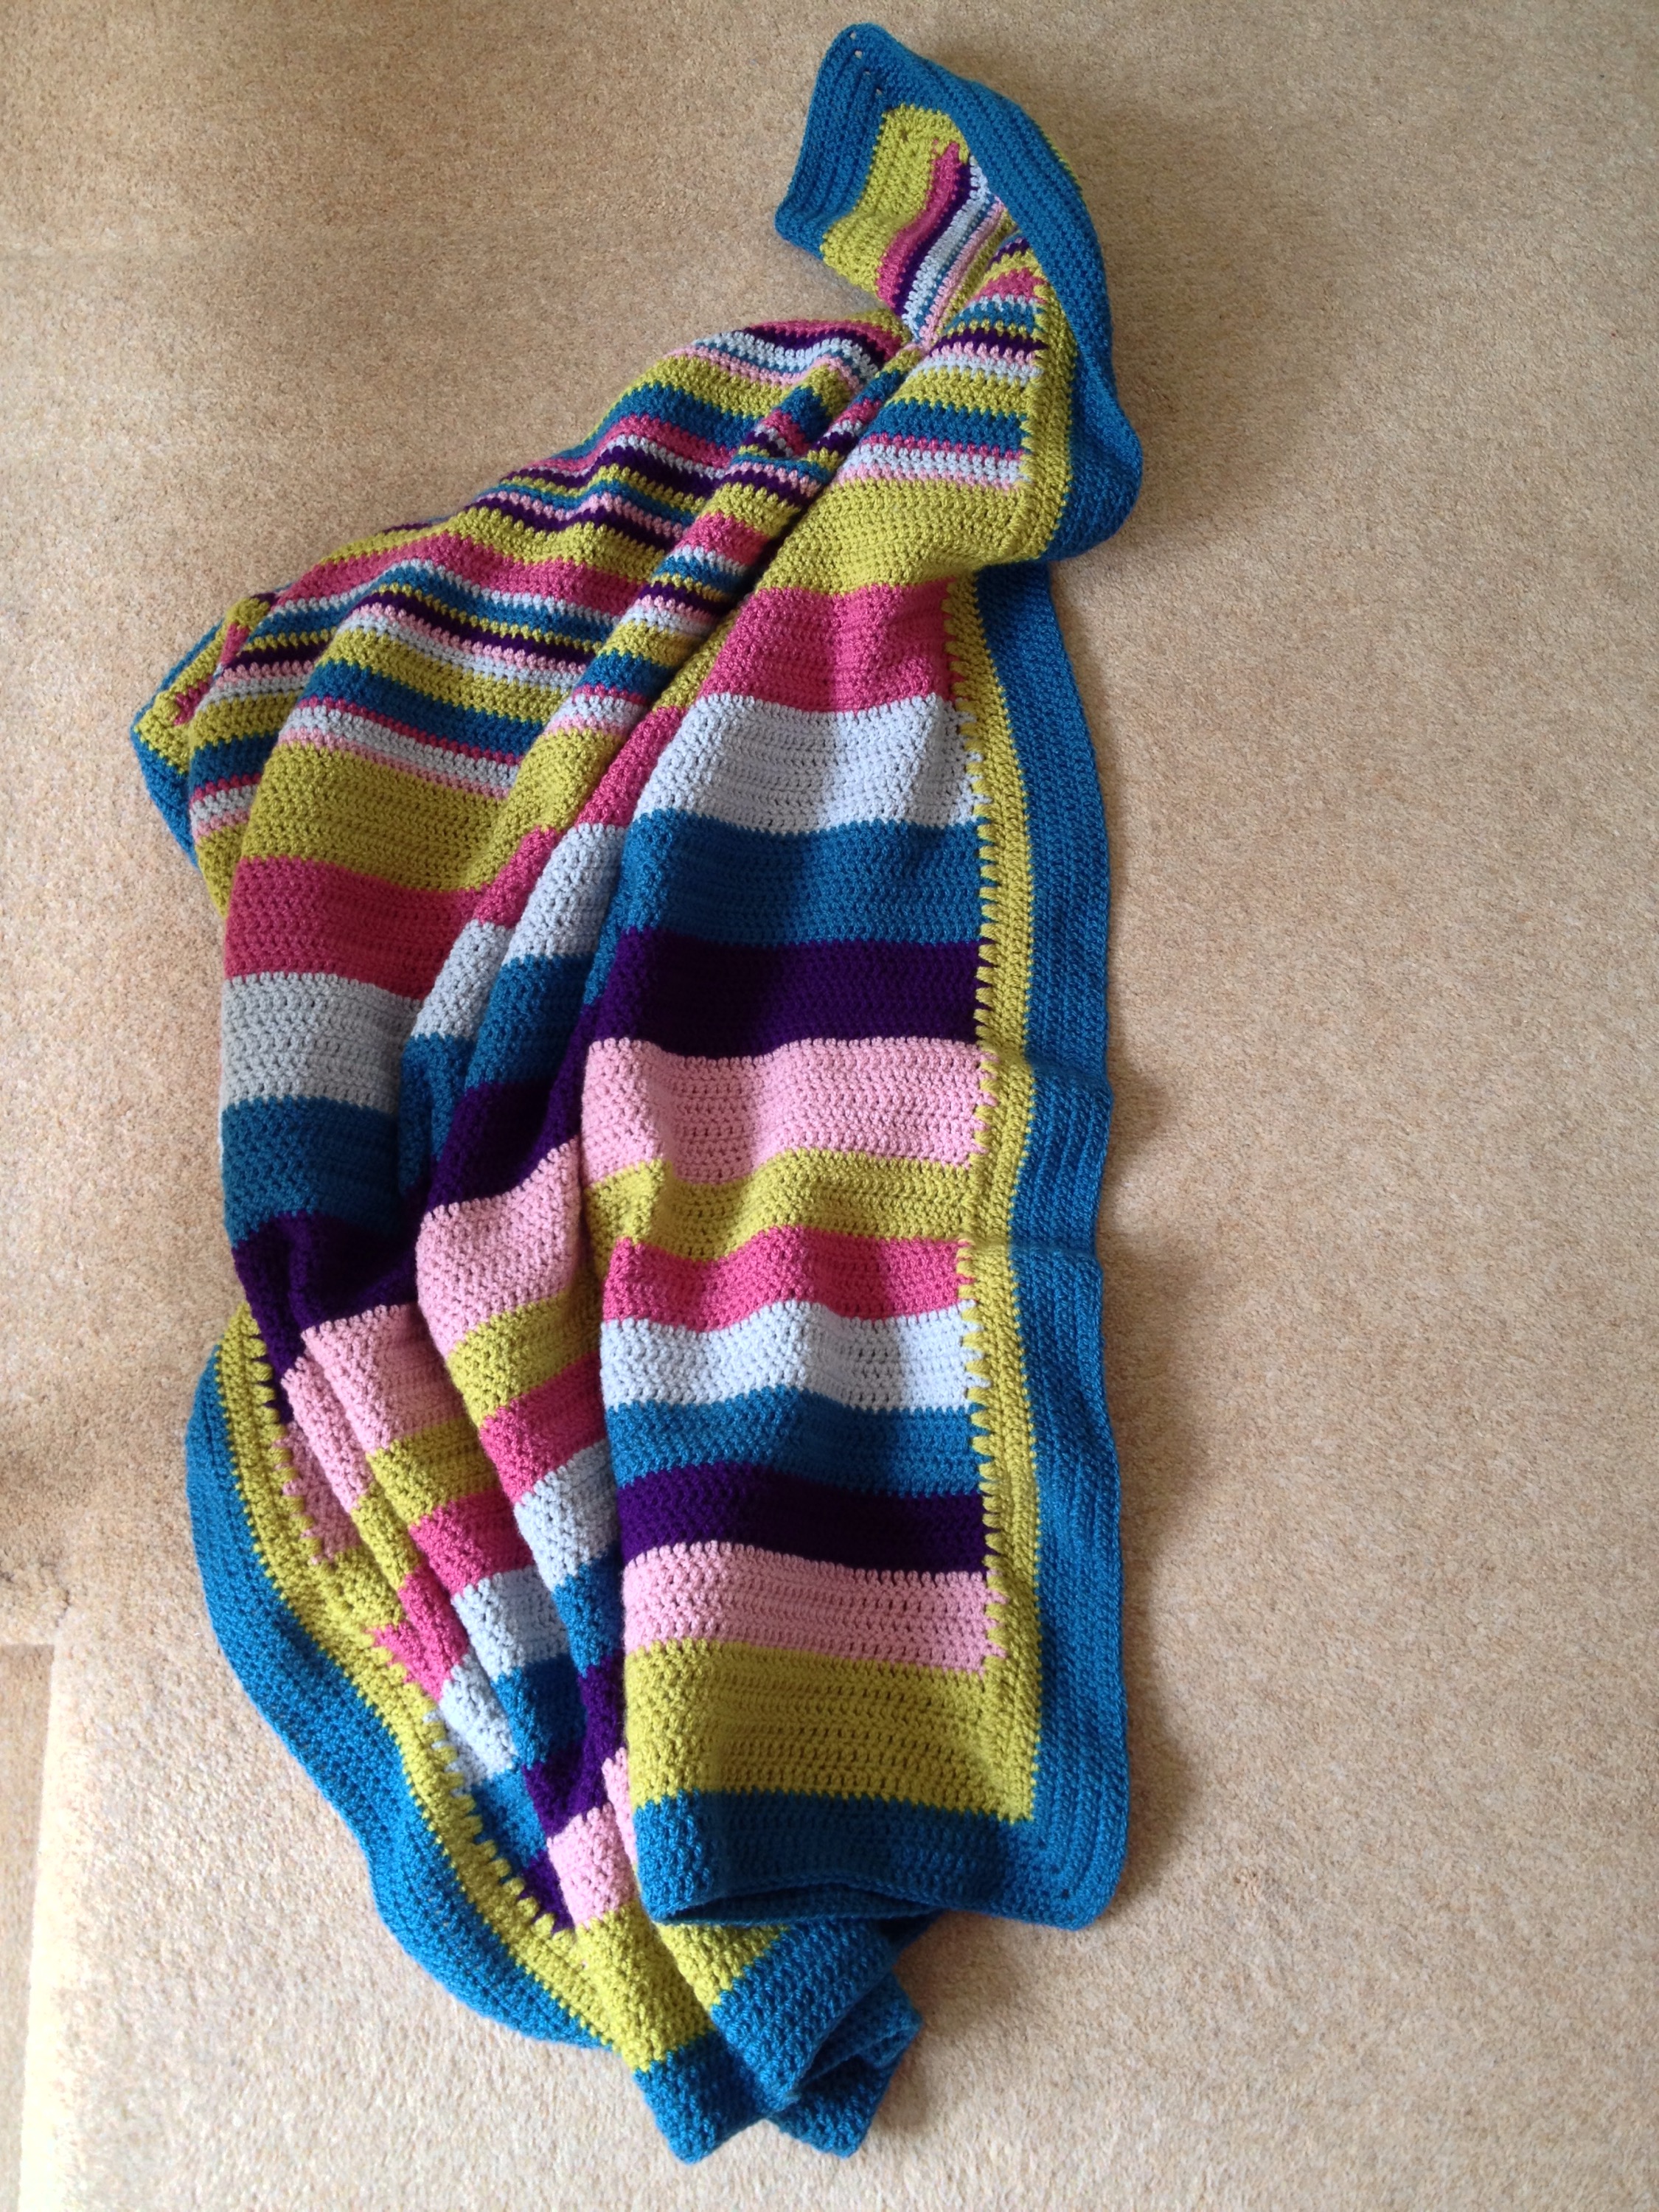
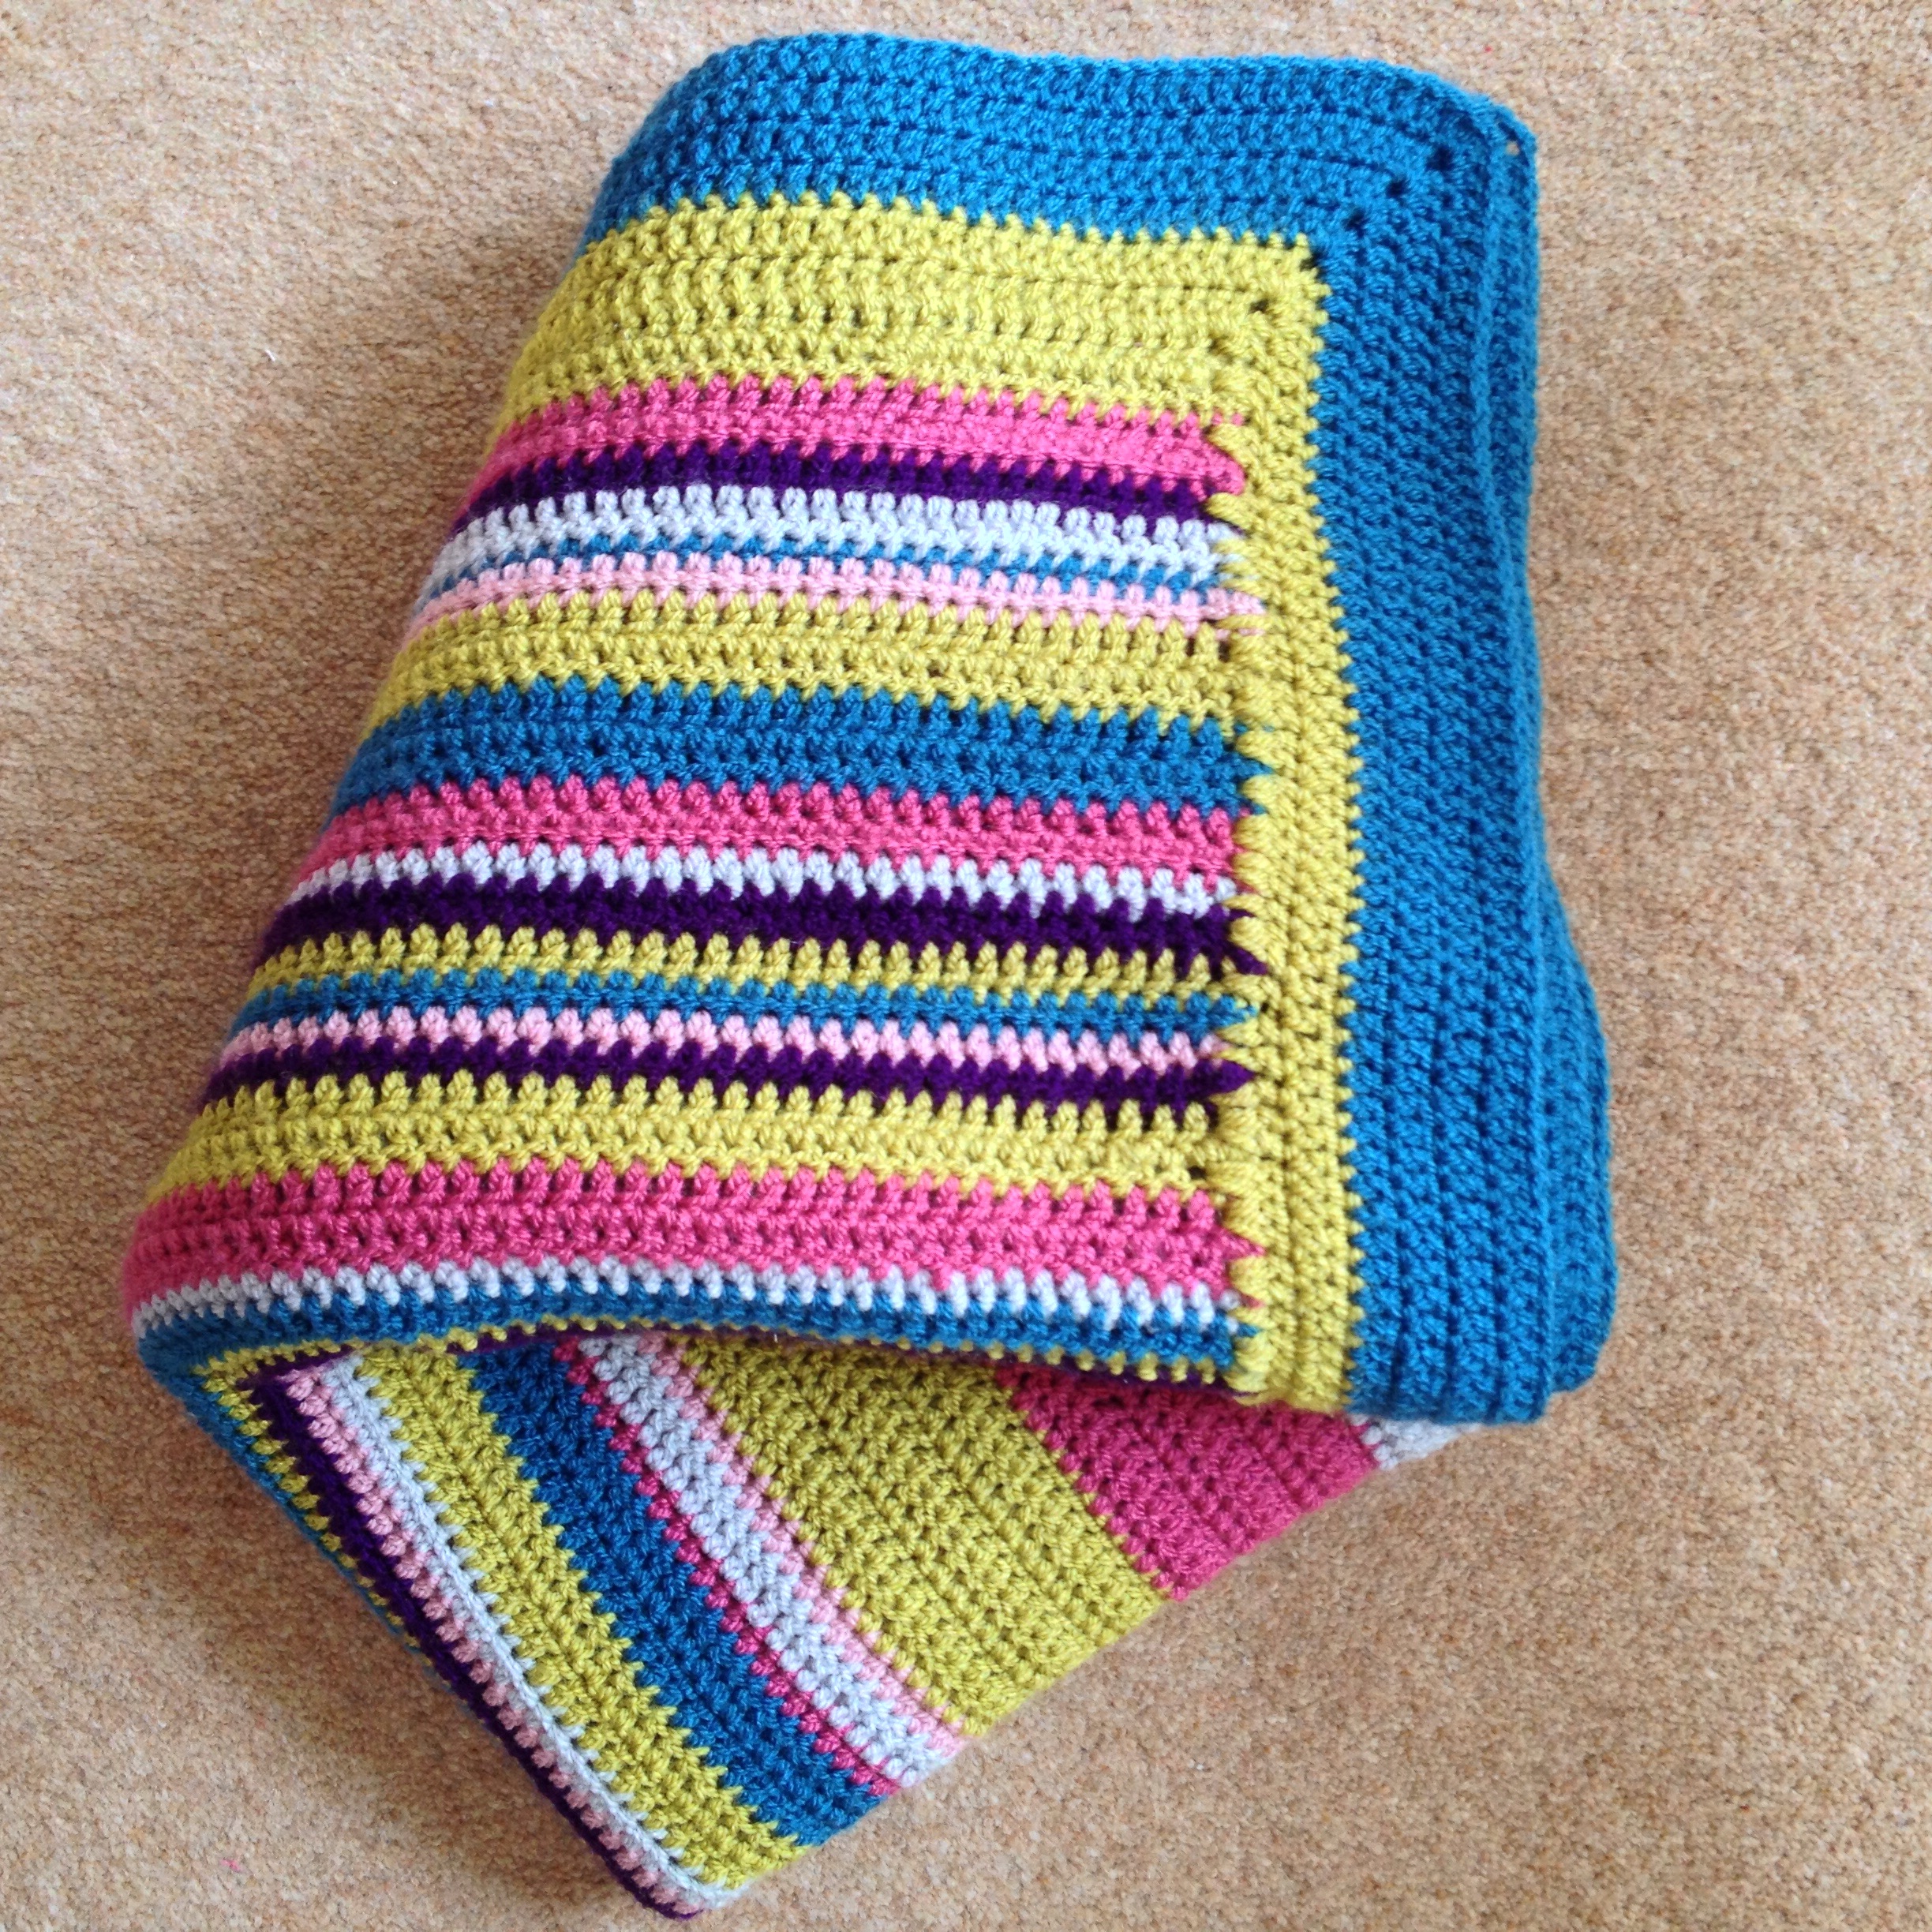
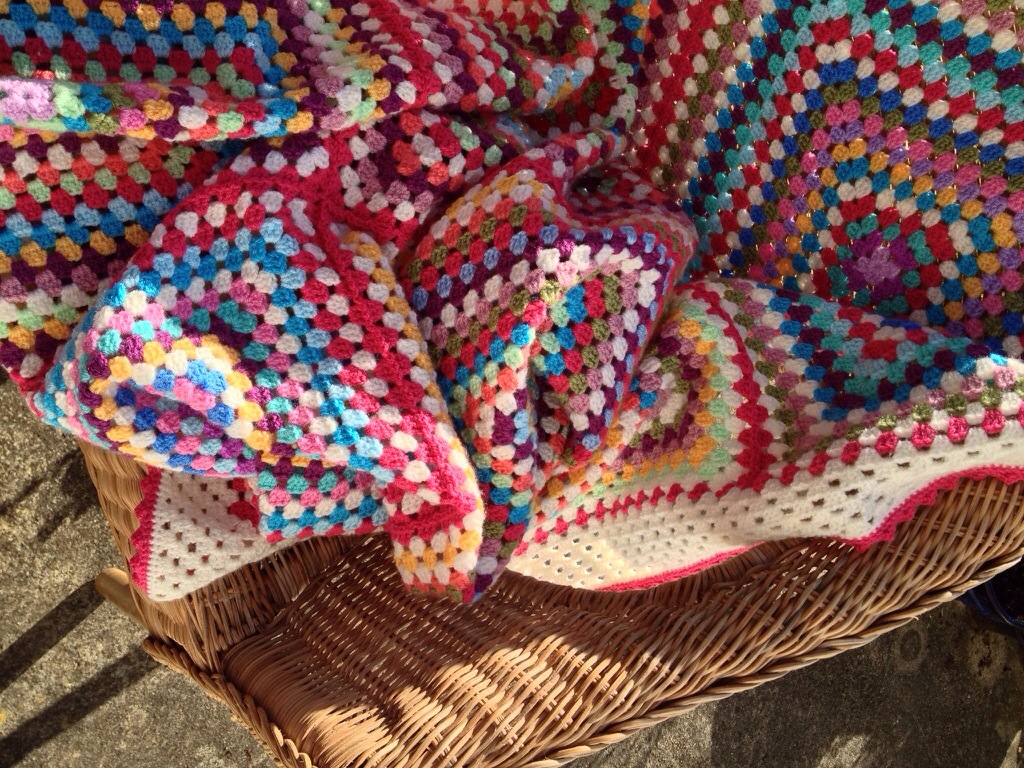
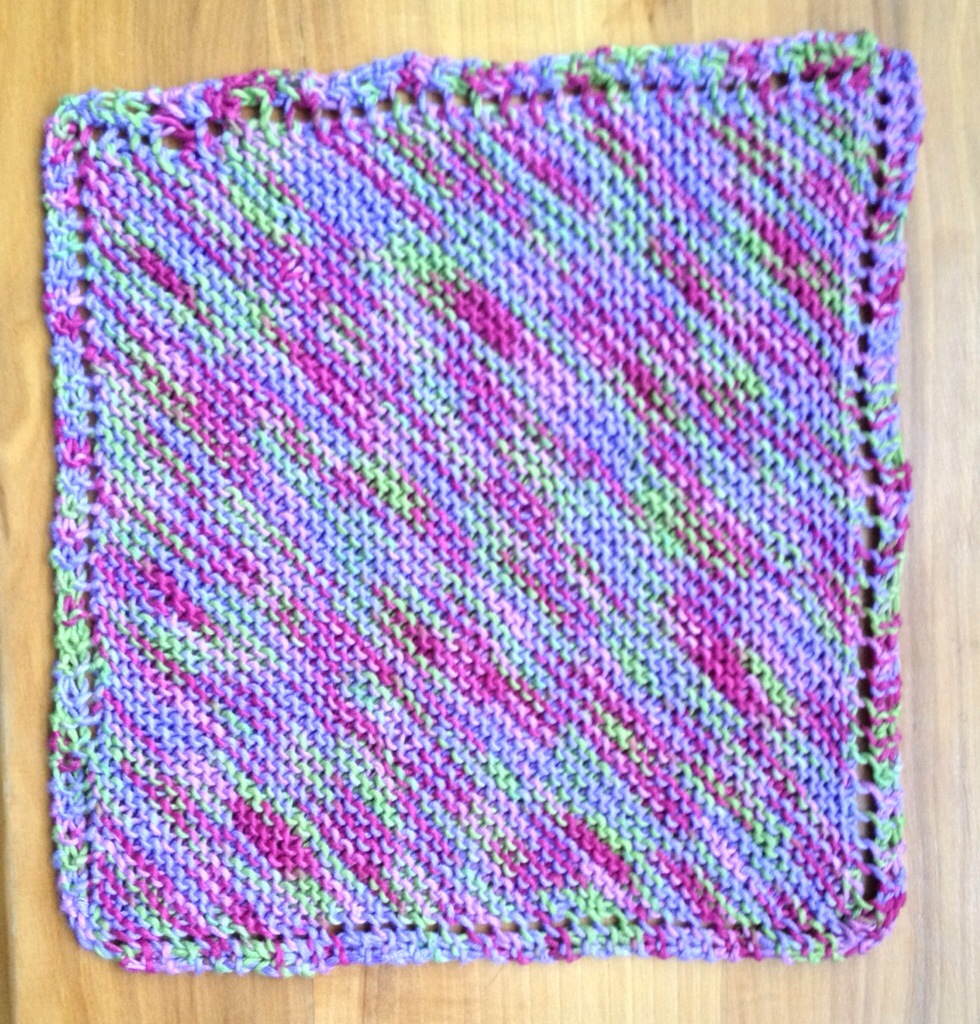
I was hoping to take some washing line pics, but post-blocking the weather was rather grim. These are not the best photos of a finished item at all; due to the poor light levels. And I realised afterwards that I’d plonked it on the bed rather quickly and didn’t smooth it out, oops sorry! Still, you do get the idea of its size and look…
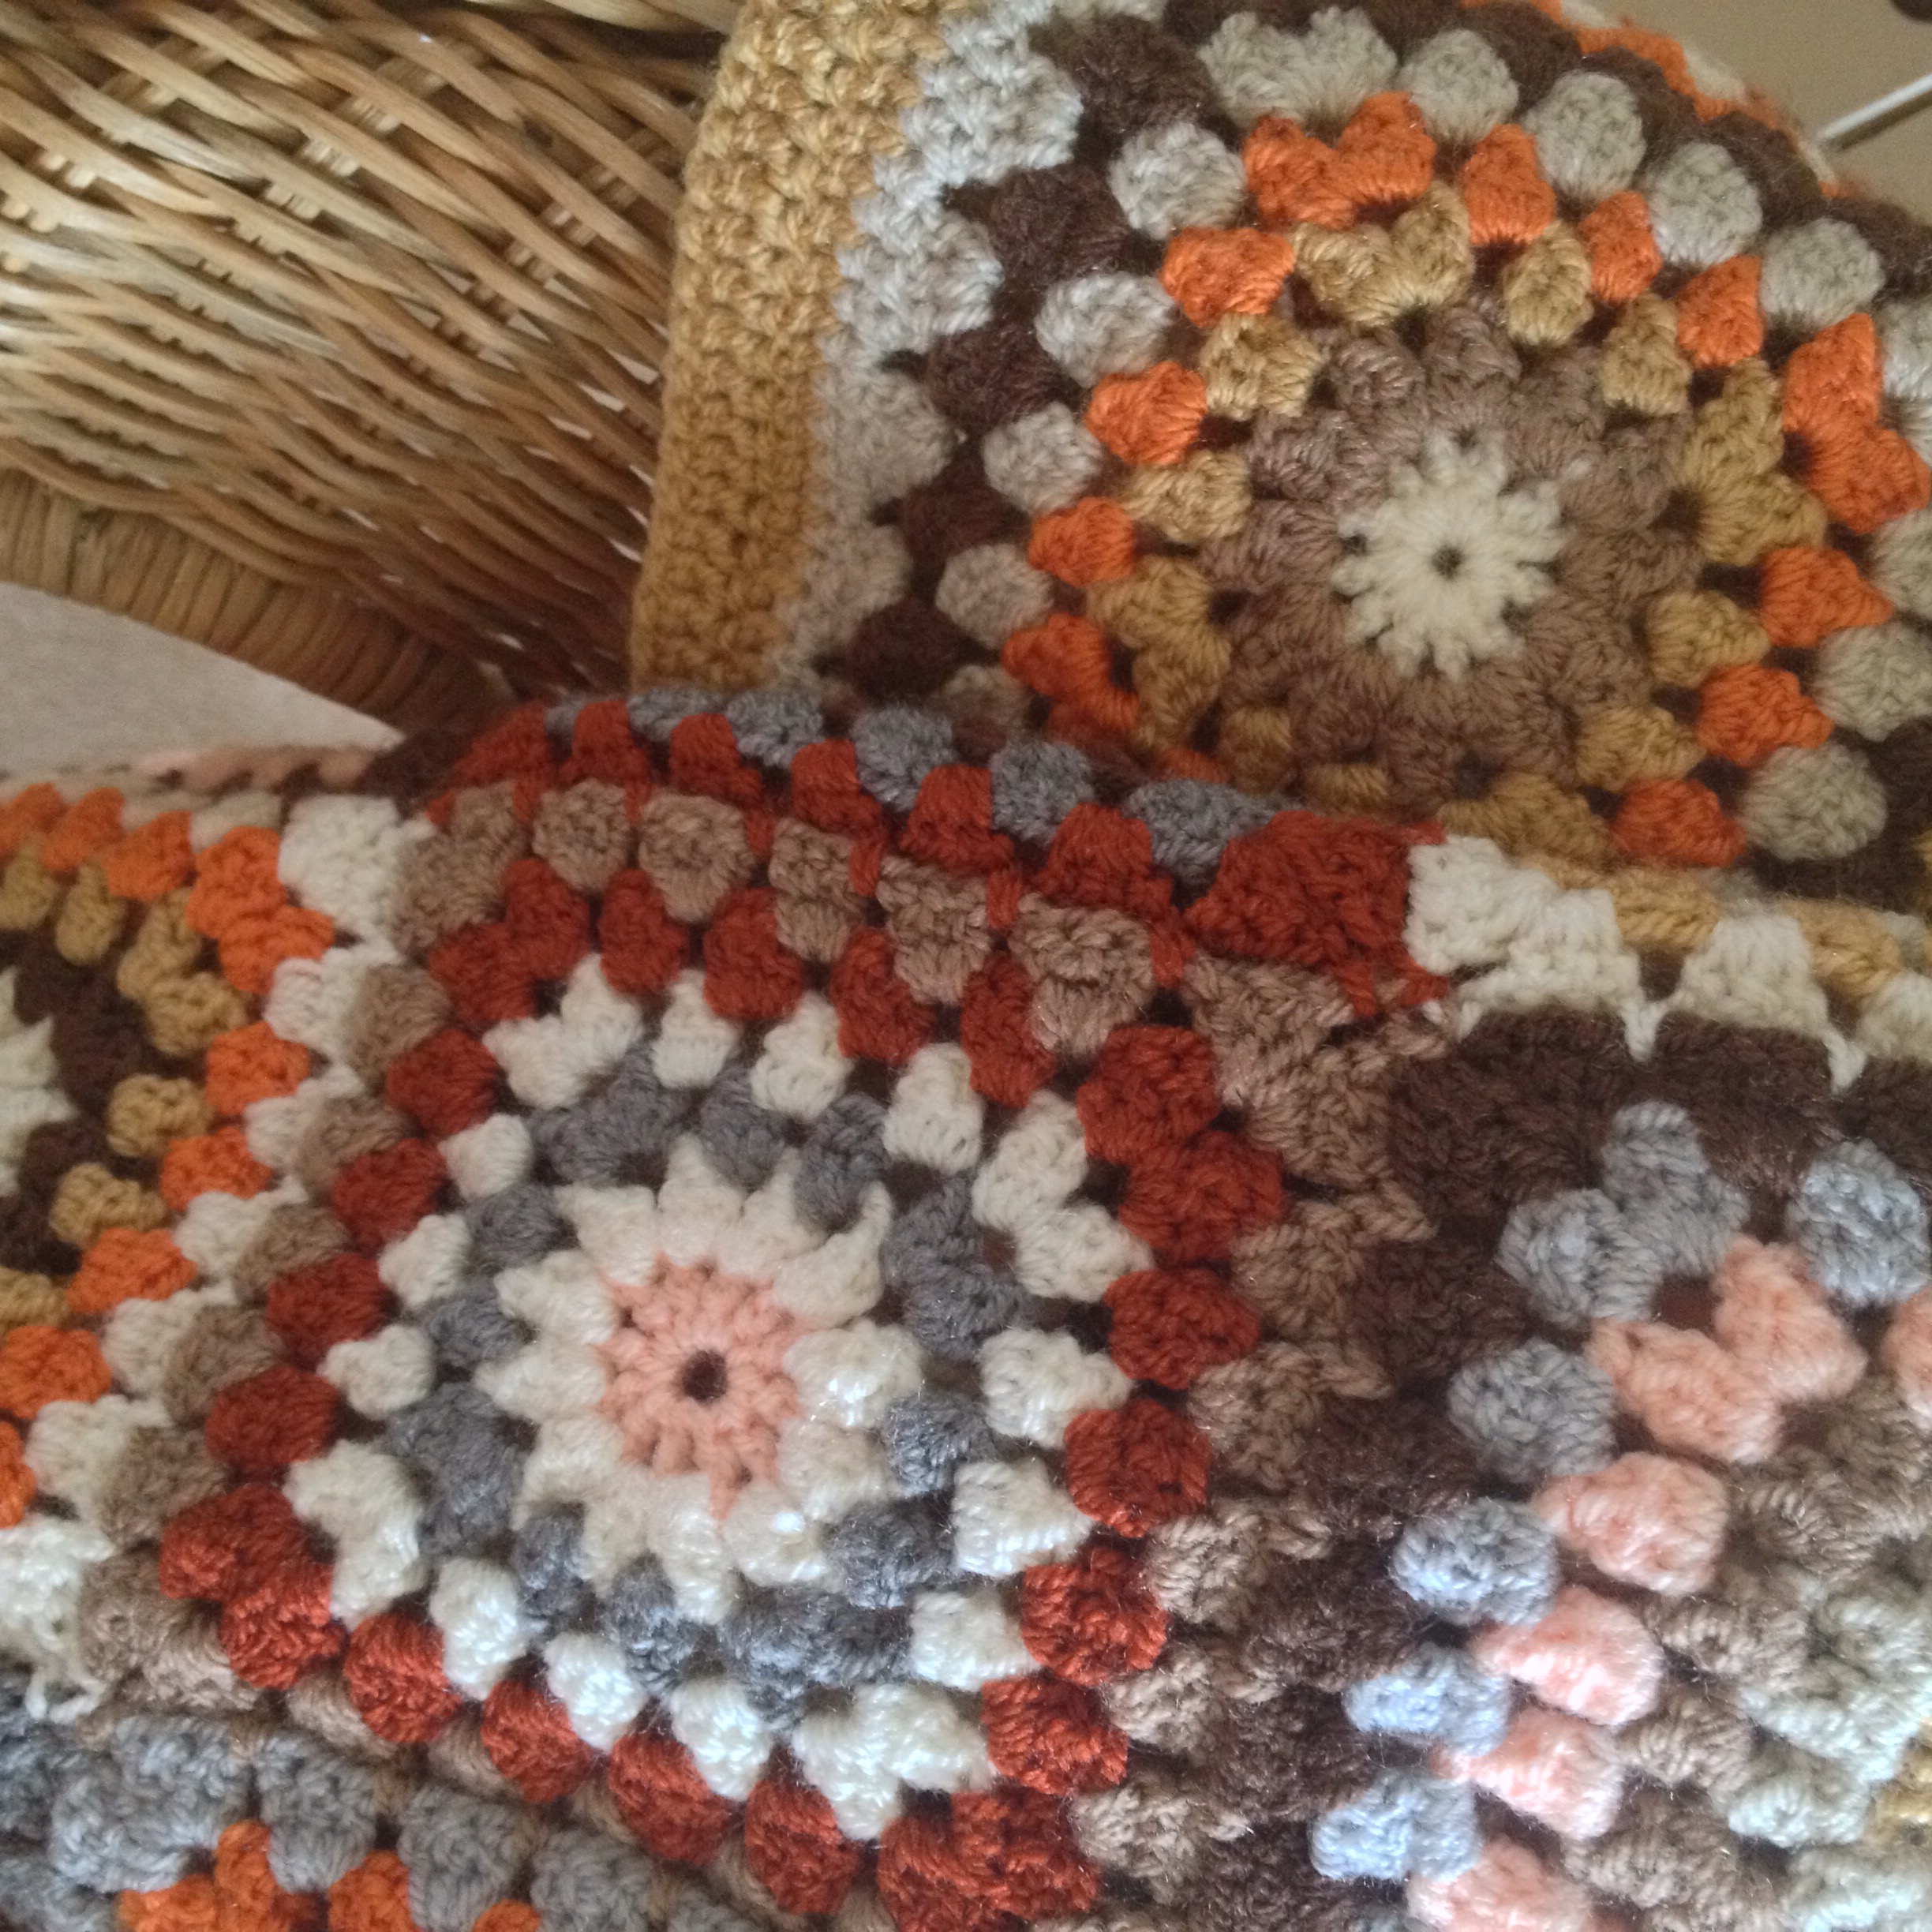
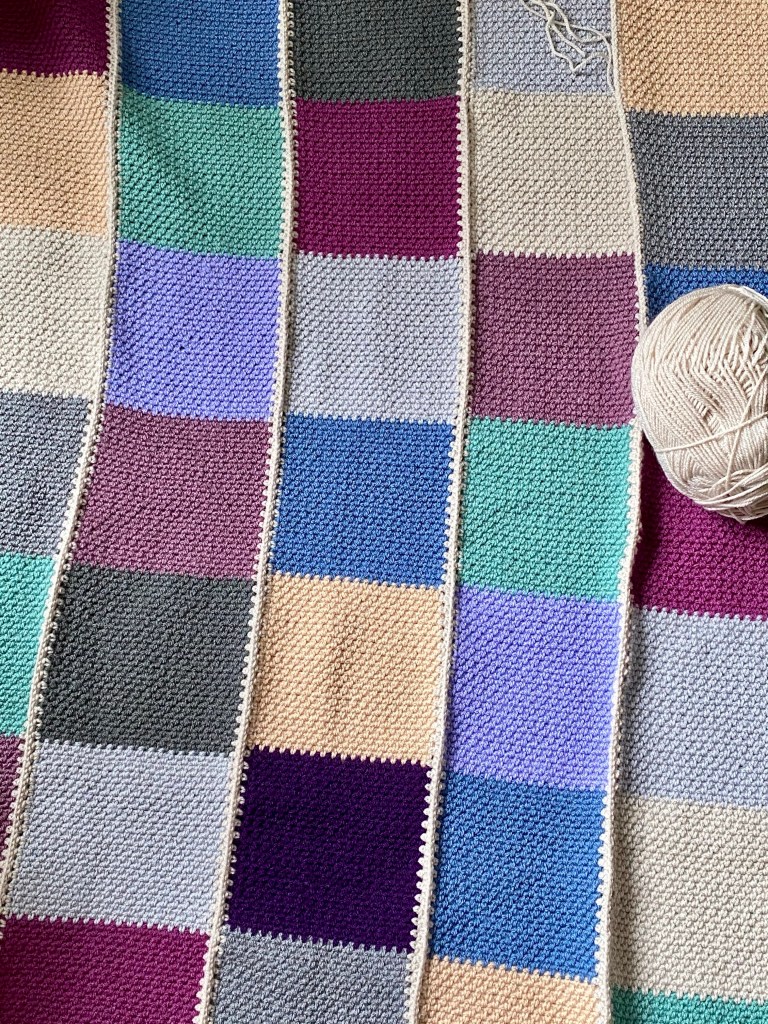
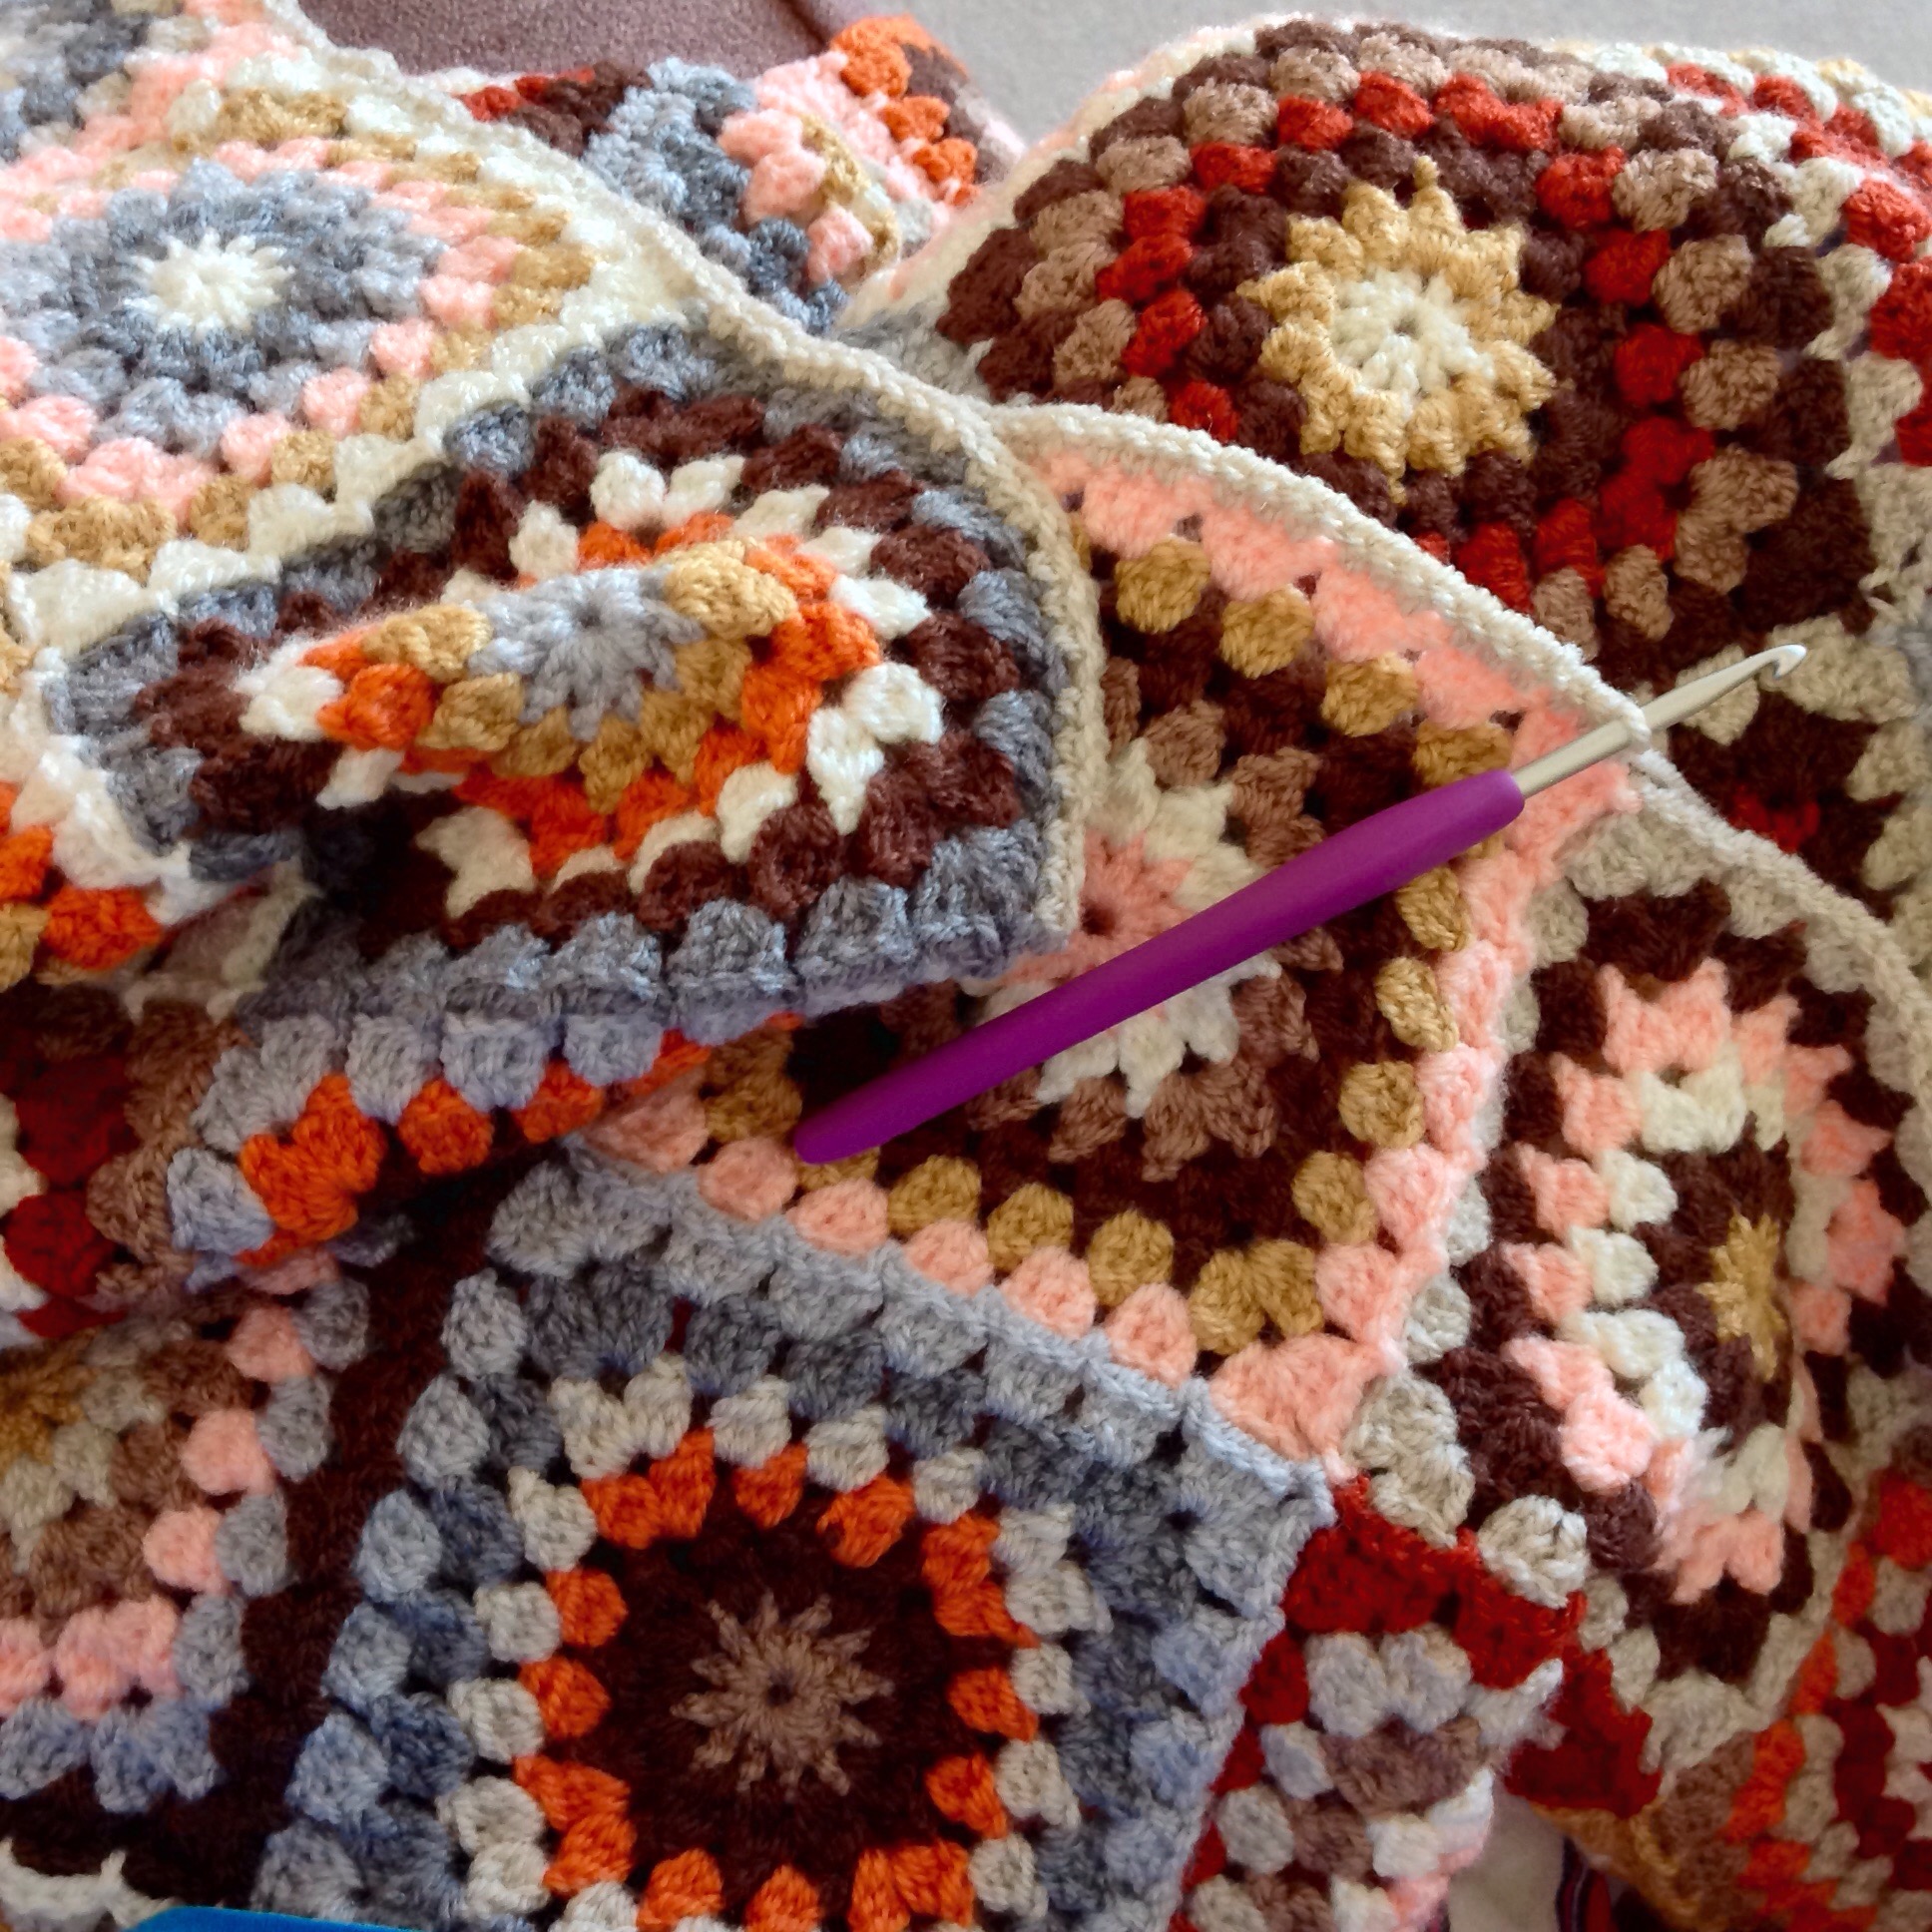
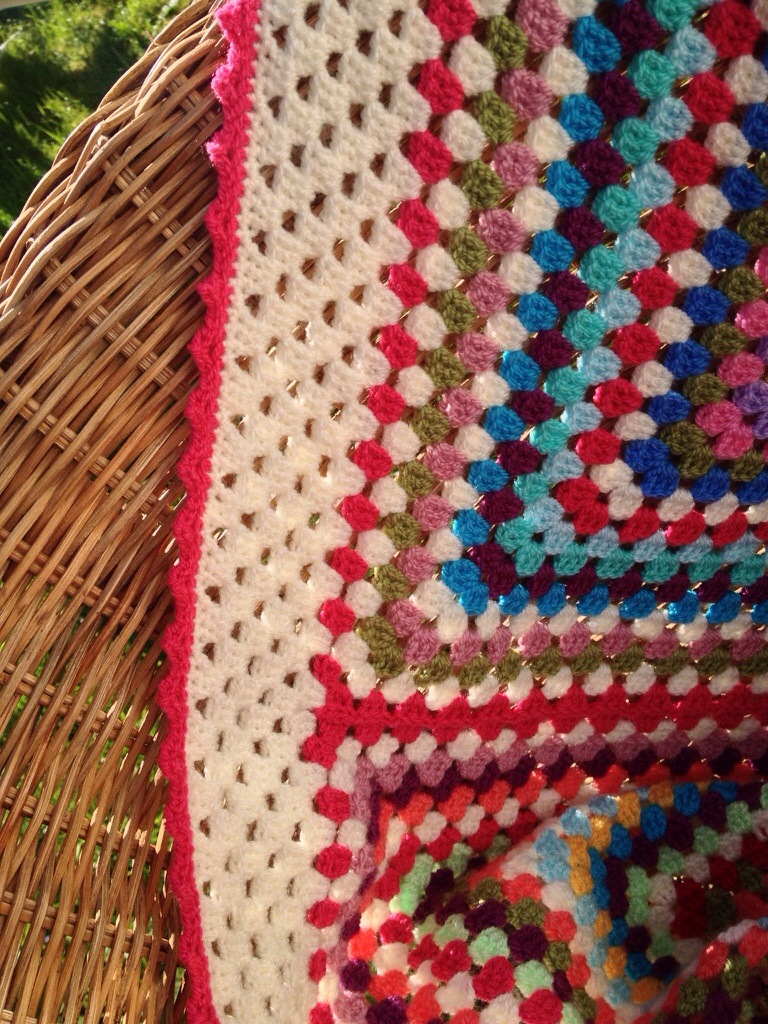
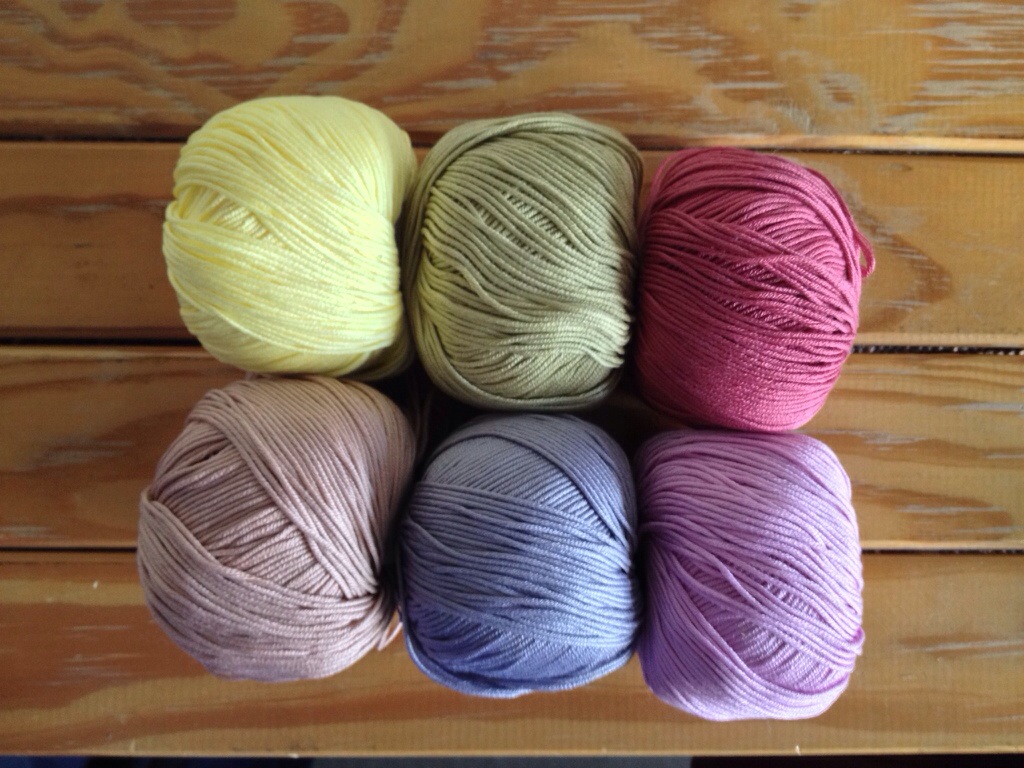
I wonder if anyone will be inspired to use these Autumnal, rather retro colours? They weren’t my thing at all at first, but they really grew on me. It’s sometimes good to do something completely different. I’d given Mum my Stylecraft Special DK shade card and she chose the colours, while comparing them to the curtains. They look really good together, she chose well.
Yarn: Stylecraft Special DK
- Silver
- Grey
- Walnut
- Copper
- Spice
- Mocha
- Matador
- Parchment
- Cream
- Camel
- Apricot
Hook: 4mm for the motifs and JAYGO rounds
3.5mm for the border
Length: 5′ 7″ / 67″
Width: 3′ 5″ / 41″
Weight: 1,422kg
Motif: my own design as follows…
UK terms
FR: Ch6, ss to join into circle
R1: Ch4 (Counts as1 tr and ch 1) *Tr into circle, ch 1 repeat from * 10 more times, join with ss to 3rd ch of ch , ss into next ch sp (12 tr)
R2: Ch3, tr2tog in same space, ch3 *tr3tog in next ch sp, ch3, repeat from * 10 more times, join with ss to top of ch3, ss in next ch3 sp
R3: Ch3, tr2tog,ch2, *tr3tog repeat twice from * to corner then tr3tog, ch3, tr3tog and so on around motif, ss to ch3
R4: As for R3 repeat from * three times to corner then tr3tog, ch3, tr3tog and so on around motif, ss to ch3
R5: Now a more traditional granny square round without clusters: Ch3, tr2, ch2, *tr 3, ch2, tr 3 repeat from * to corner then tr3, ch2, tr3 (I found that ch2 in the corners of this round worked best, but you might find continuing with ch3 works best in yours.)
R6: JAYGO using a ch1, ss, ch 1 in the corners, along the sides ss, ch 1 then tr3 and so on (see this tutorial by Lucy of Attic 24 for help if you need it.)
Please let me if these instructions make no sense, or if you notice an error, it happens!
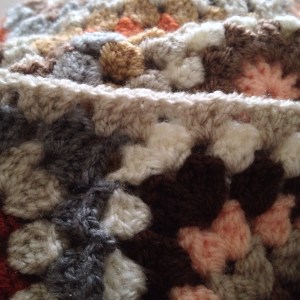
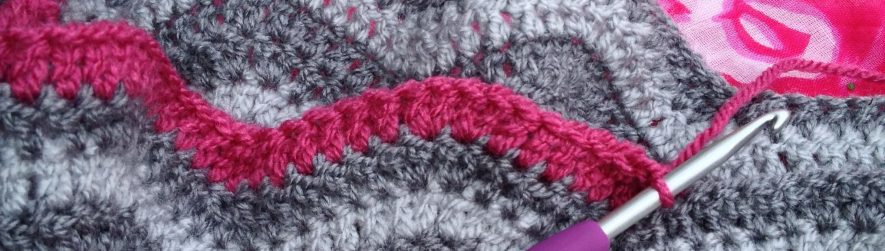
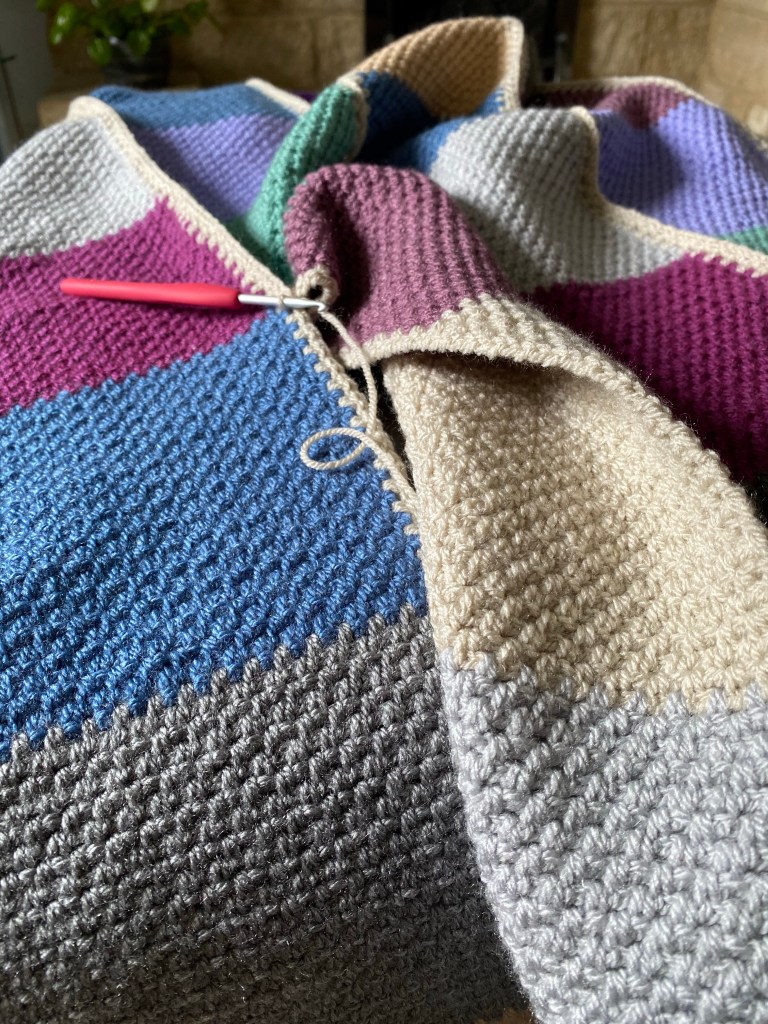
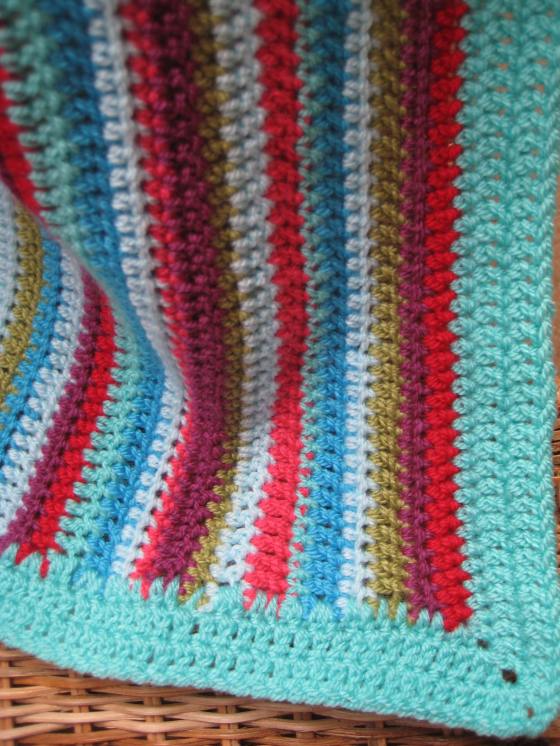
Border: When doing the first row of the pre-border edging you’ll find where you’ve JAYGOed two motifs together you have a lot of stitches along the edge each time when you come to where the corners of the motifs are joined (see photo above.) This is the solution that was passed on to me by Rachel, aka Mrs Pip: treble one stitch on the left hand side of the join, then treble two together – with a treble placed on each side of the JAYGO join – then make a final treble. This leaves only 3 stitches for the next round, but is wide enough to straddle the seam without being too tight. I enjoyed this round, it felt both interestingly different to crochet and pretty ingenious!
I did the final pre-border round in parchment, with a dc into each tr of the previous round and 3 in the centre stitch of each corner.
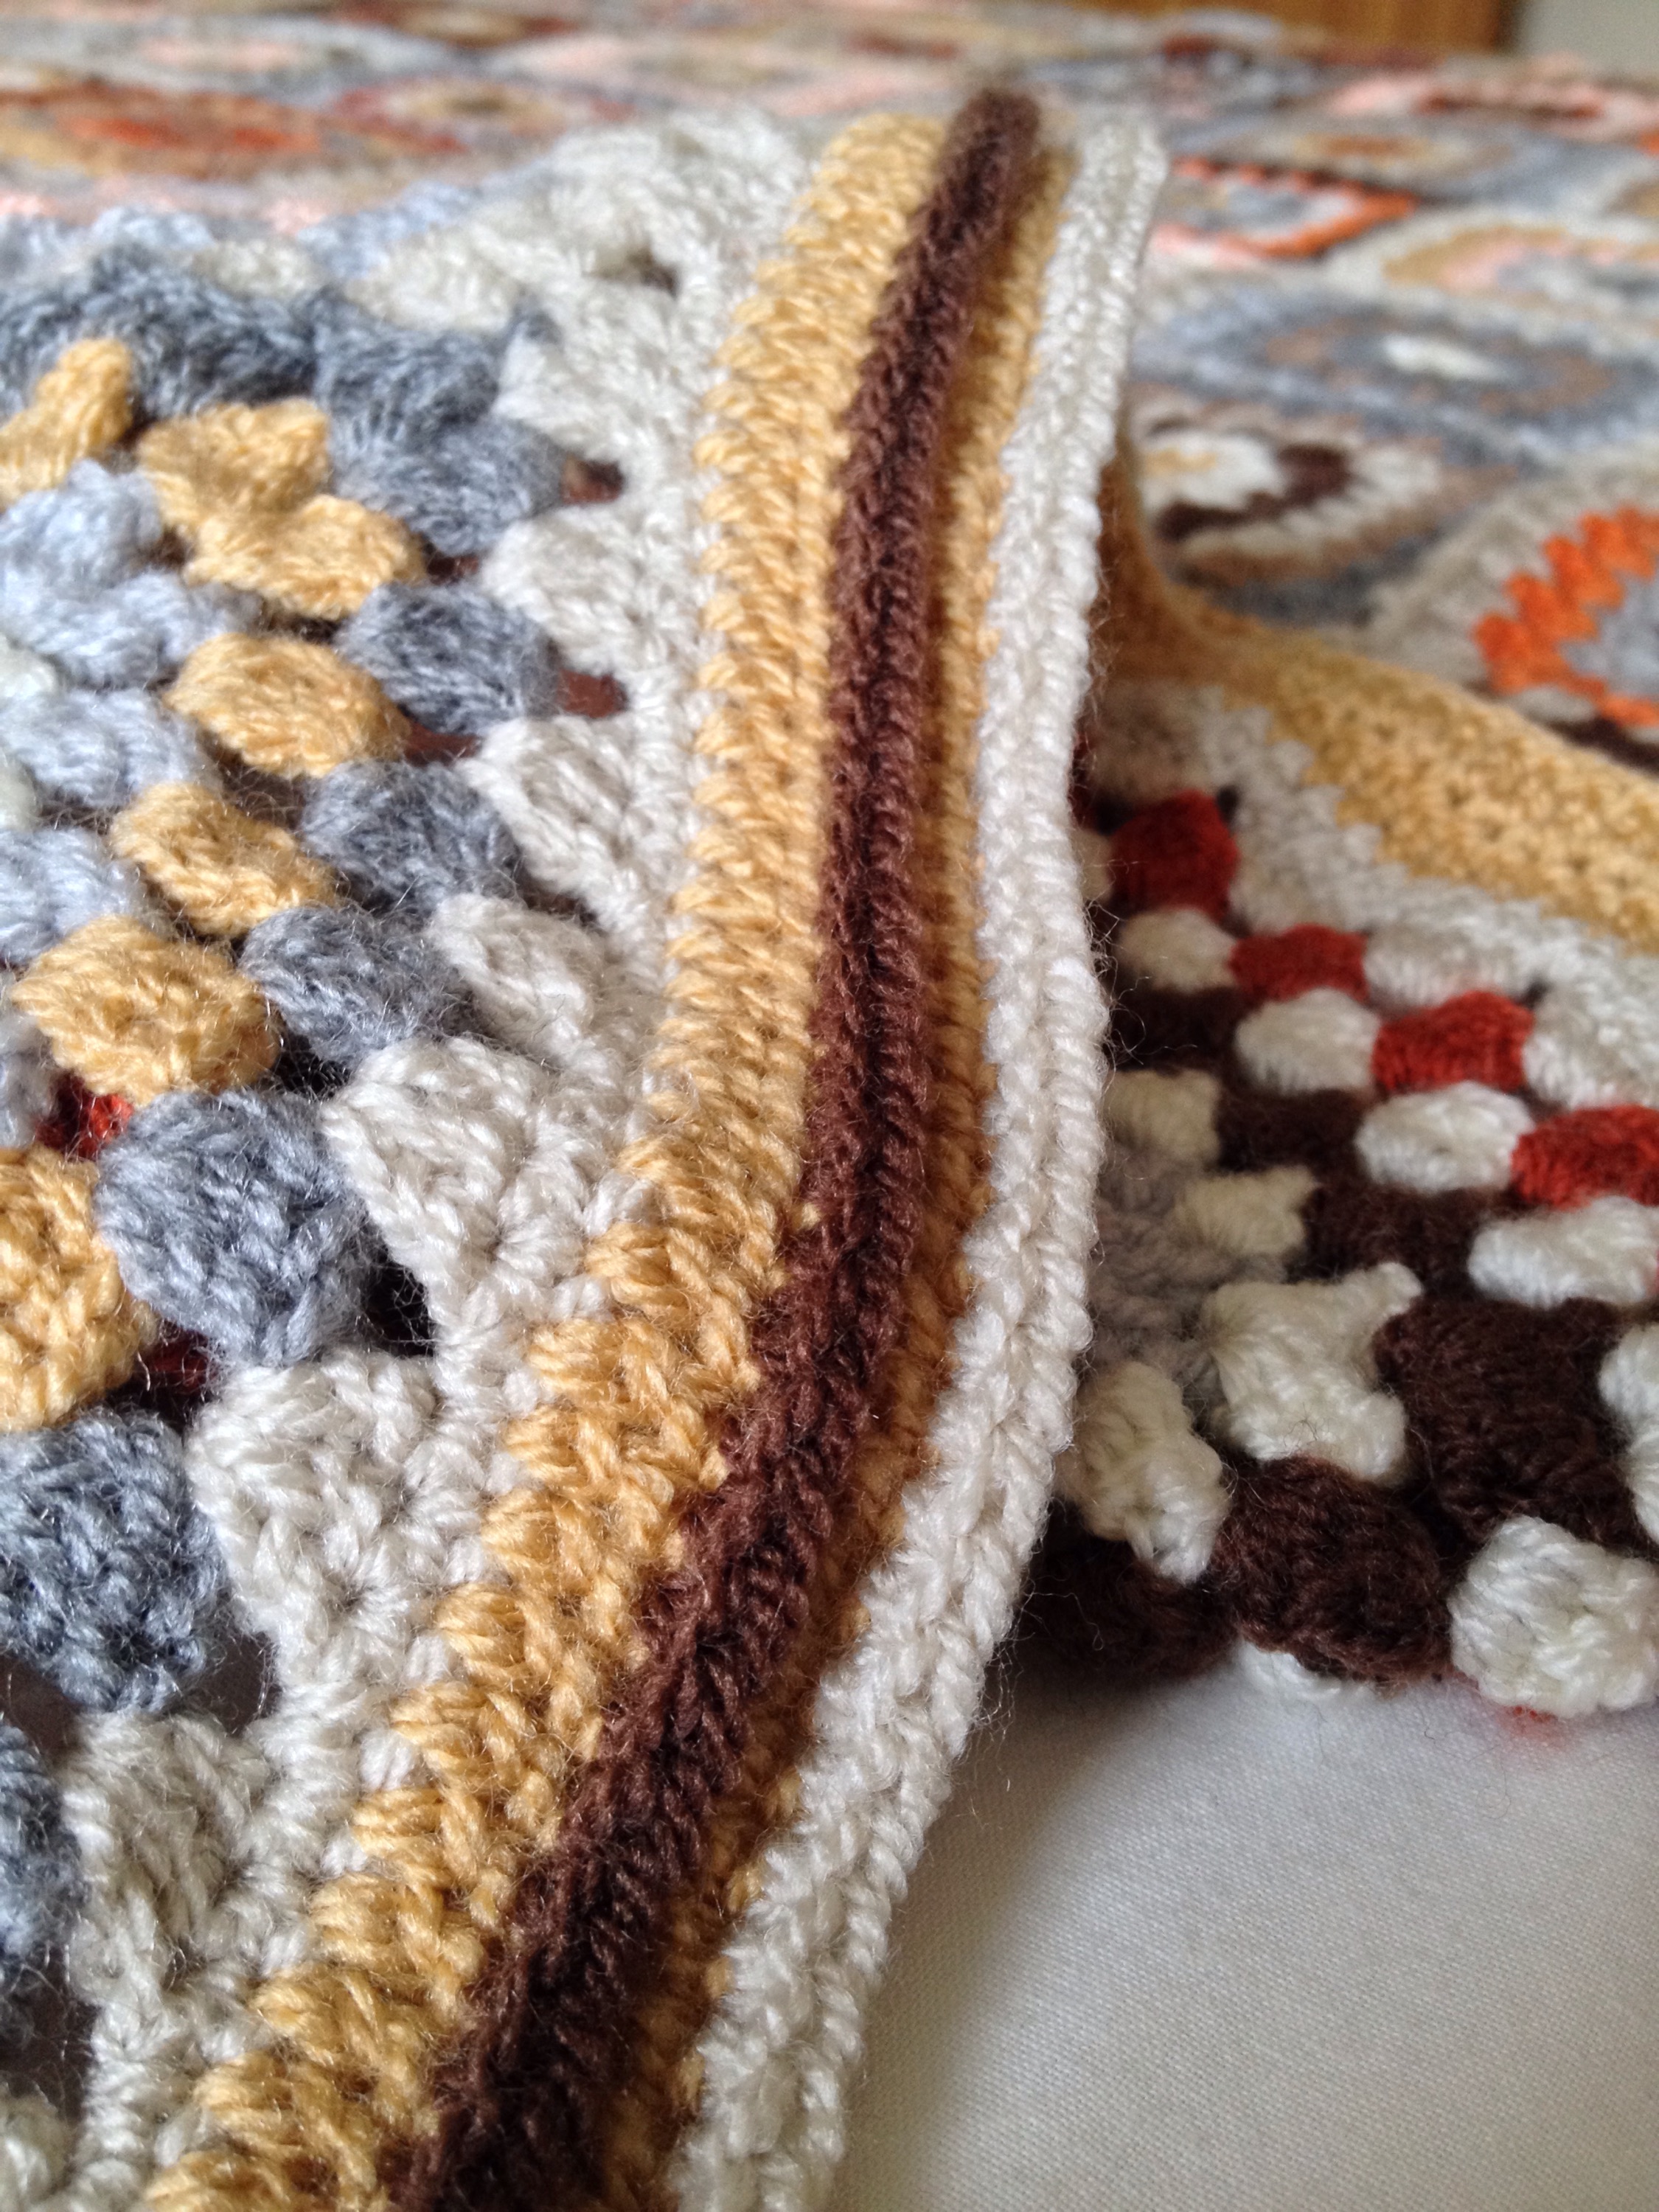
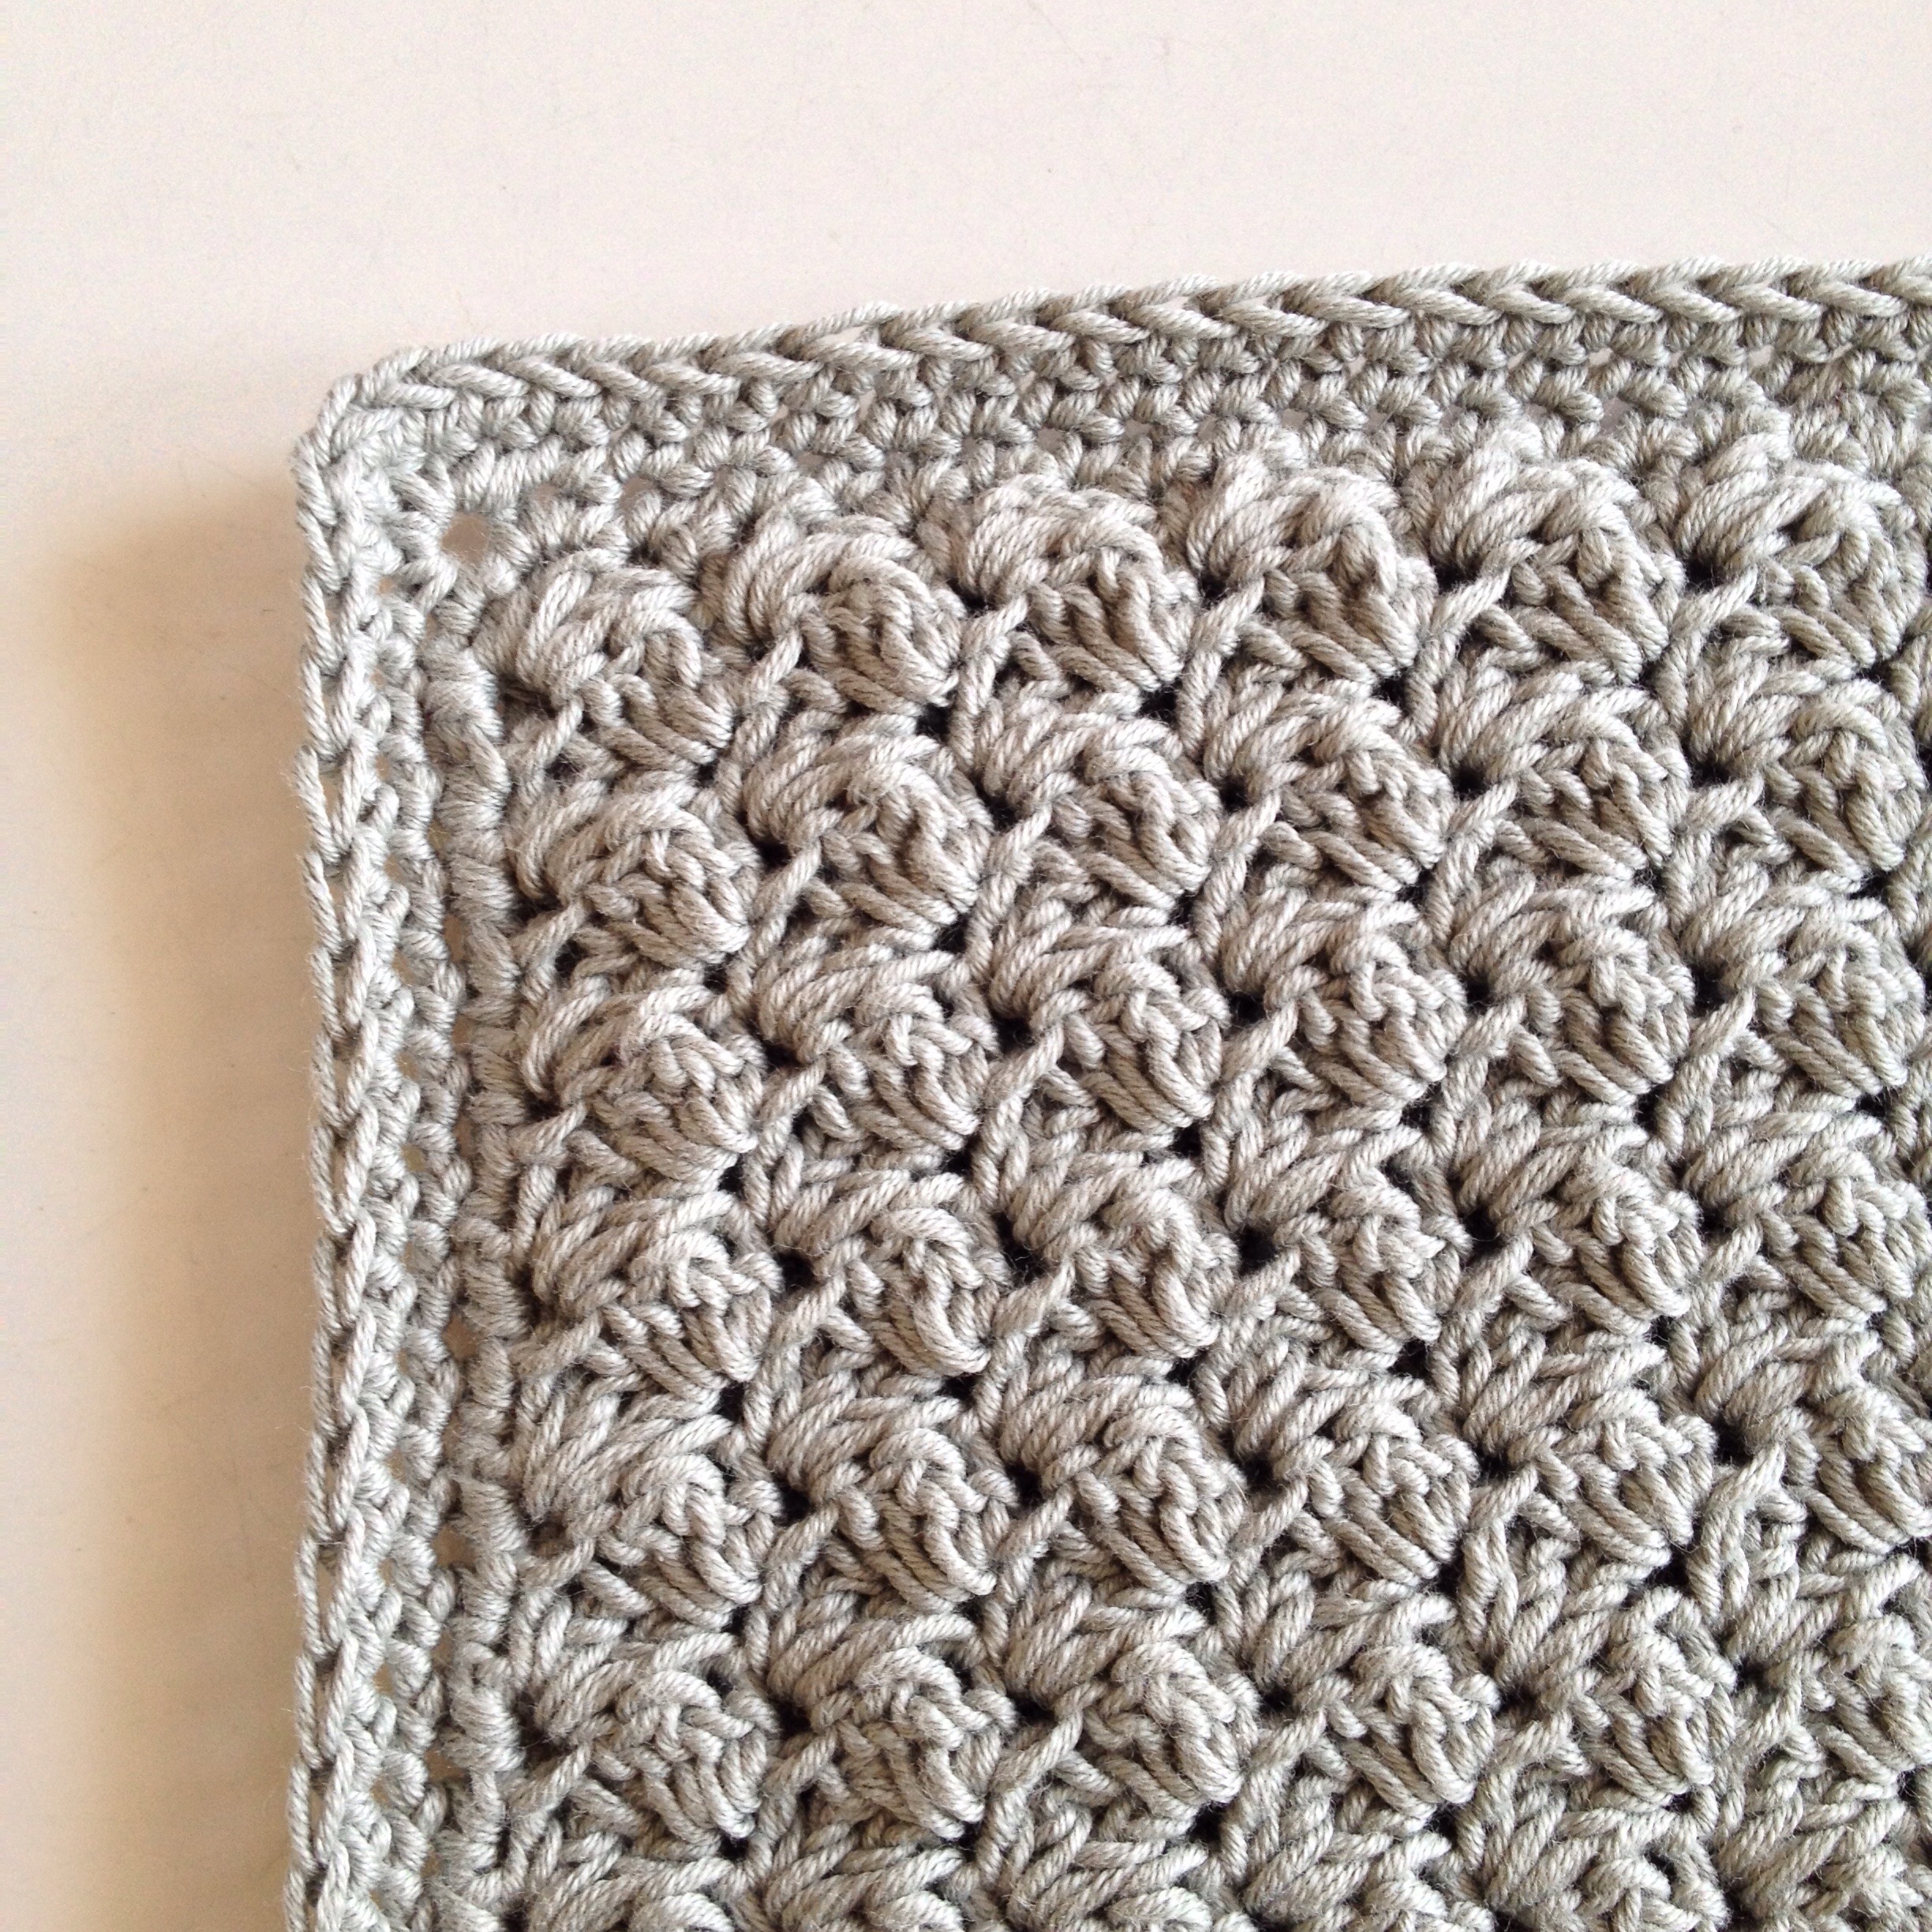
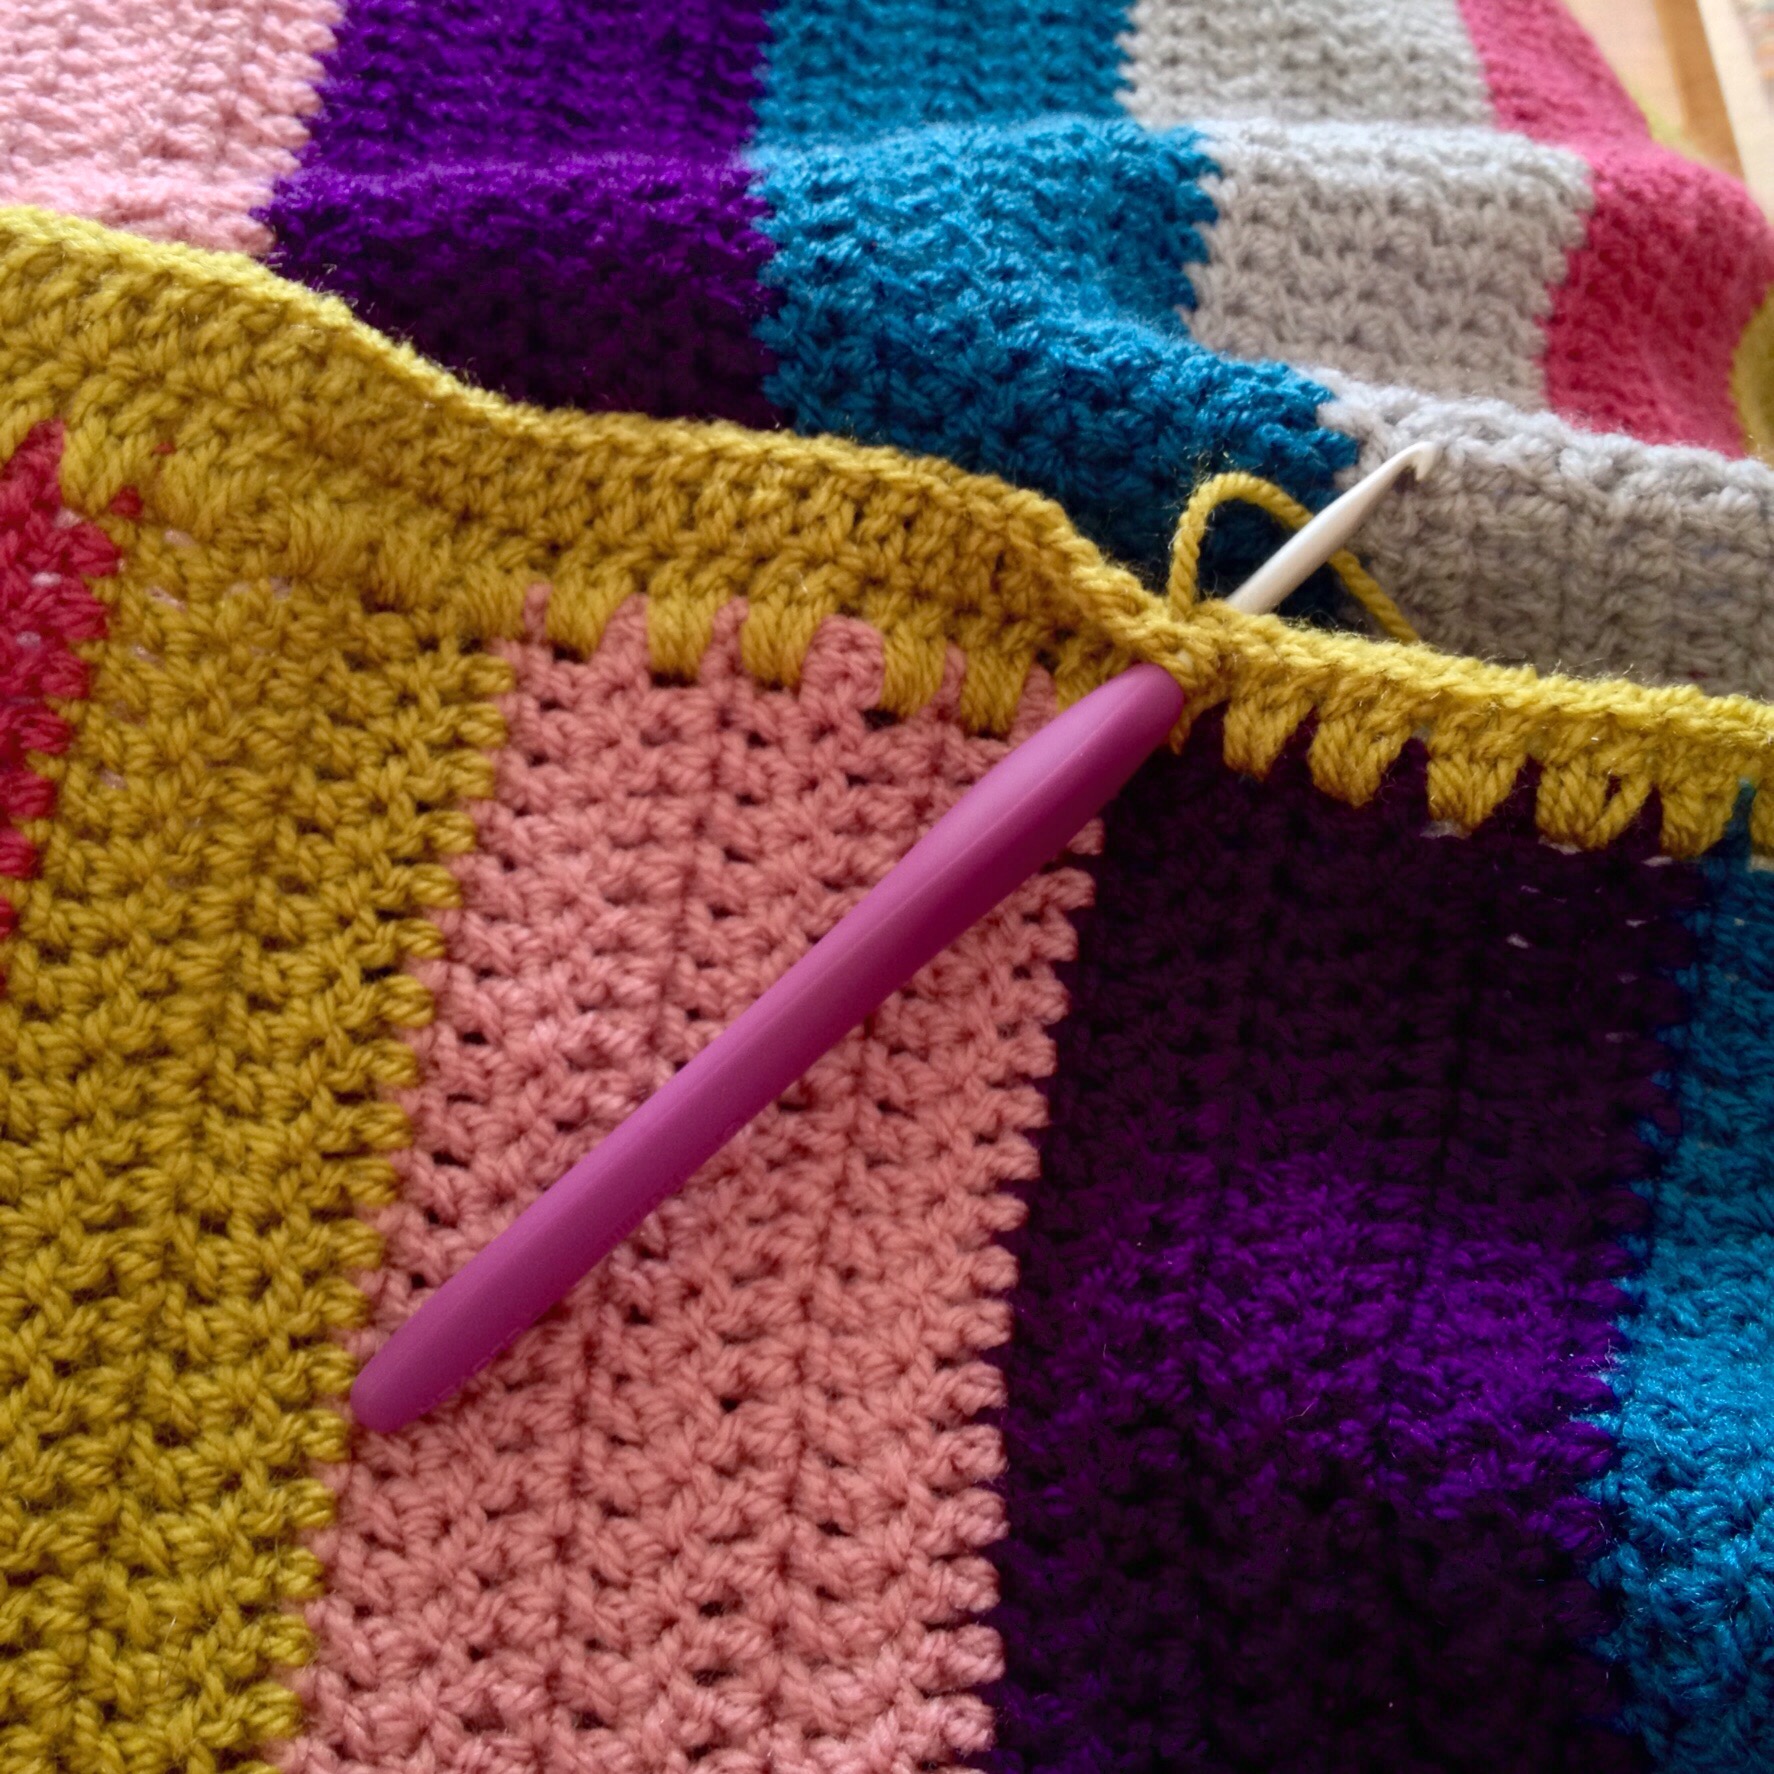
 Showing the back of the border
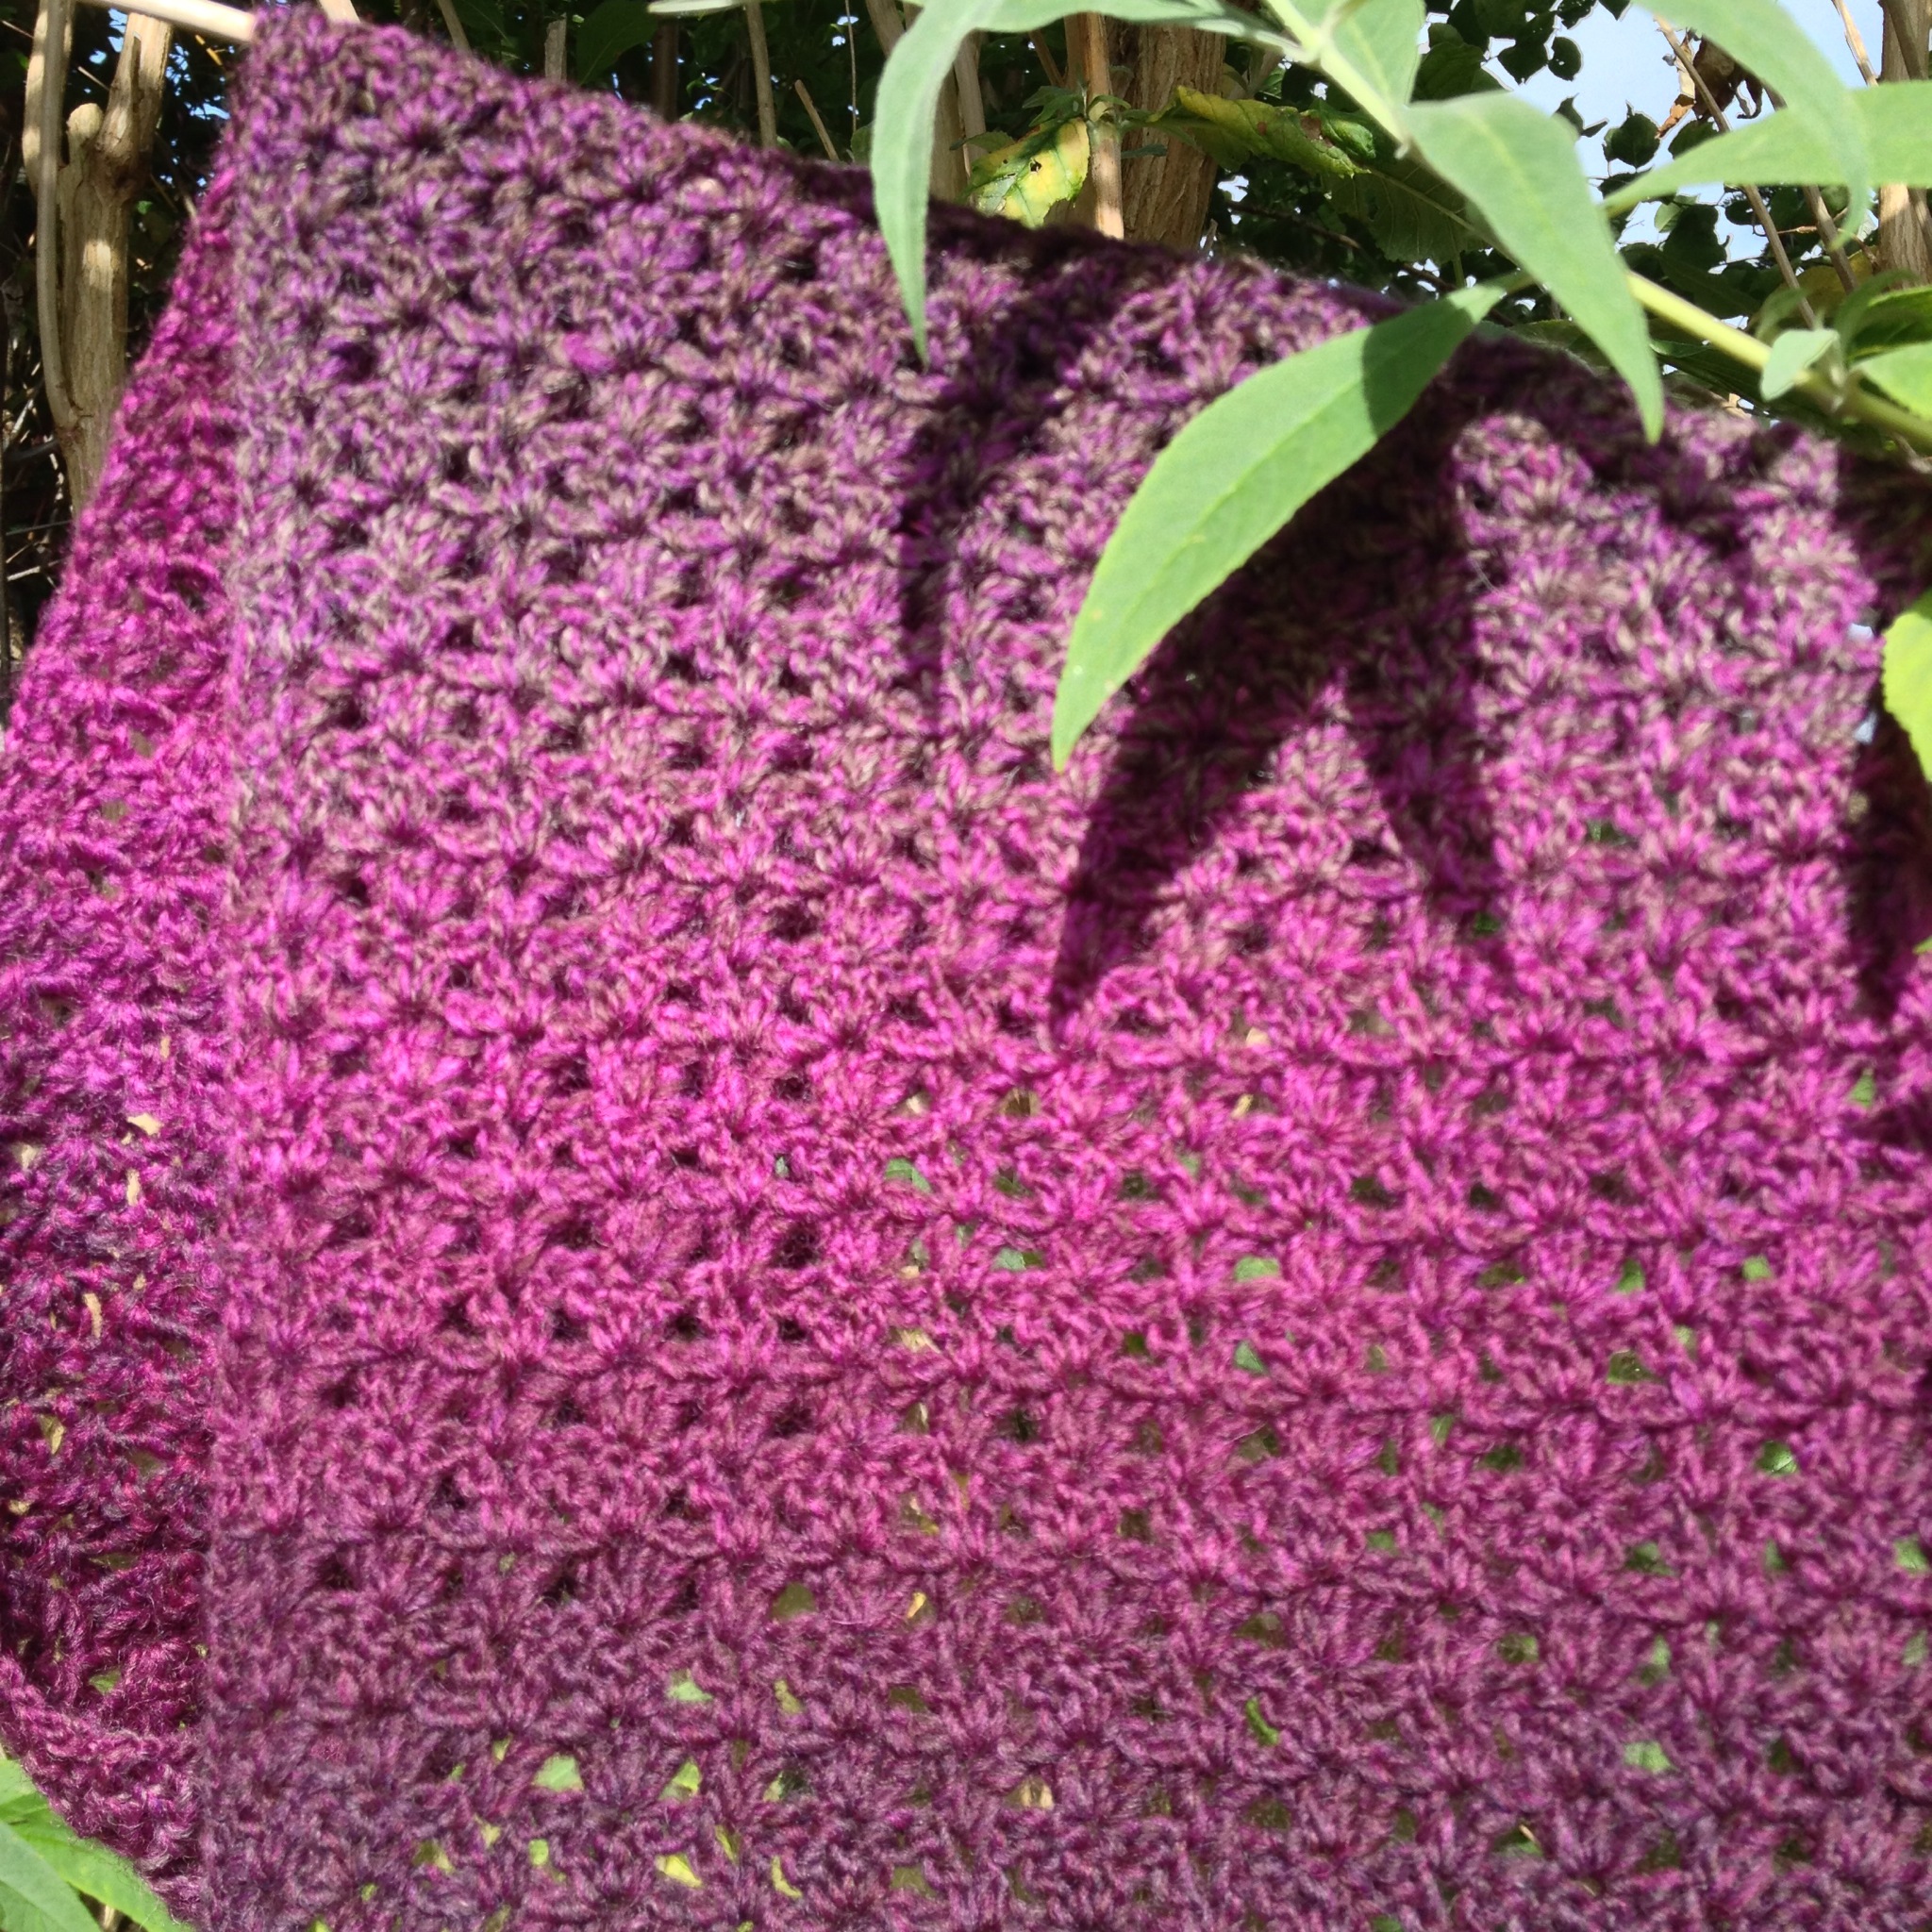
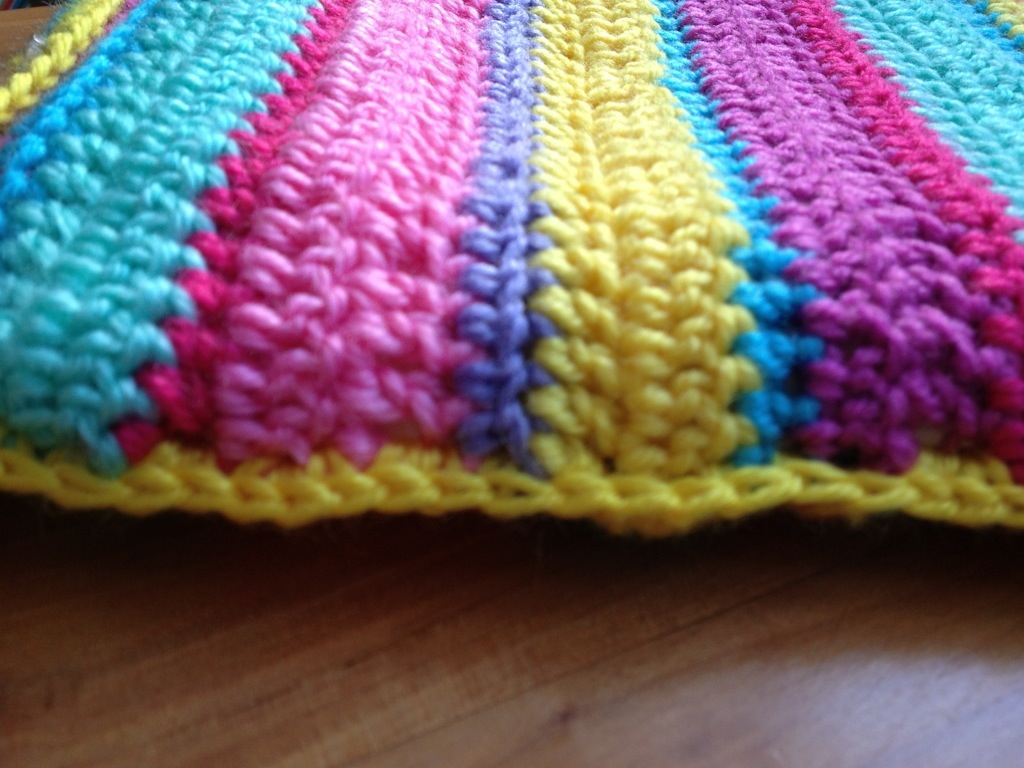
Border: #107 from Around the Corner Crochet Borders by Edie Eckman. It’s lovely and I really like the 3D effect that rounds 2 and 4 give from making dcs into the front loop only. It’s a thick border which goes particularly well with this heavy blanket.
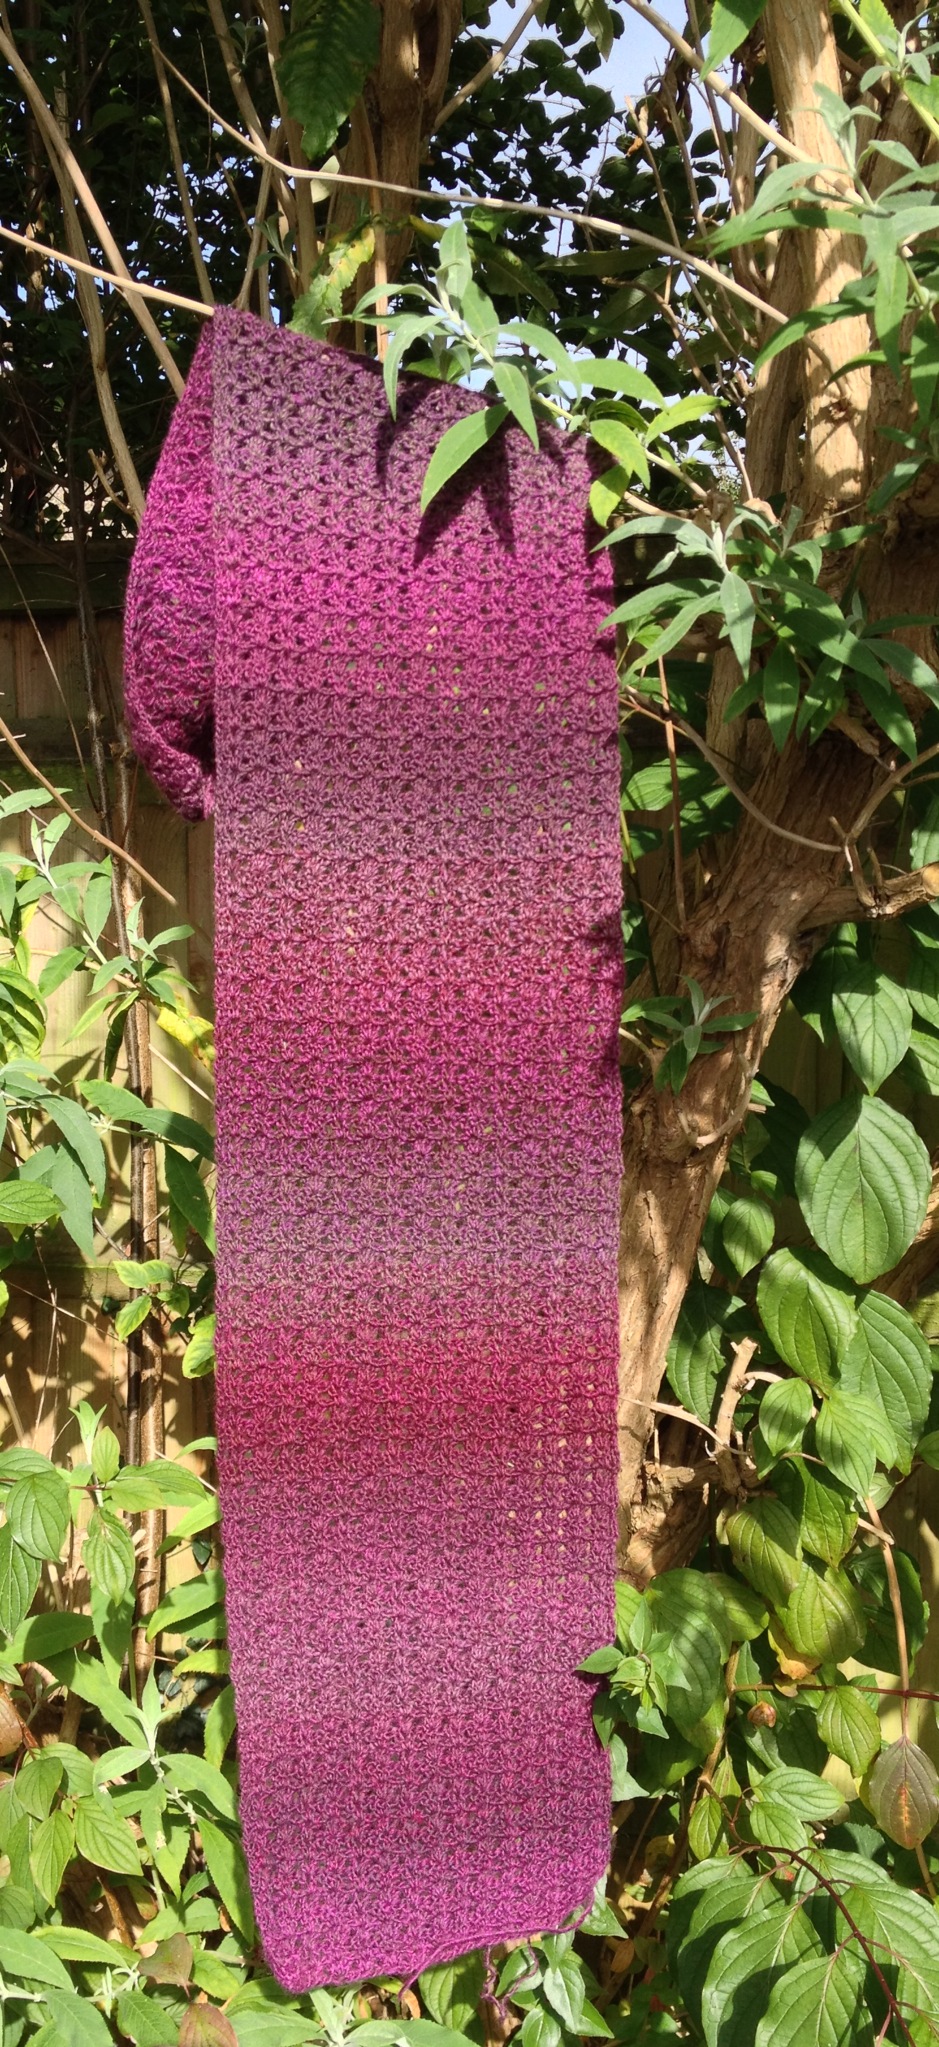
I steam blocked the entire finished blanket, lying it on my foam mats on top of beach towels, blocking two thirds then the last third. Wear SHOES if you do the same, do not block scald your feet!
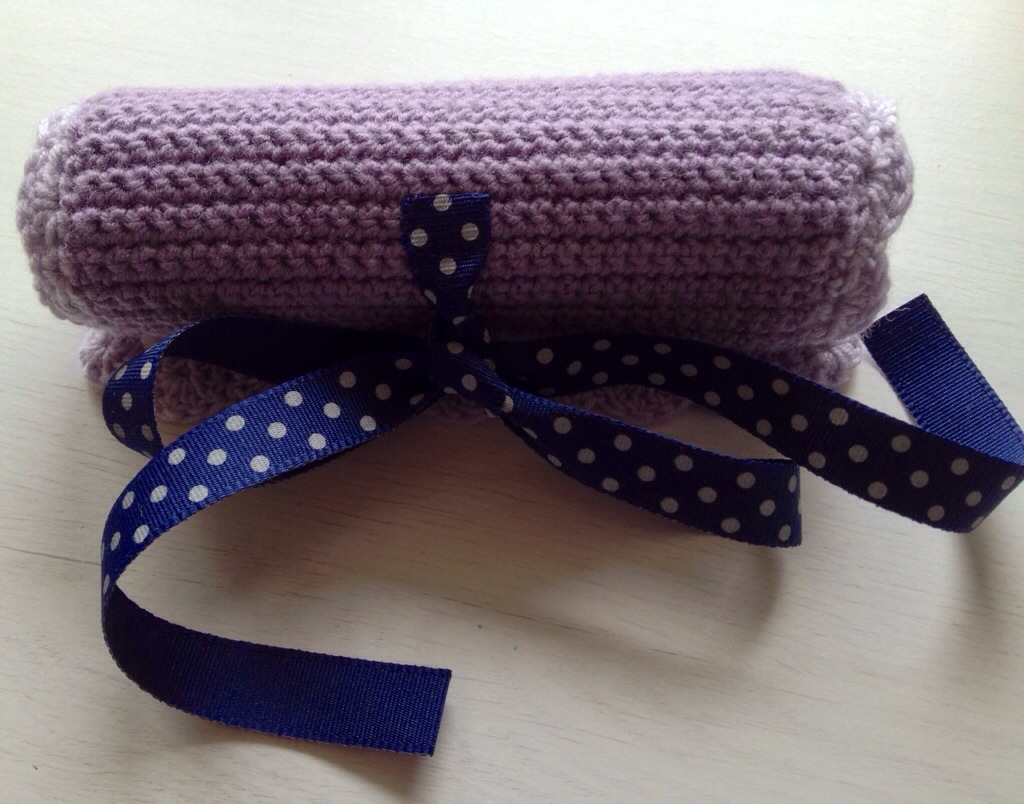
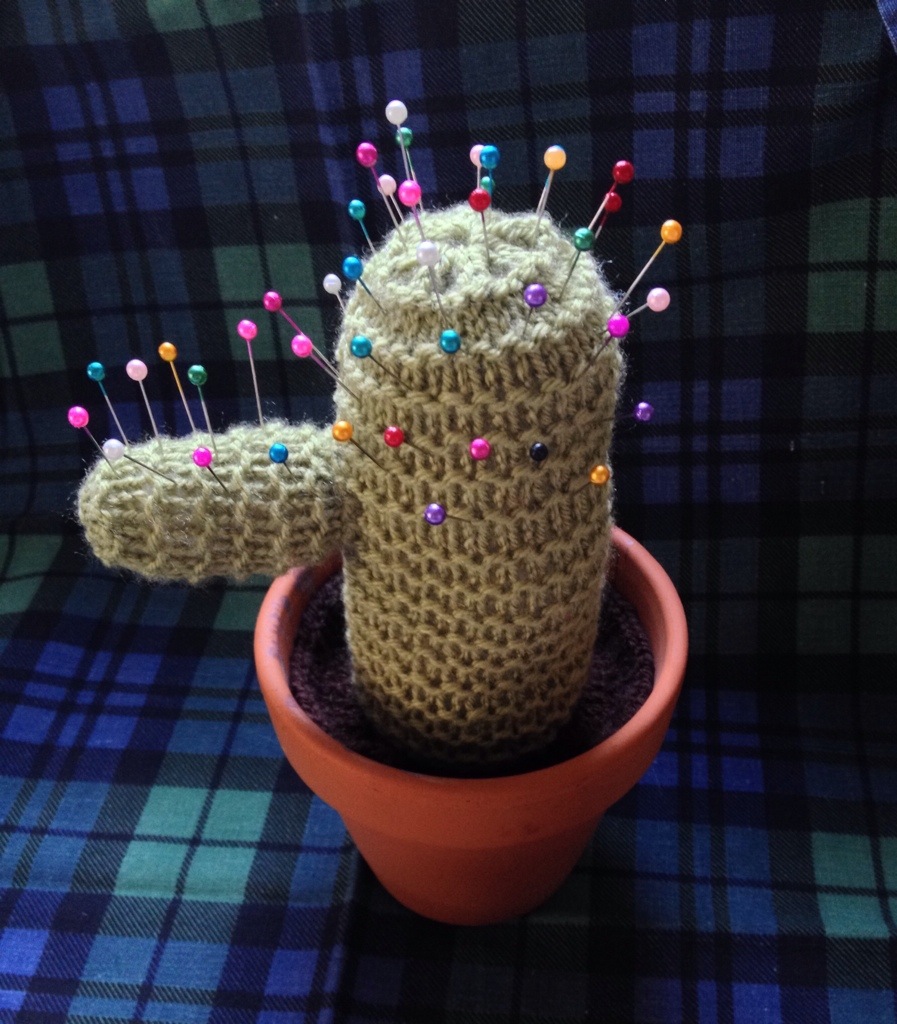
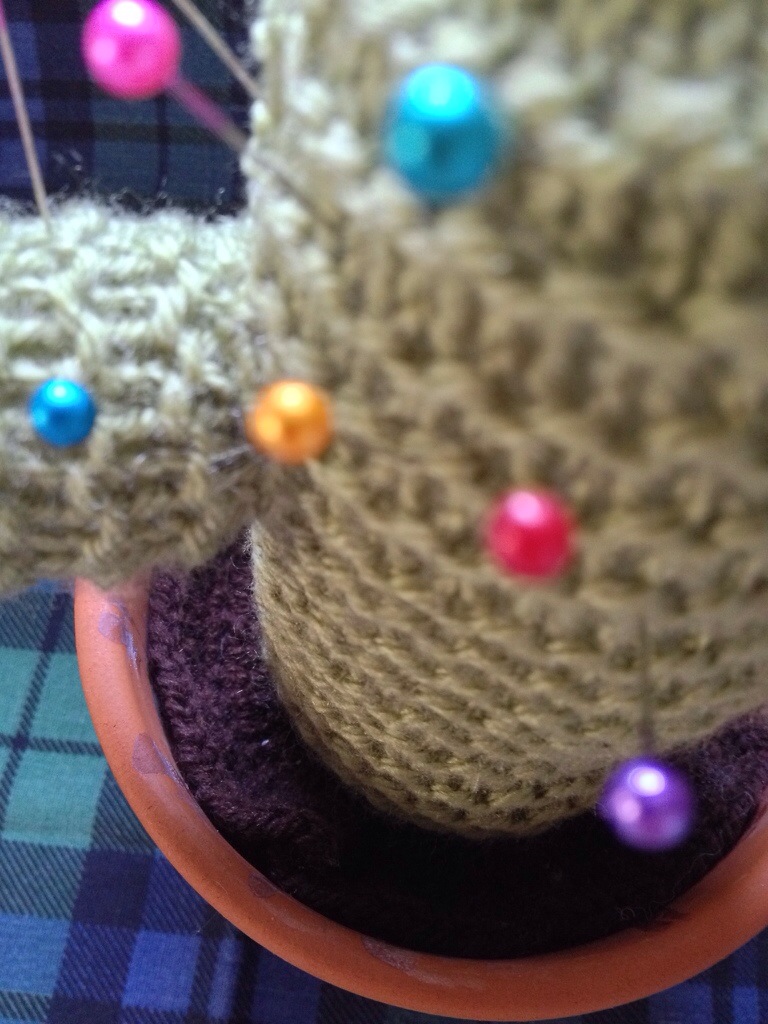
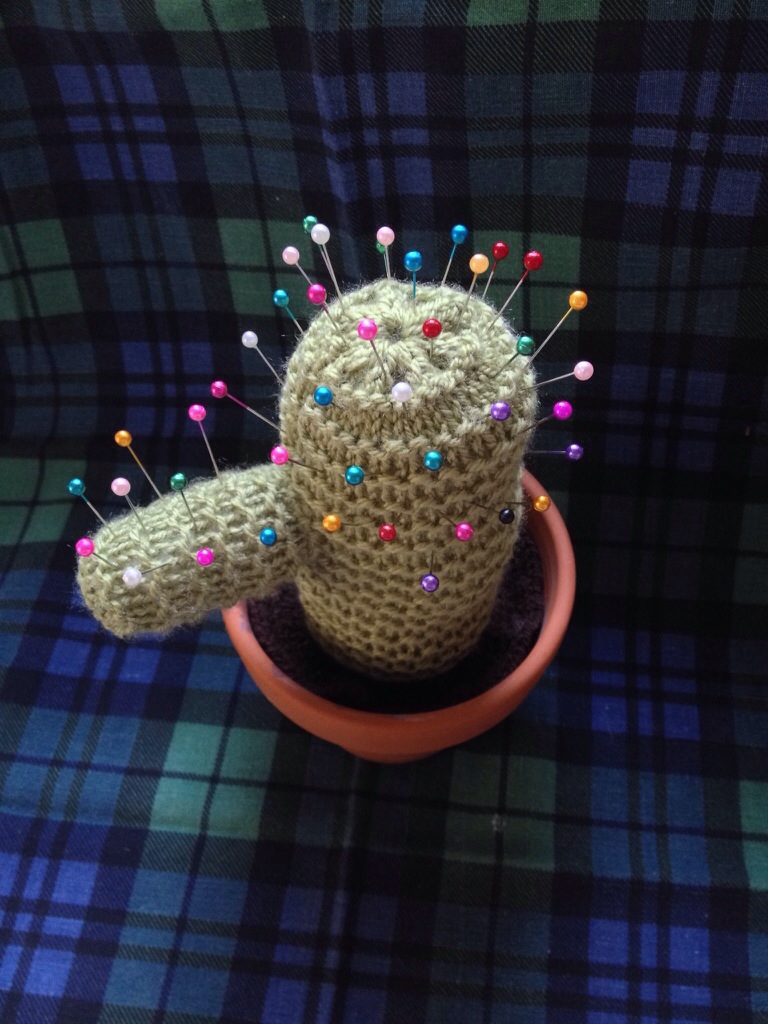
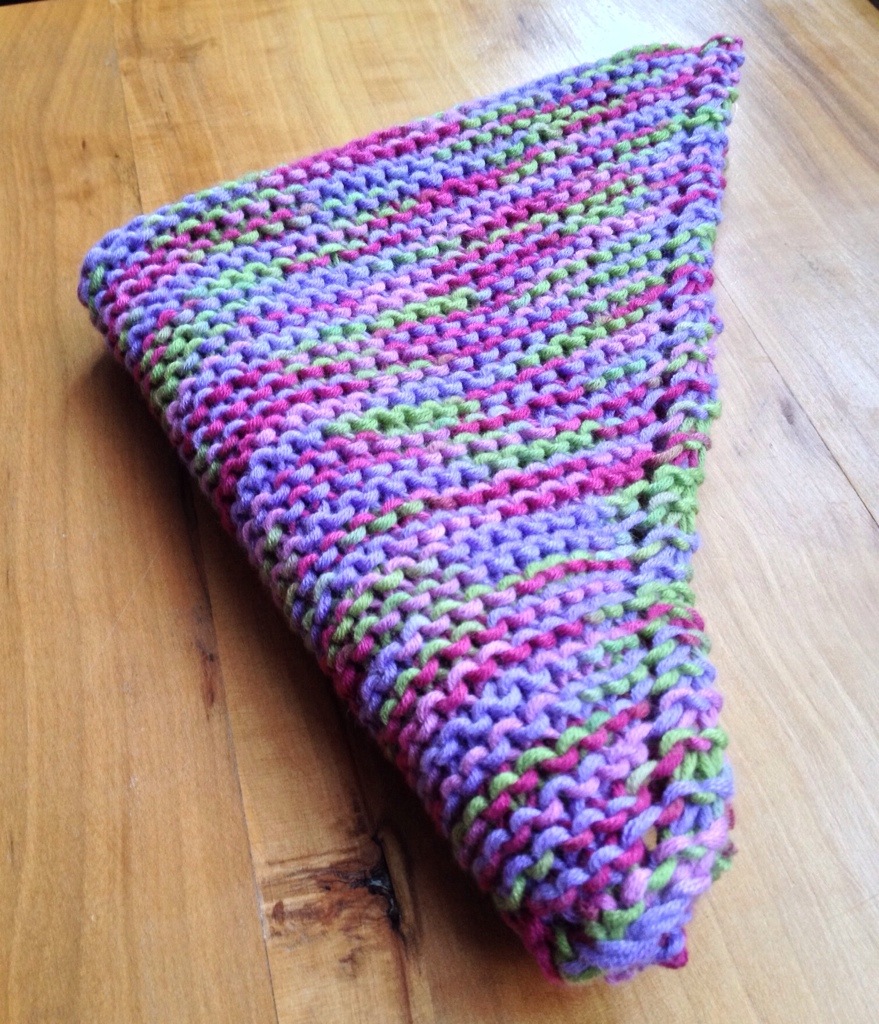
And now I’m crocheting a very small thing…


 I popped in to see Mum with some Butternut & Sweet Potato soup yesterday. I’d made a huge pan-full, but as I’m the only one who eats BNS or SP I thought it would be good to share, or I’d never want to eat it again after litres of the stuff. Barty was savaging a ball he was given for Christmas. He is funny; as I’ve said I don’t think he was given balls to play with when he was a kitten, so he doesn’t play ping pong like other cats we’ve had. I’ve tried to model batting it back and forth with my
 I just started reading
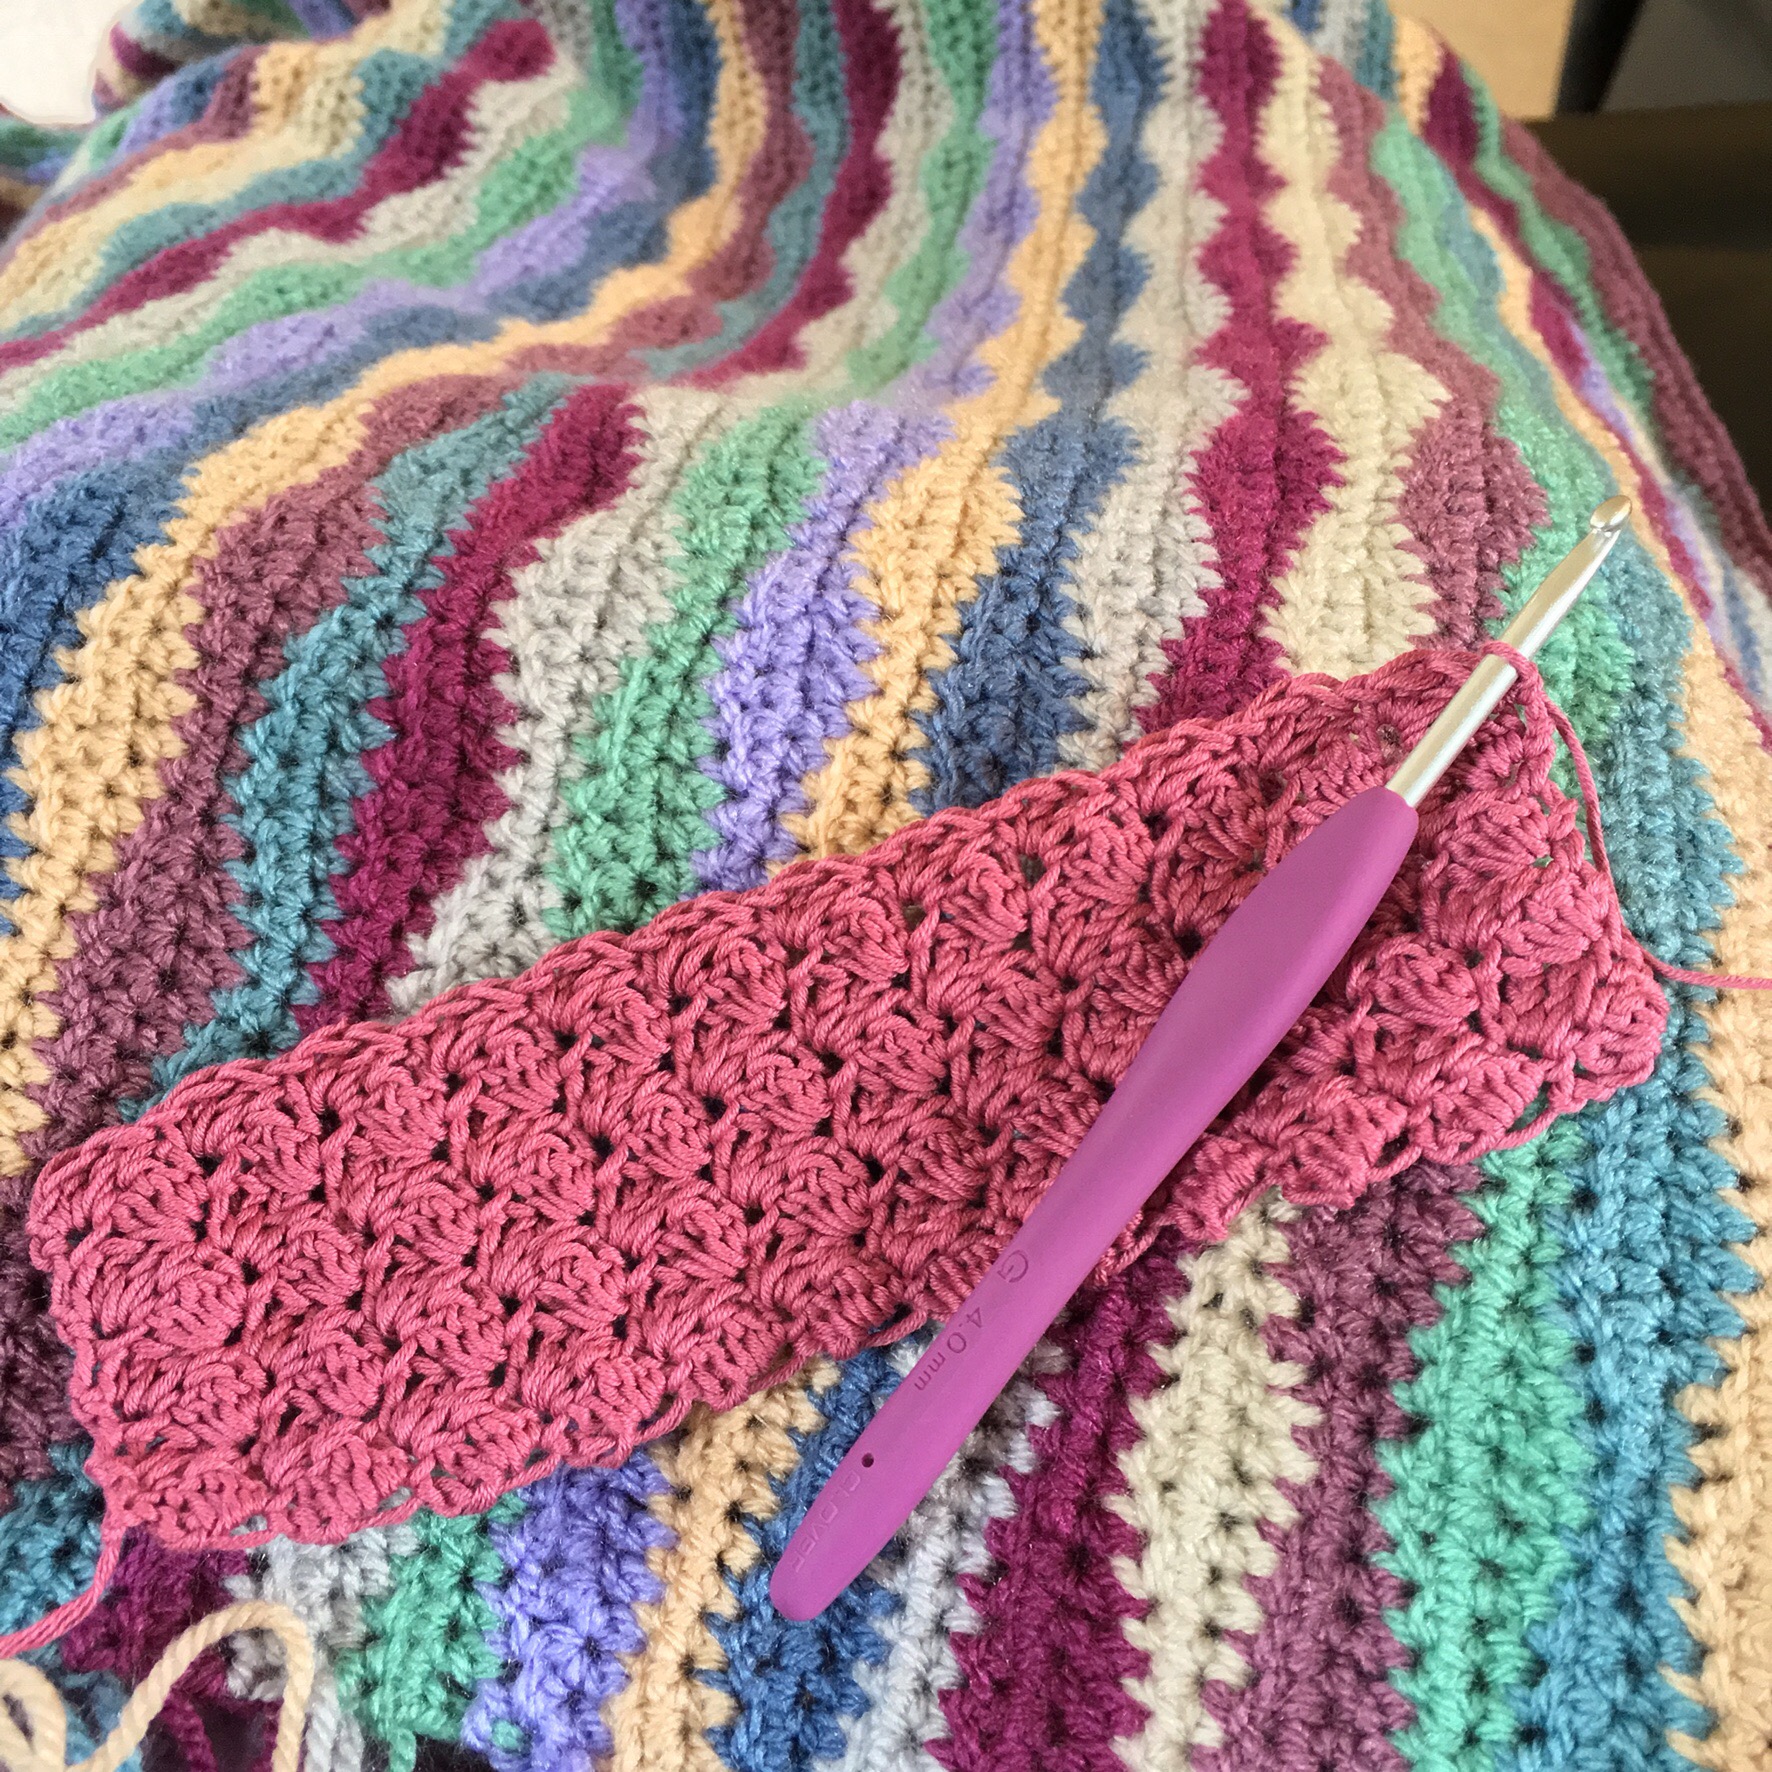


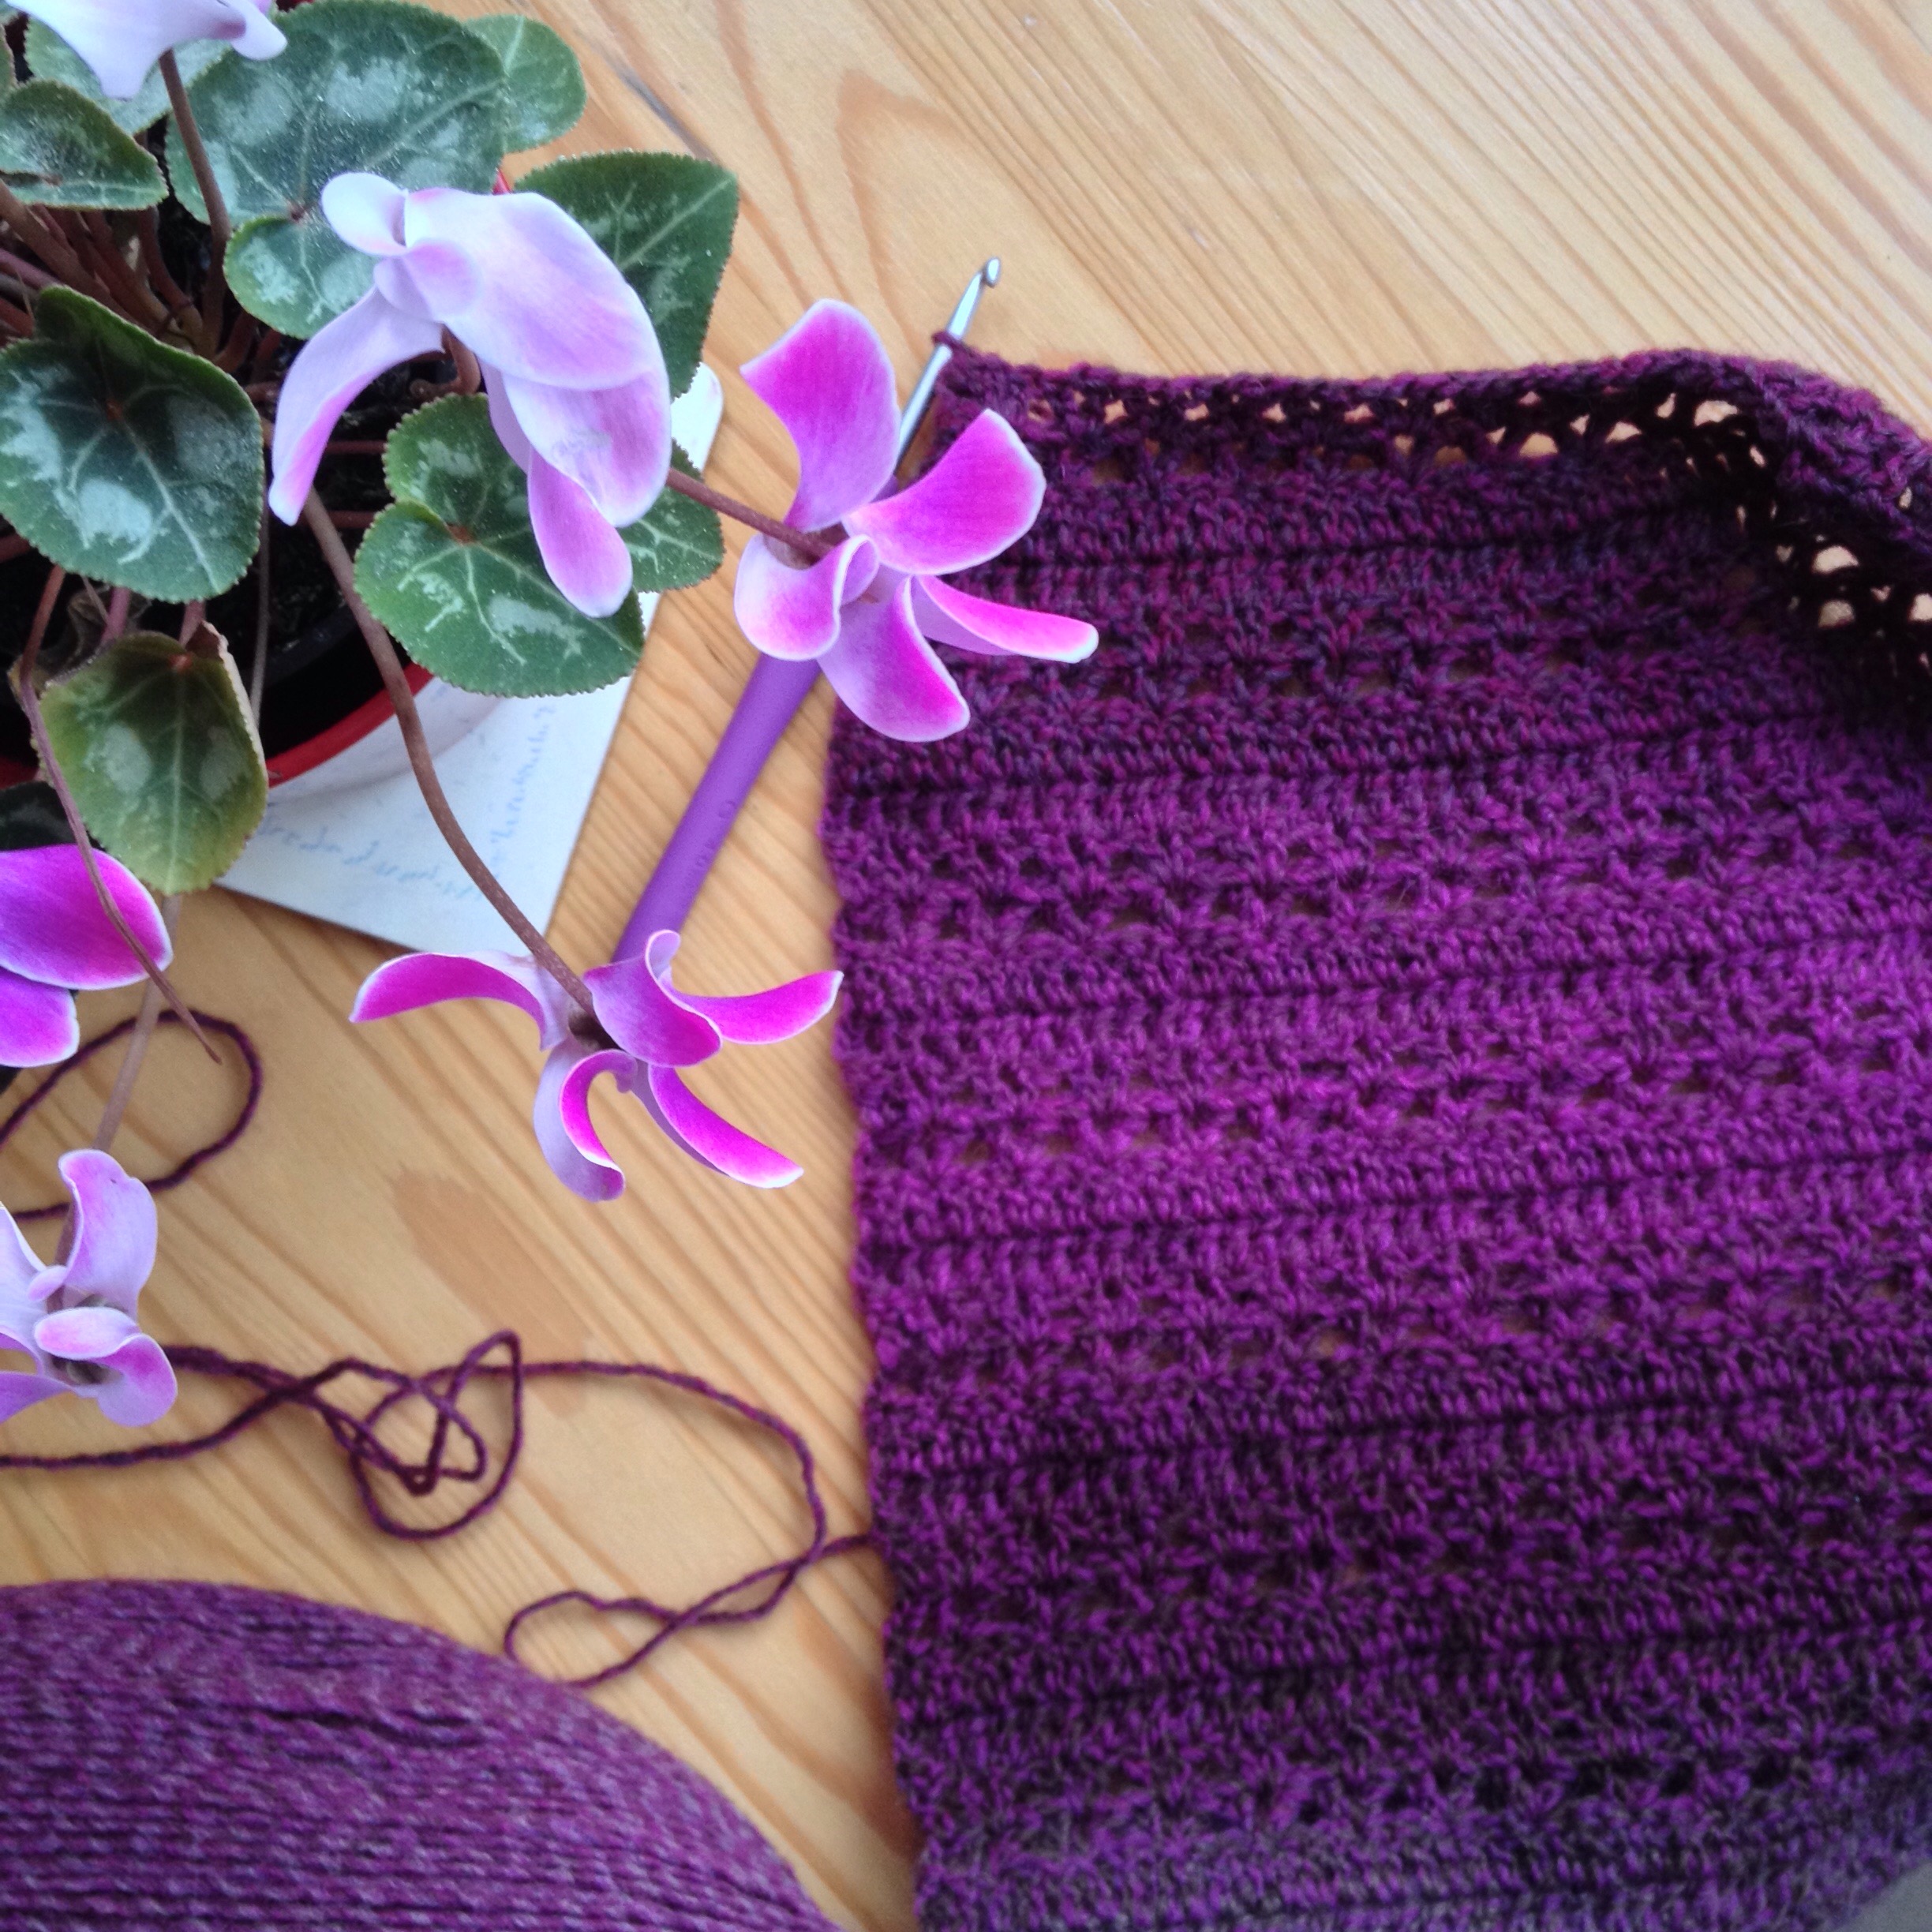


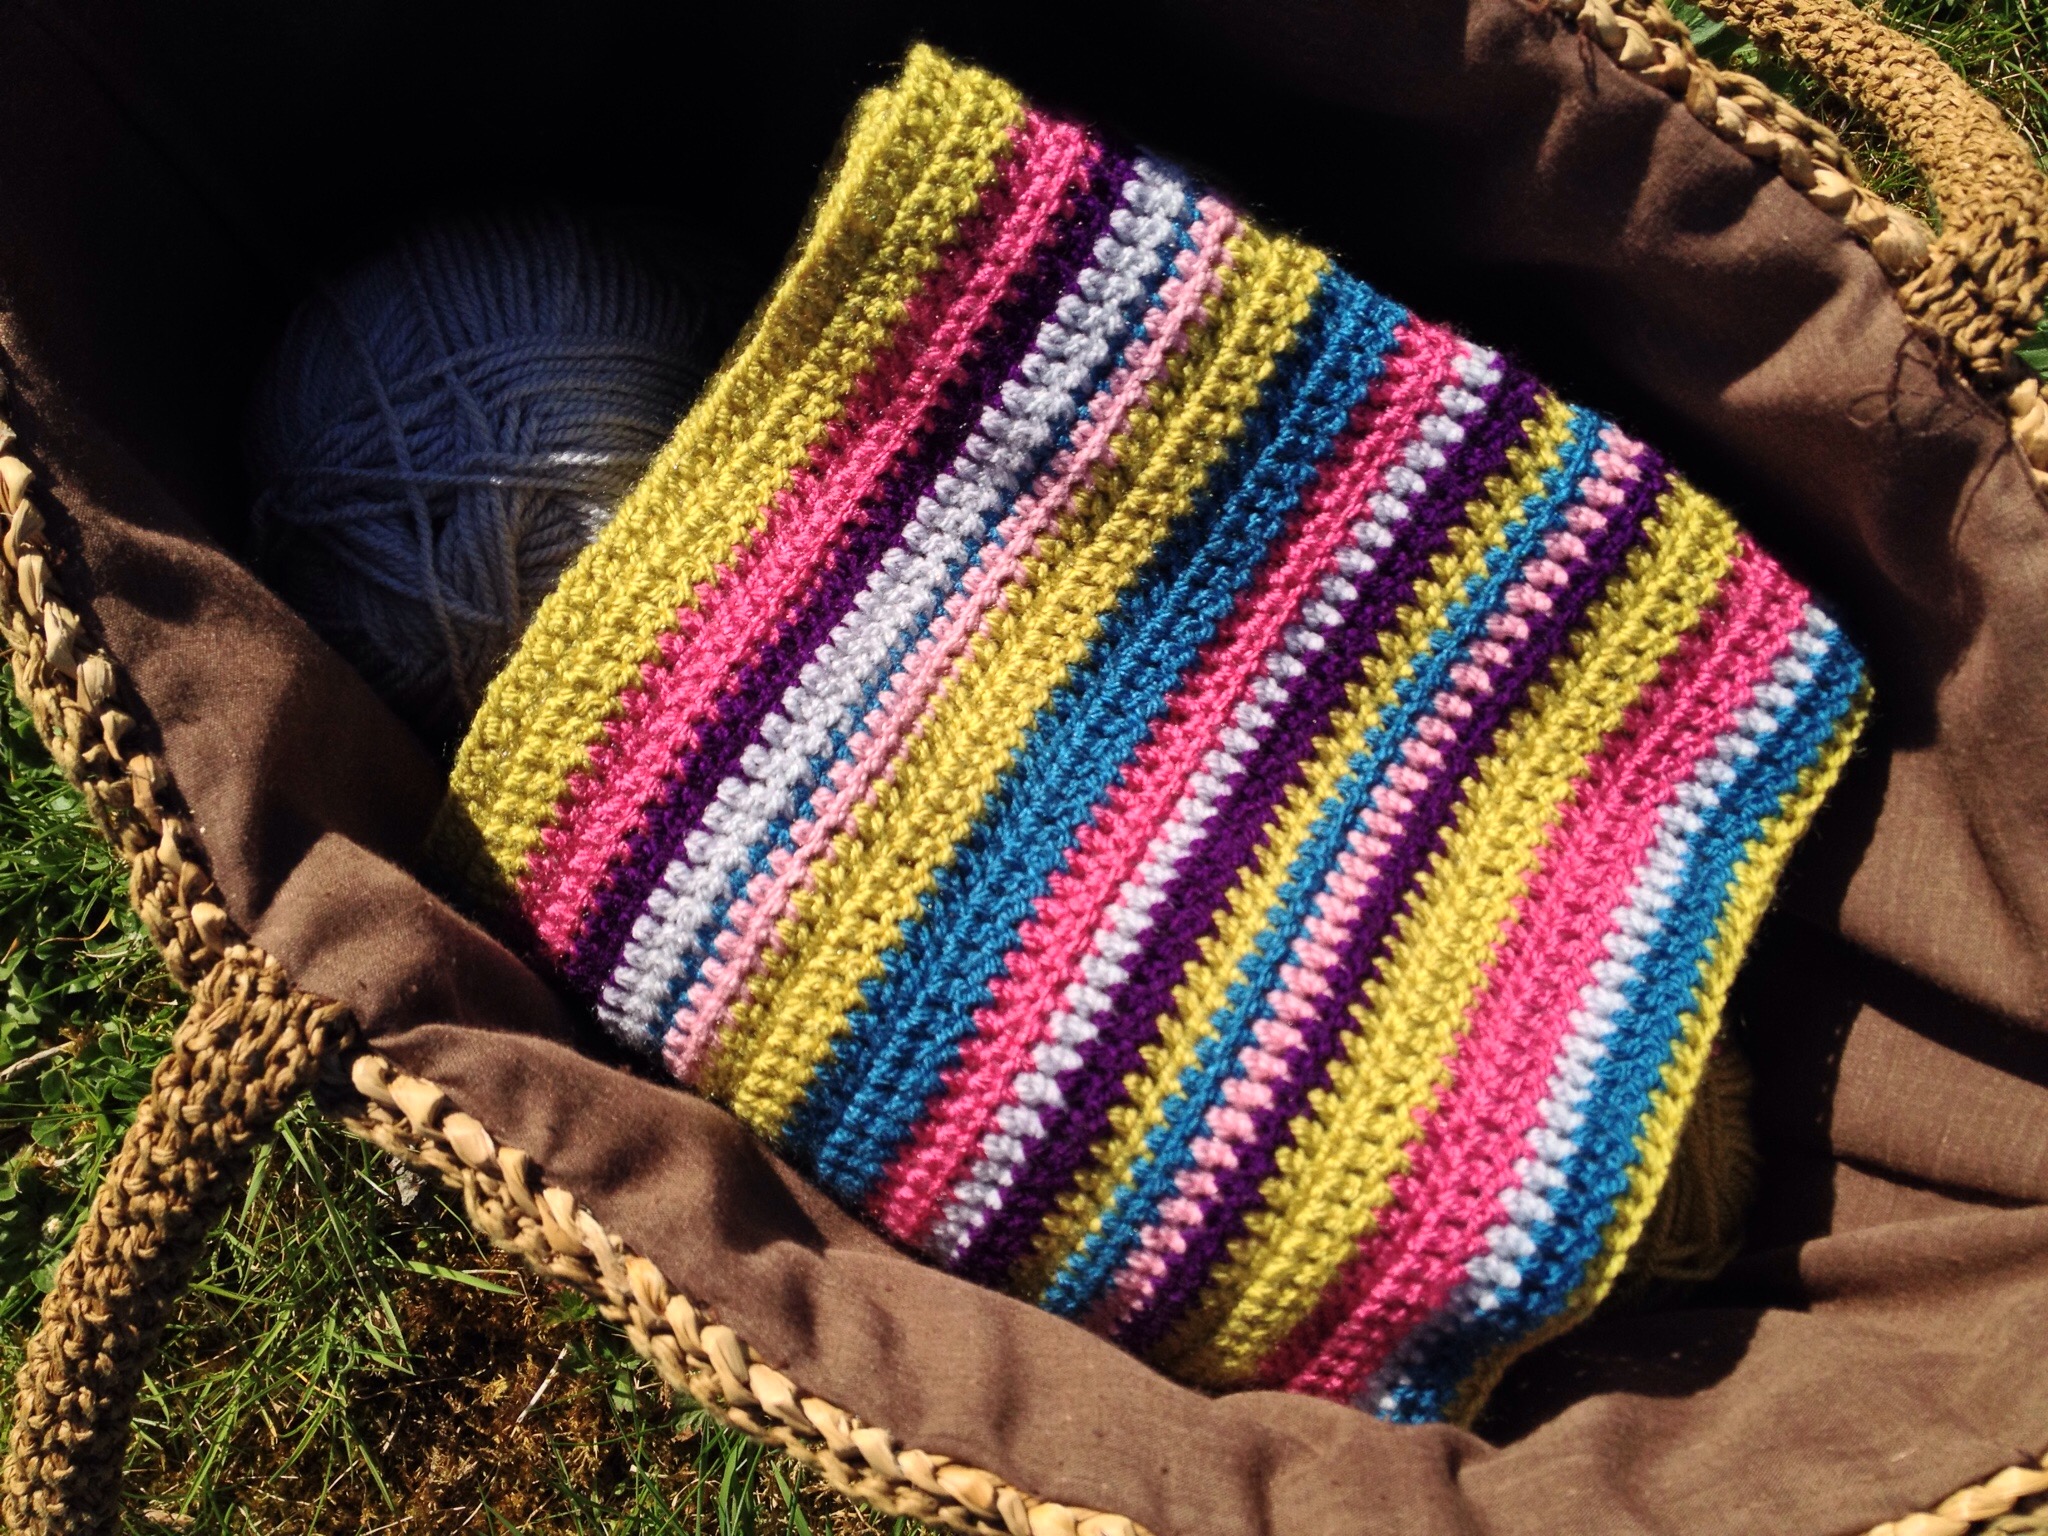
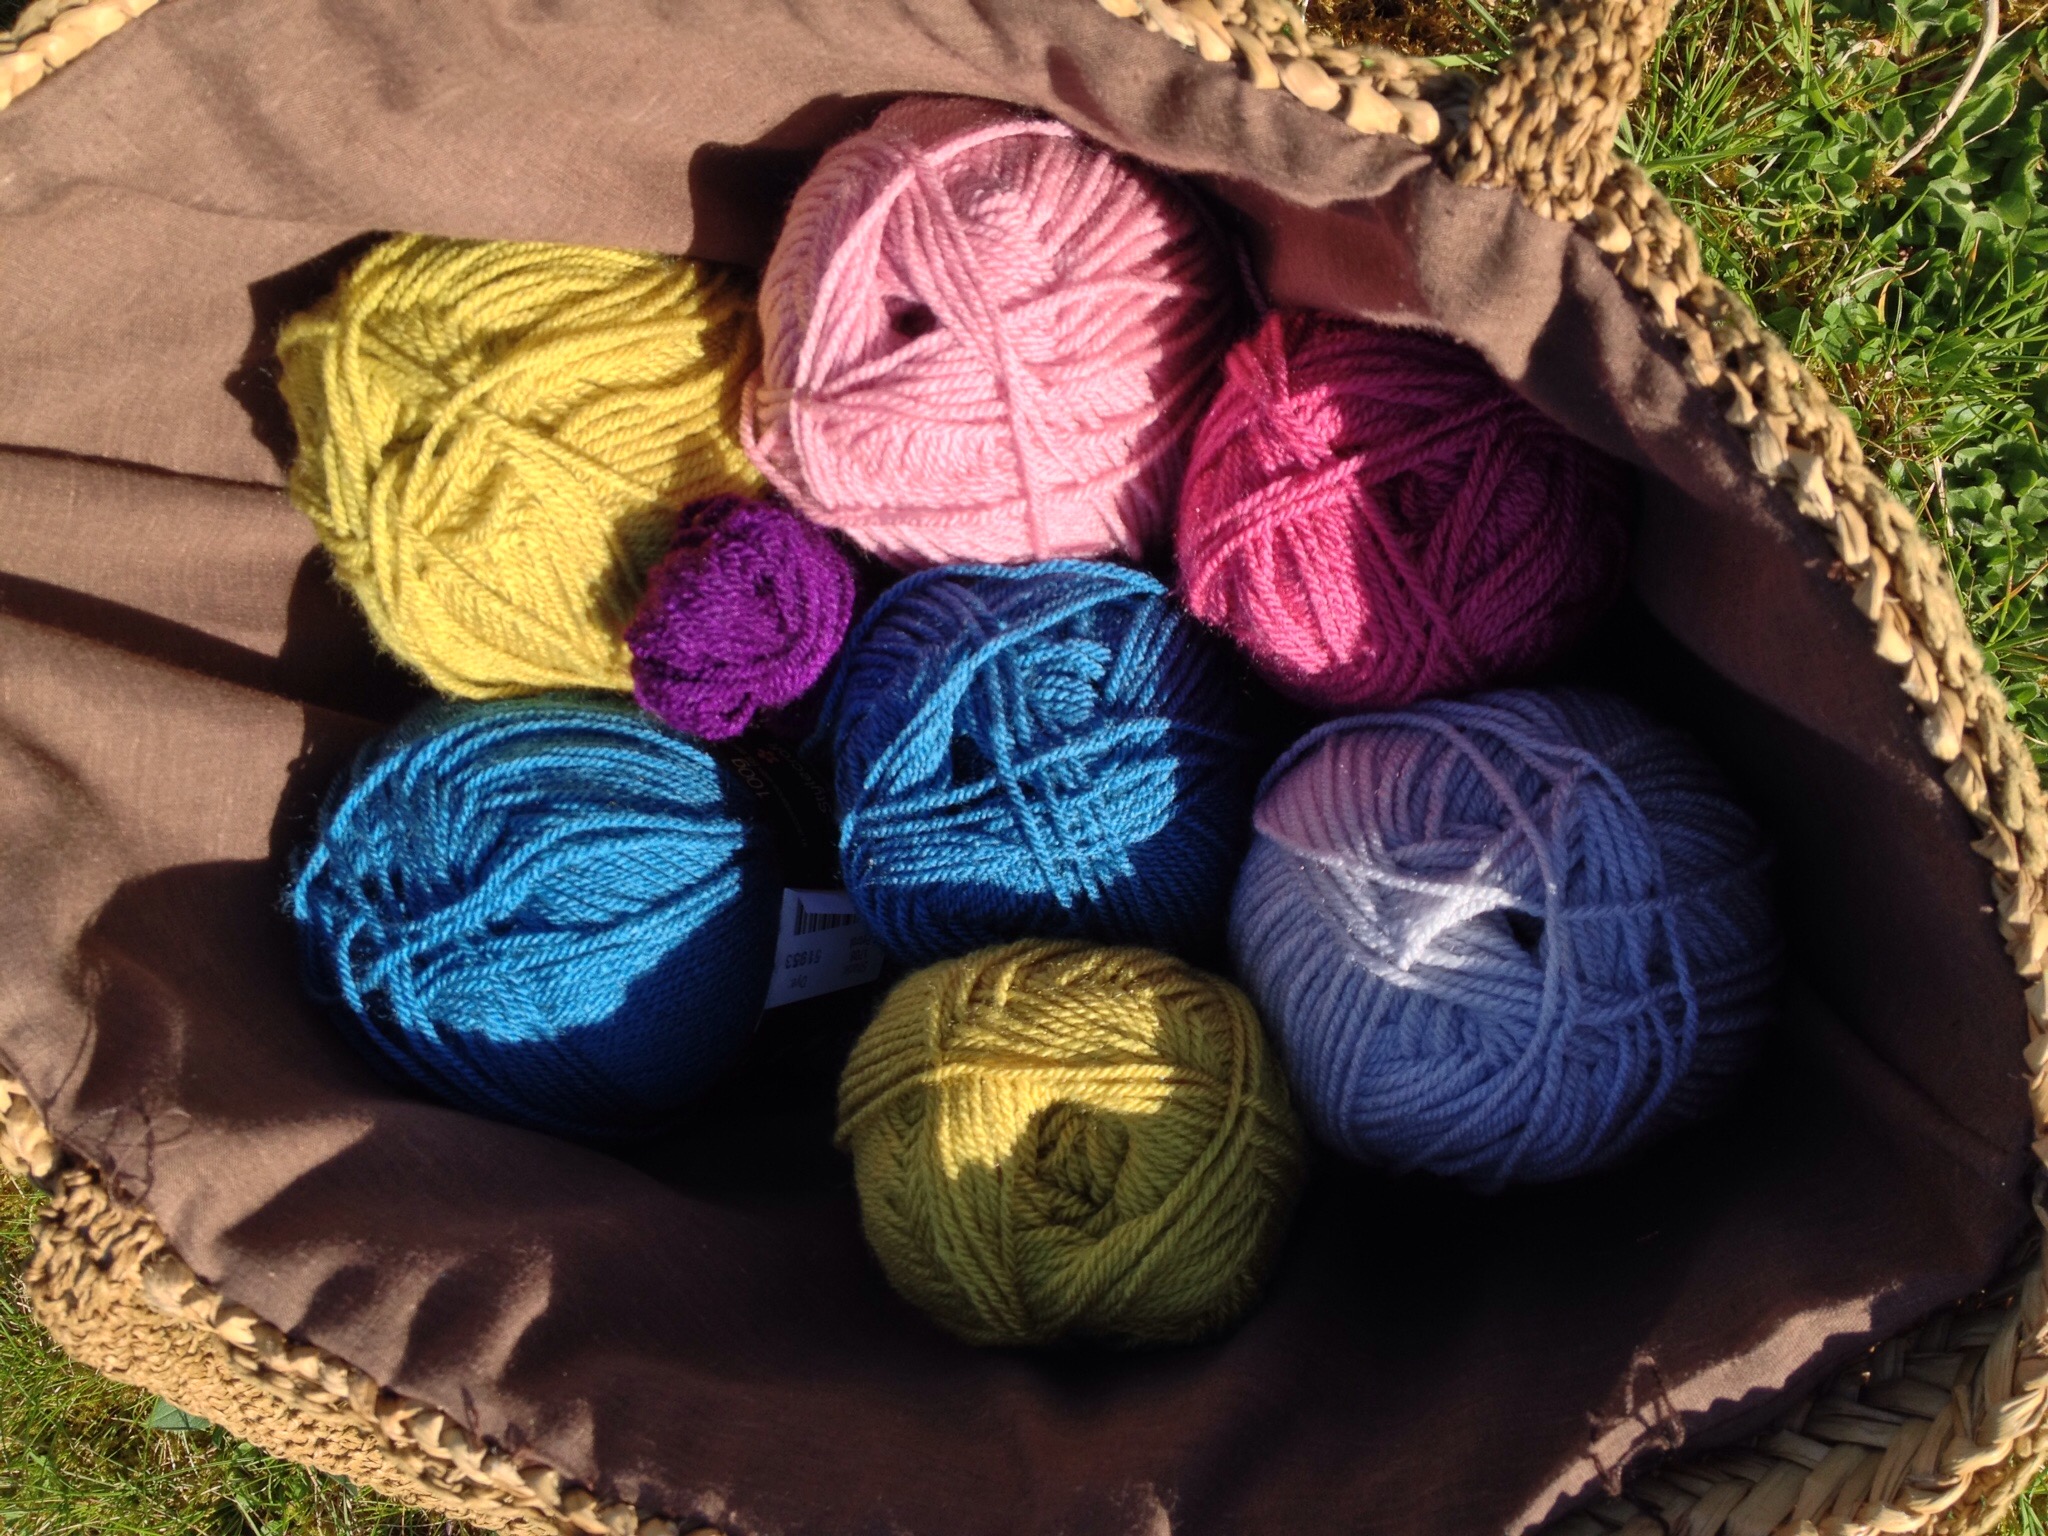
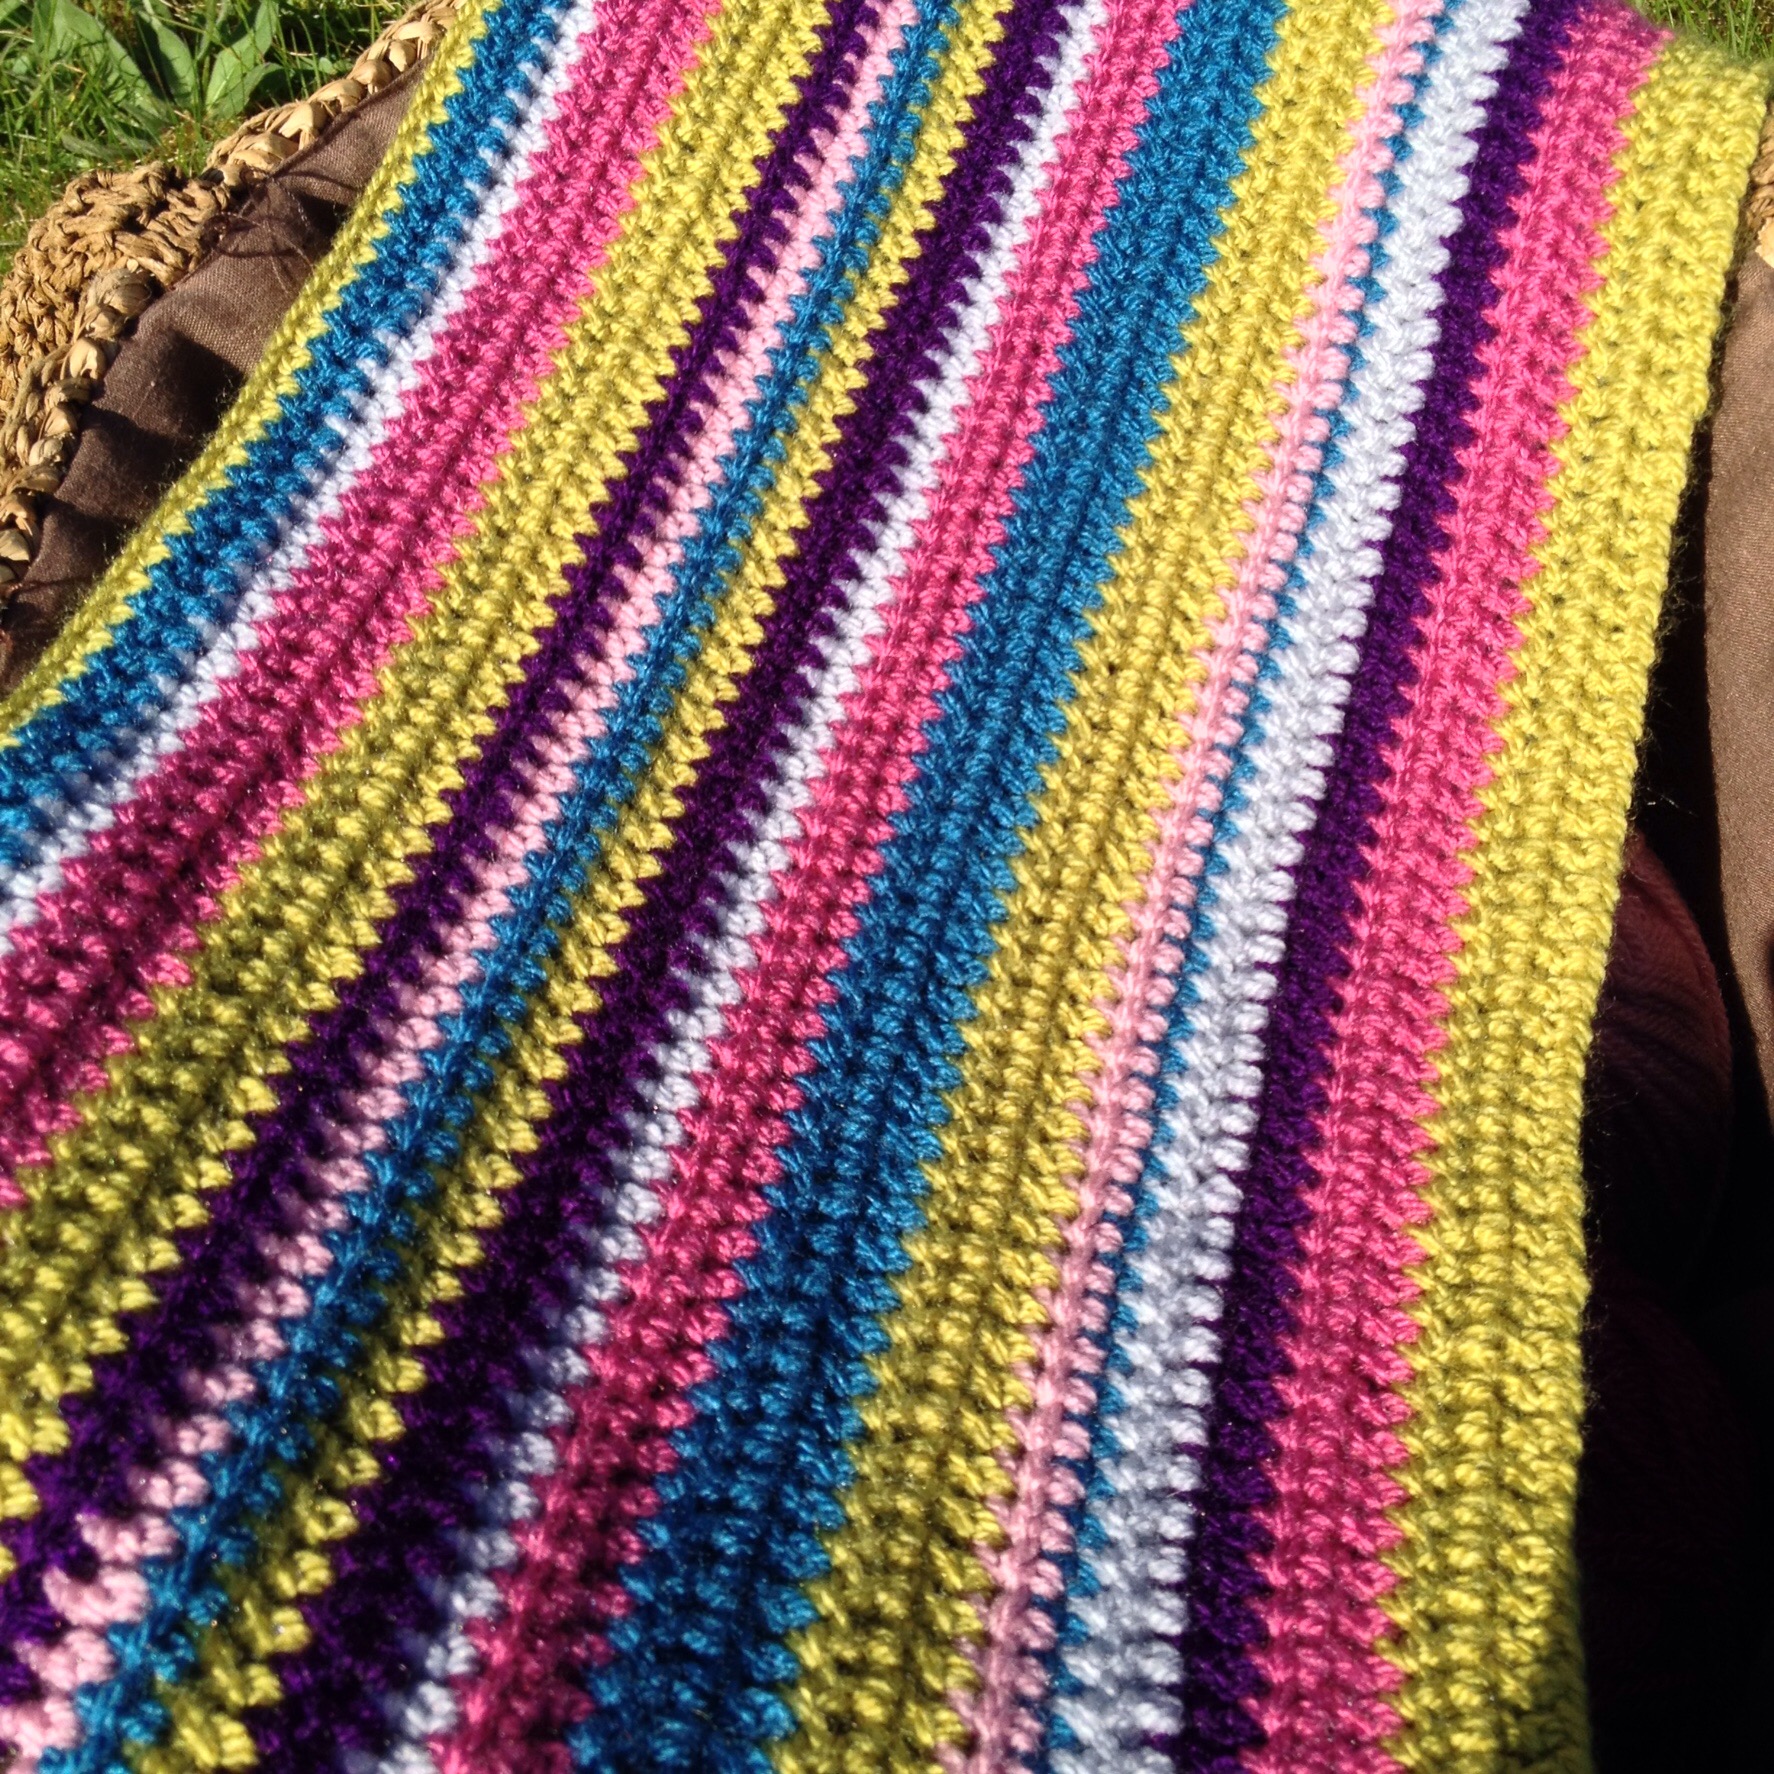
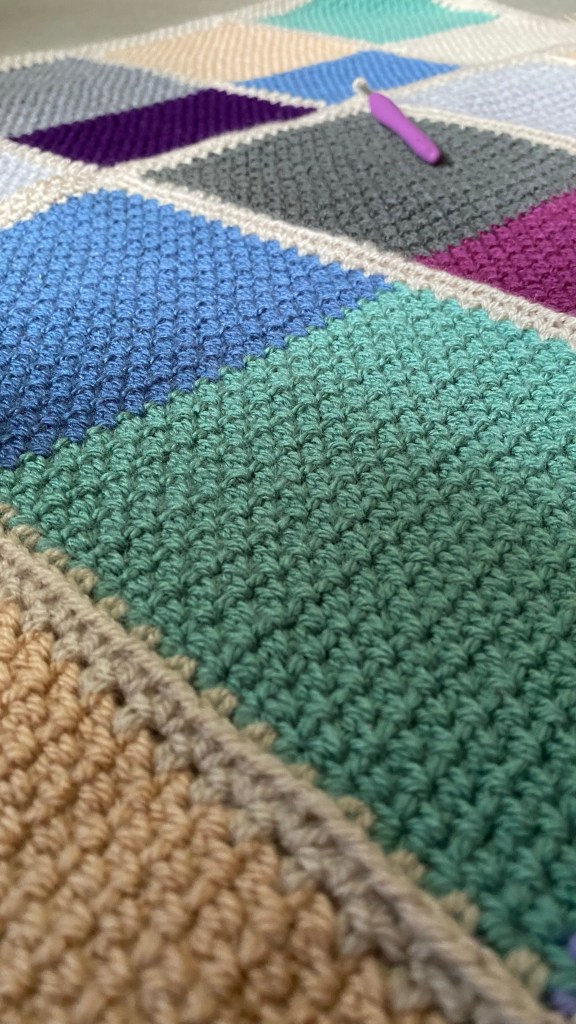
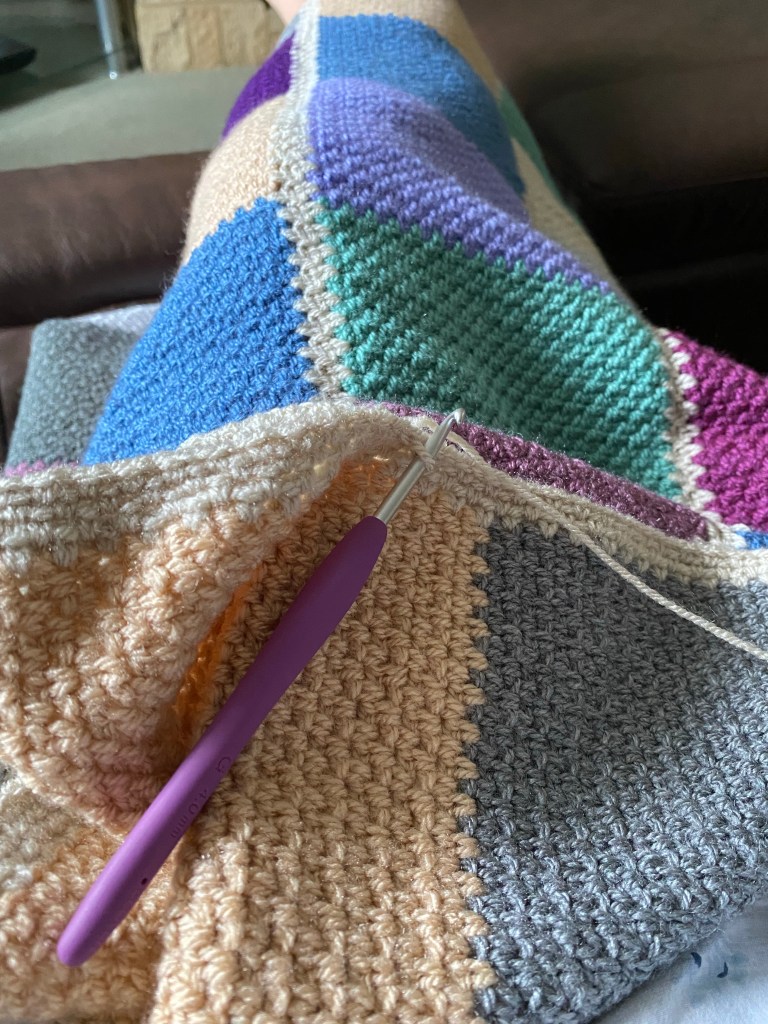
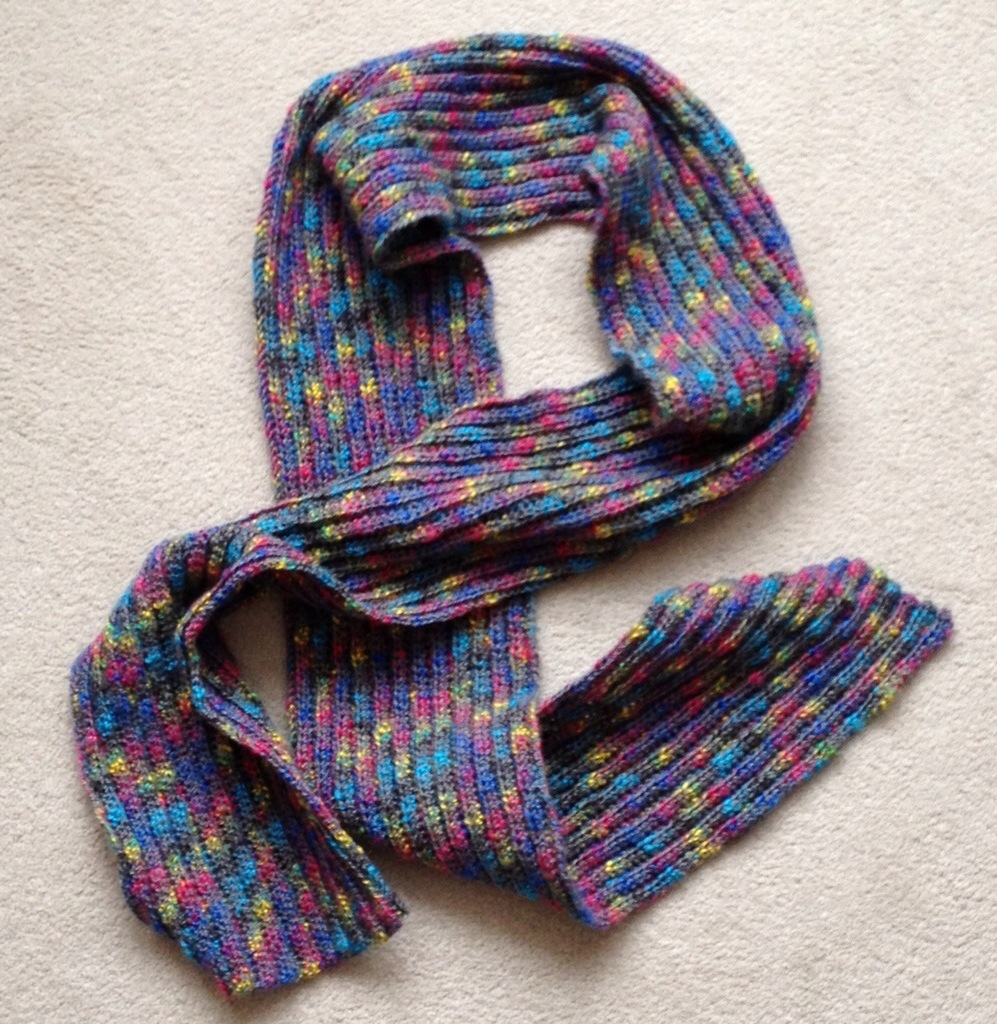
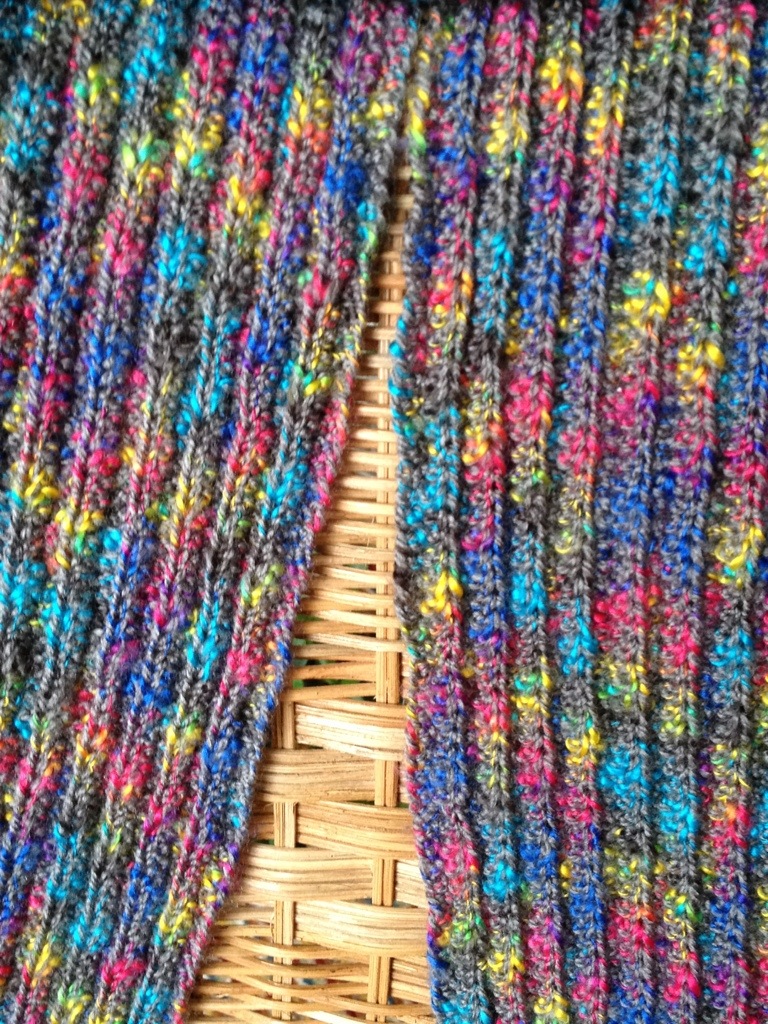
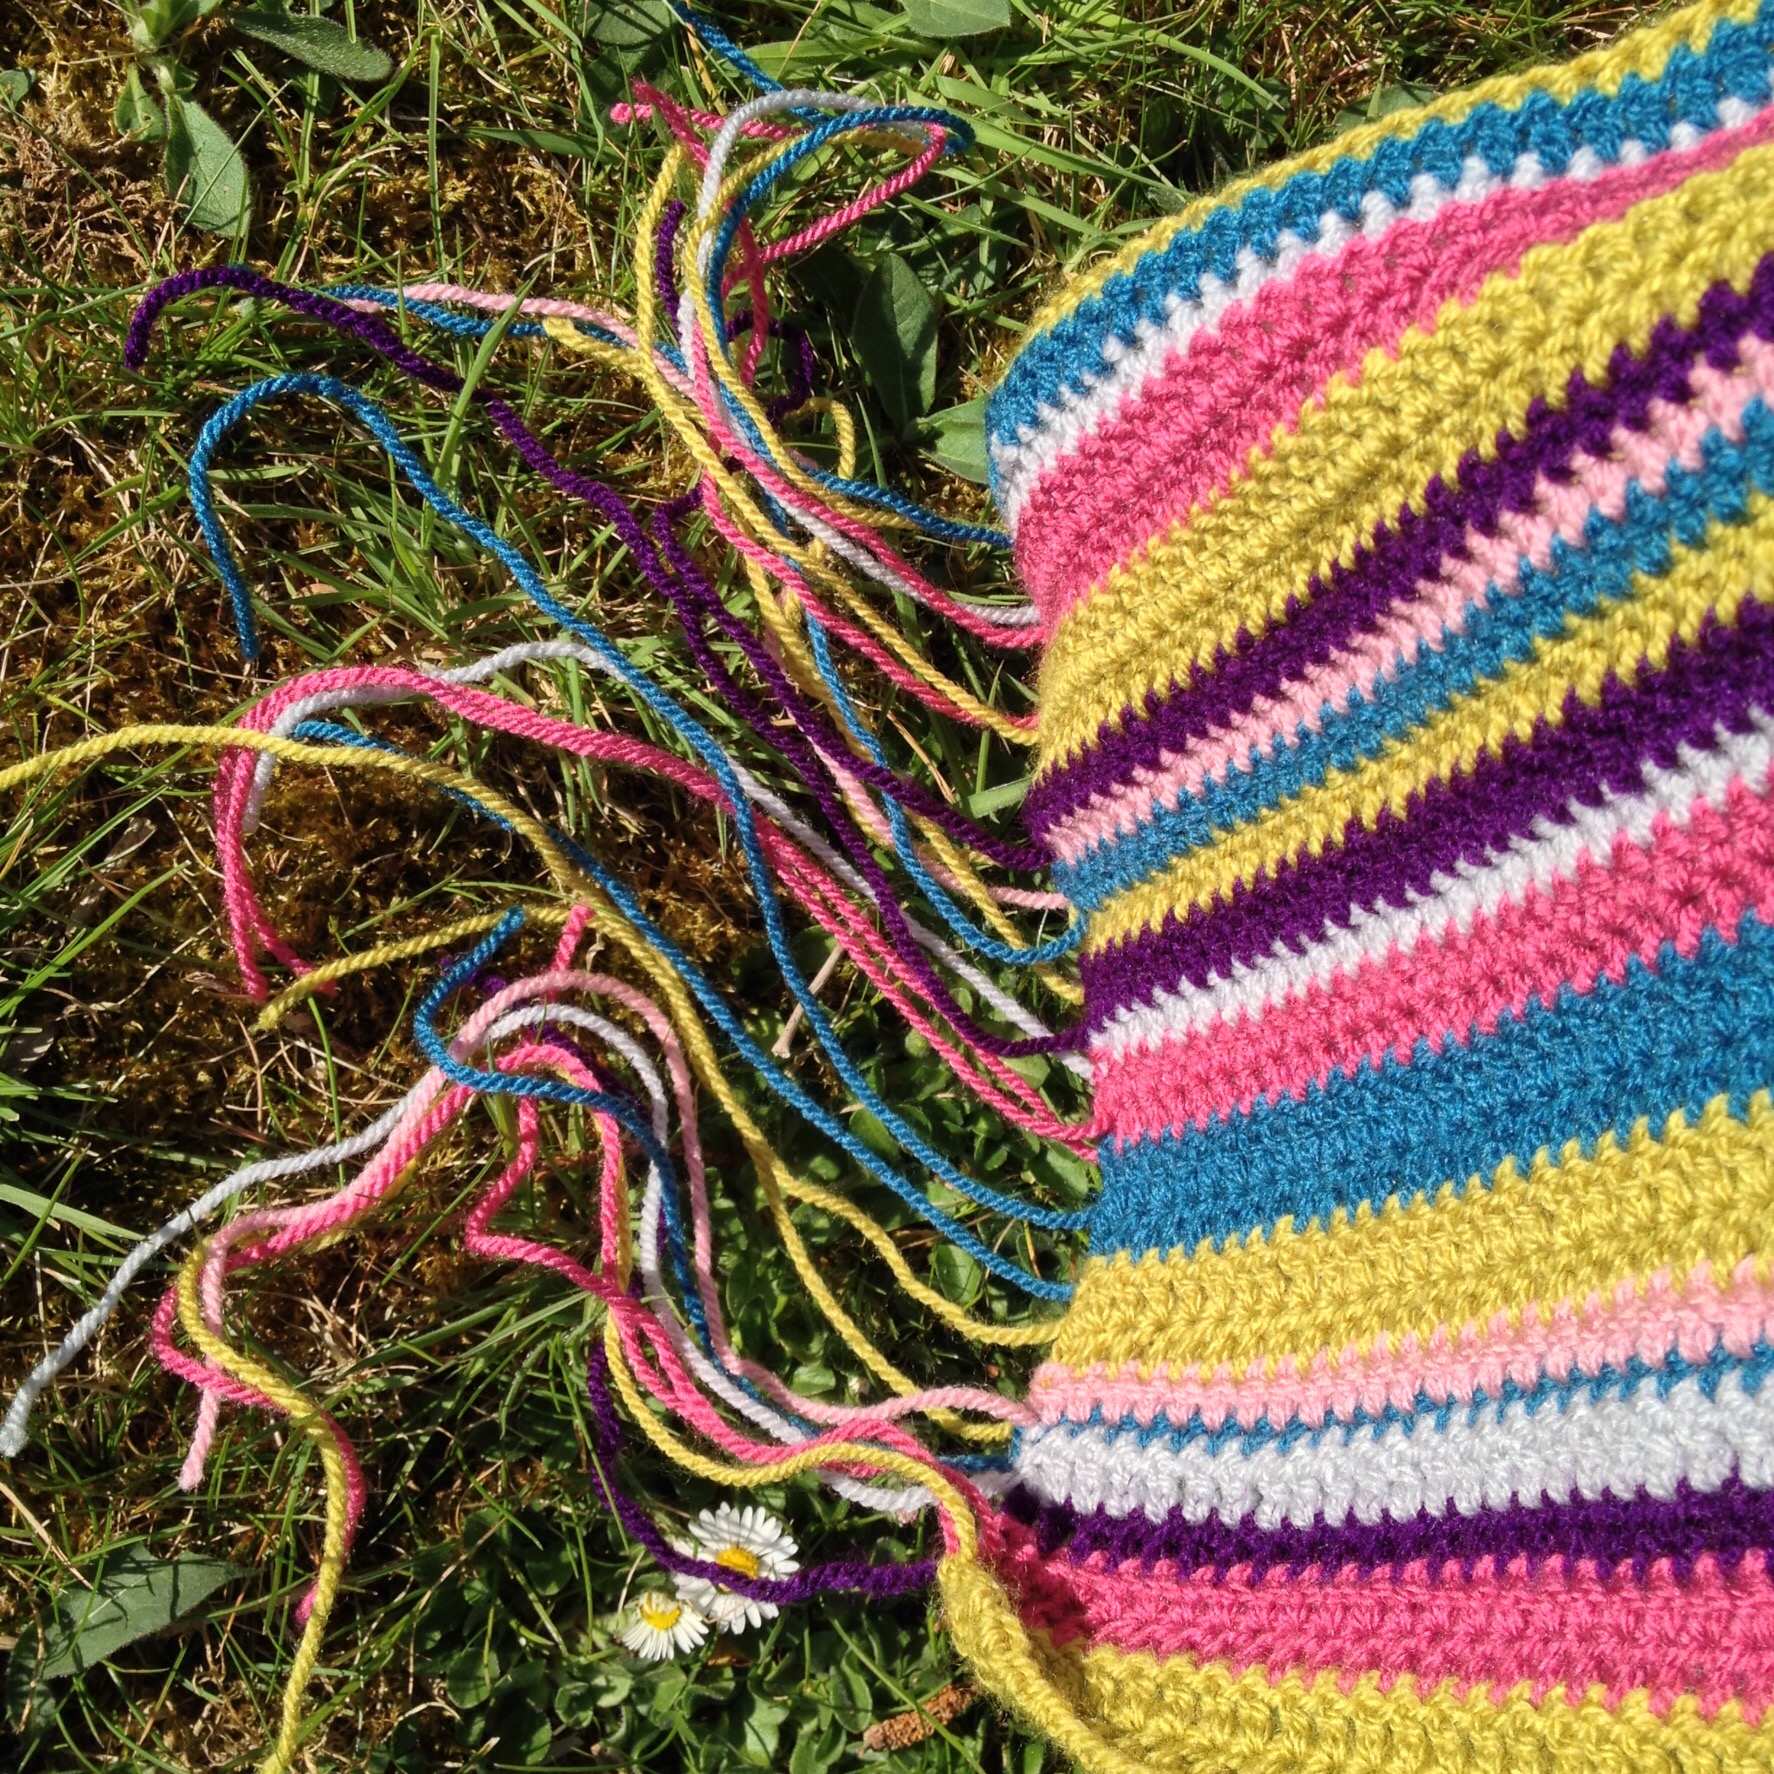 I’m crocheting another stripy baby blanket for a friend, after seeing how much she’s still using the
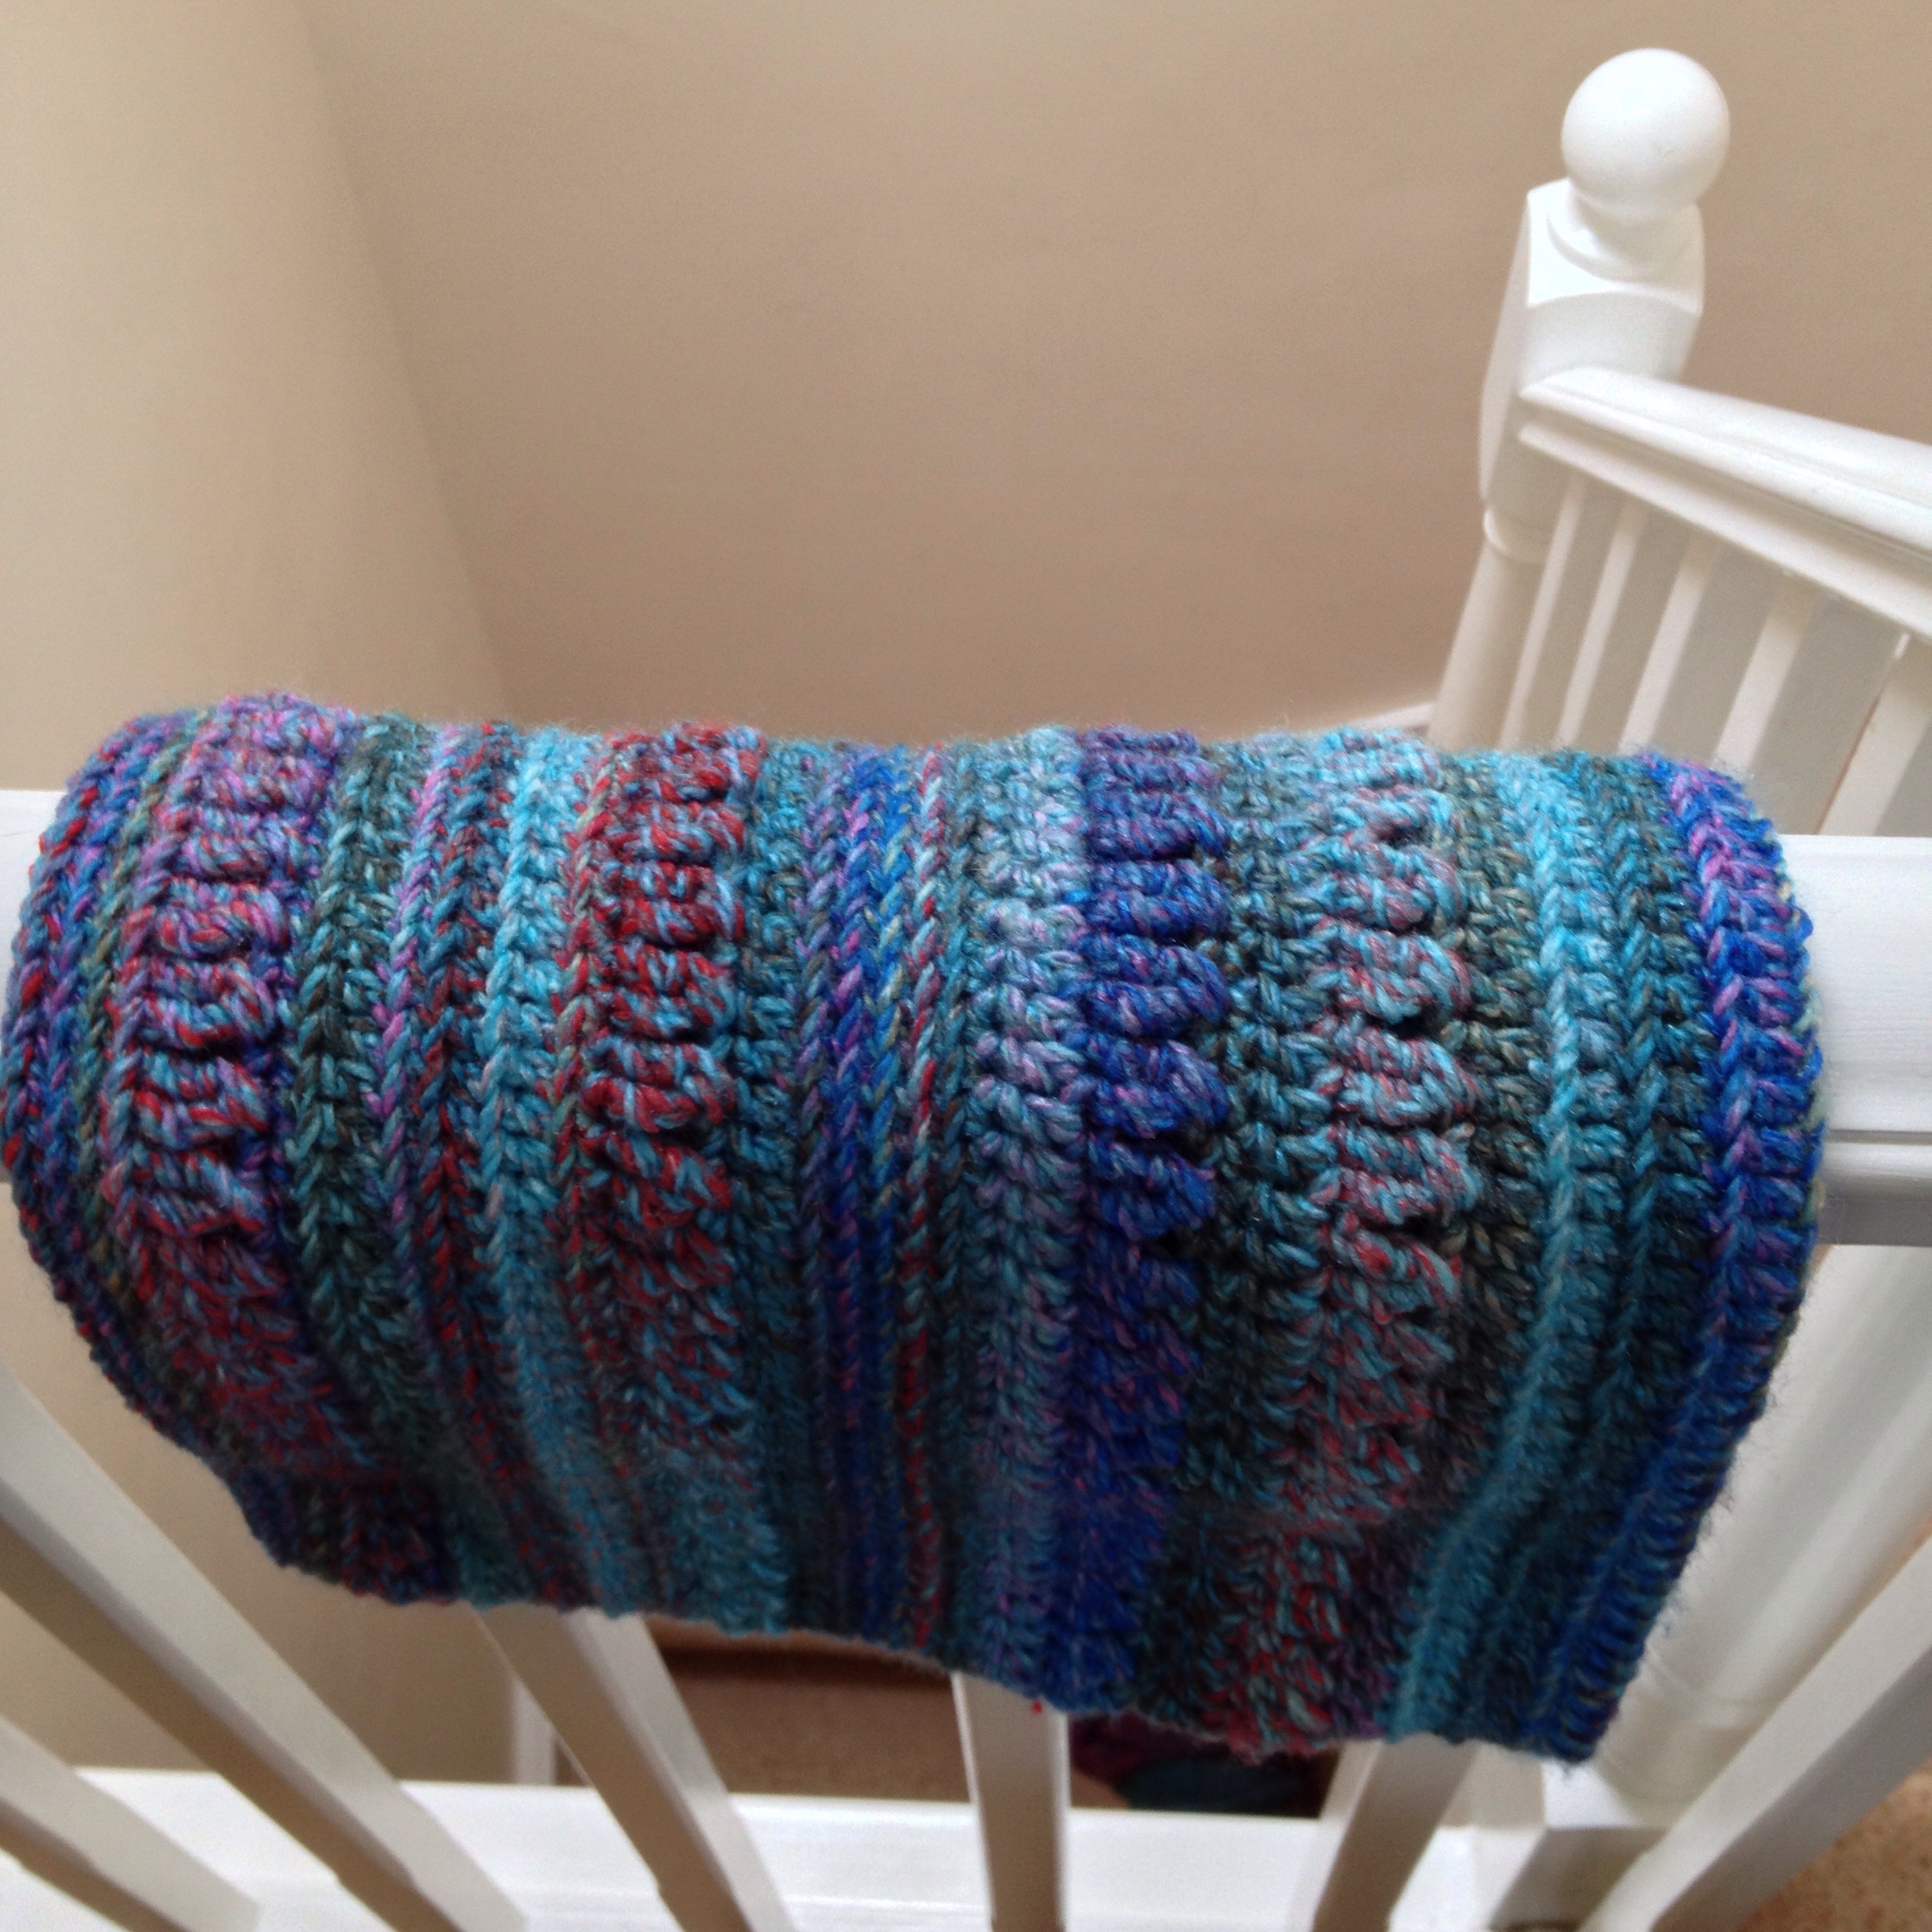
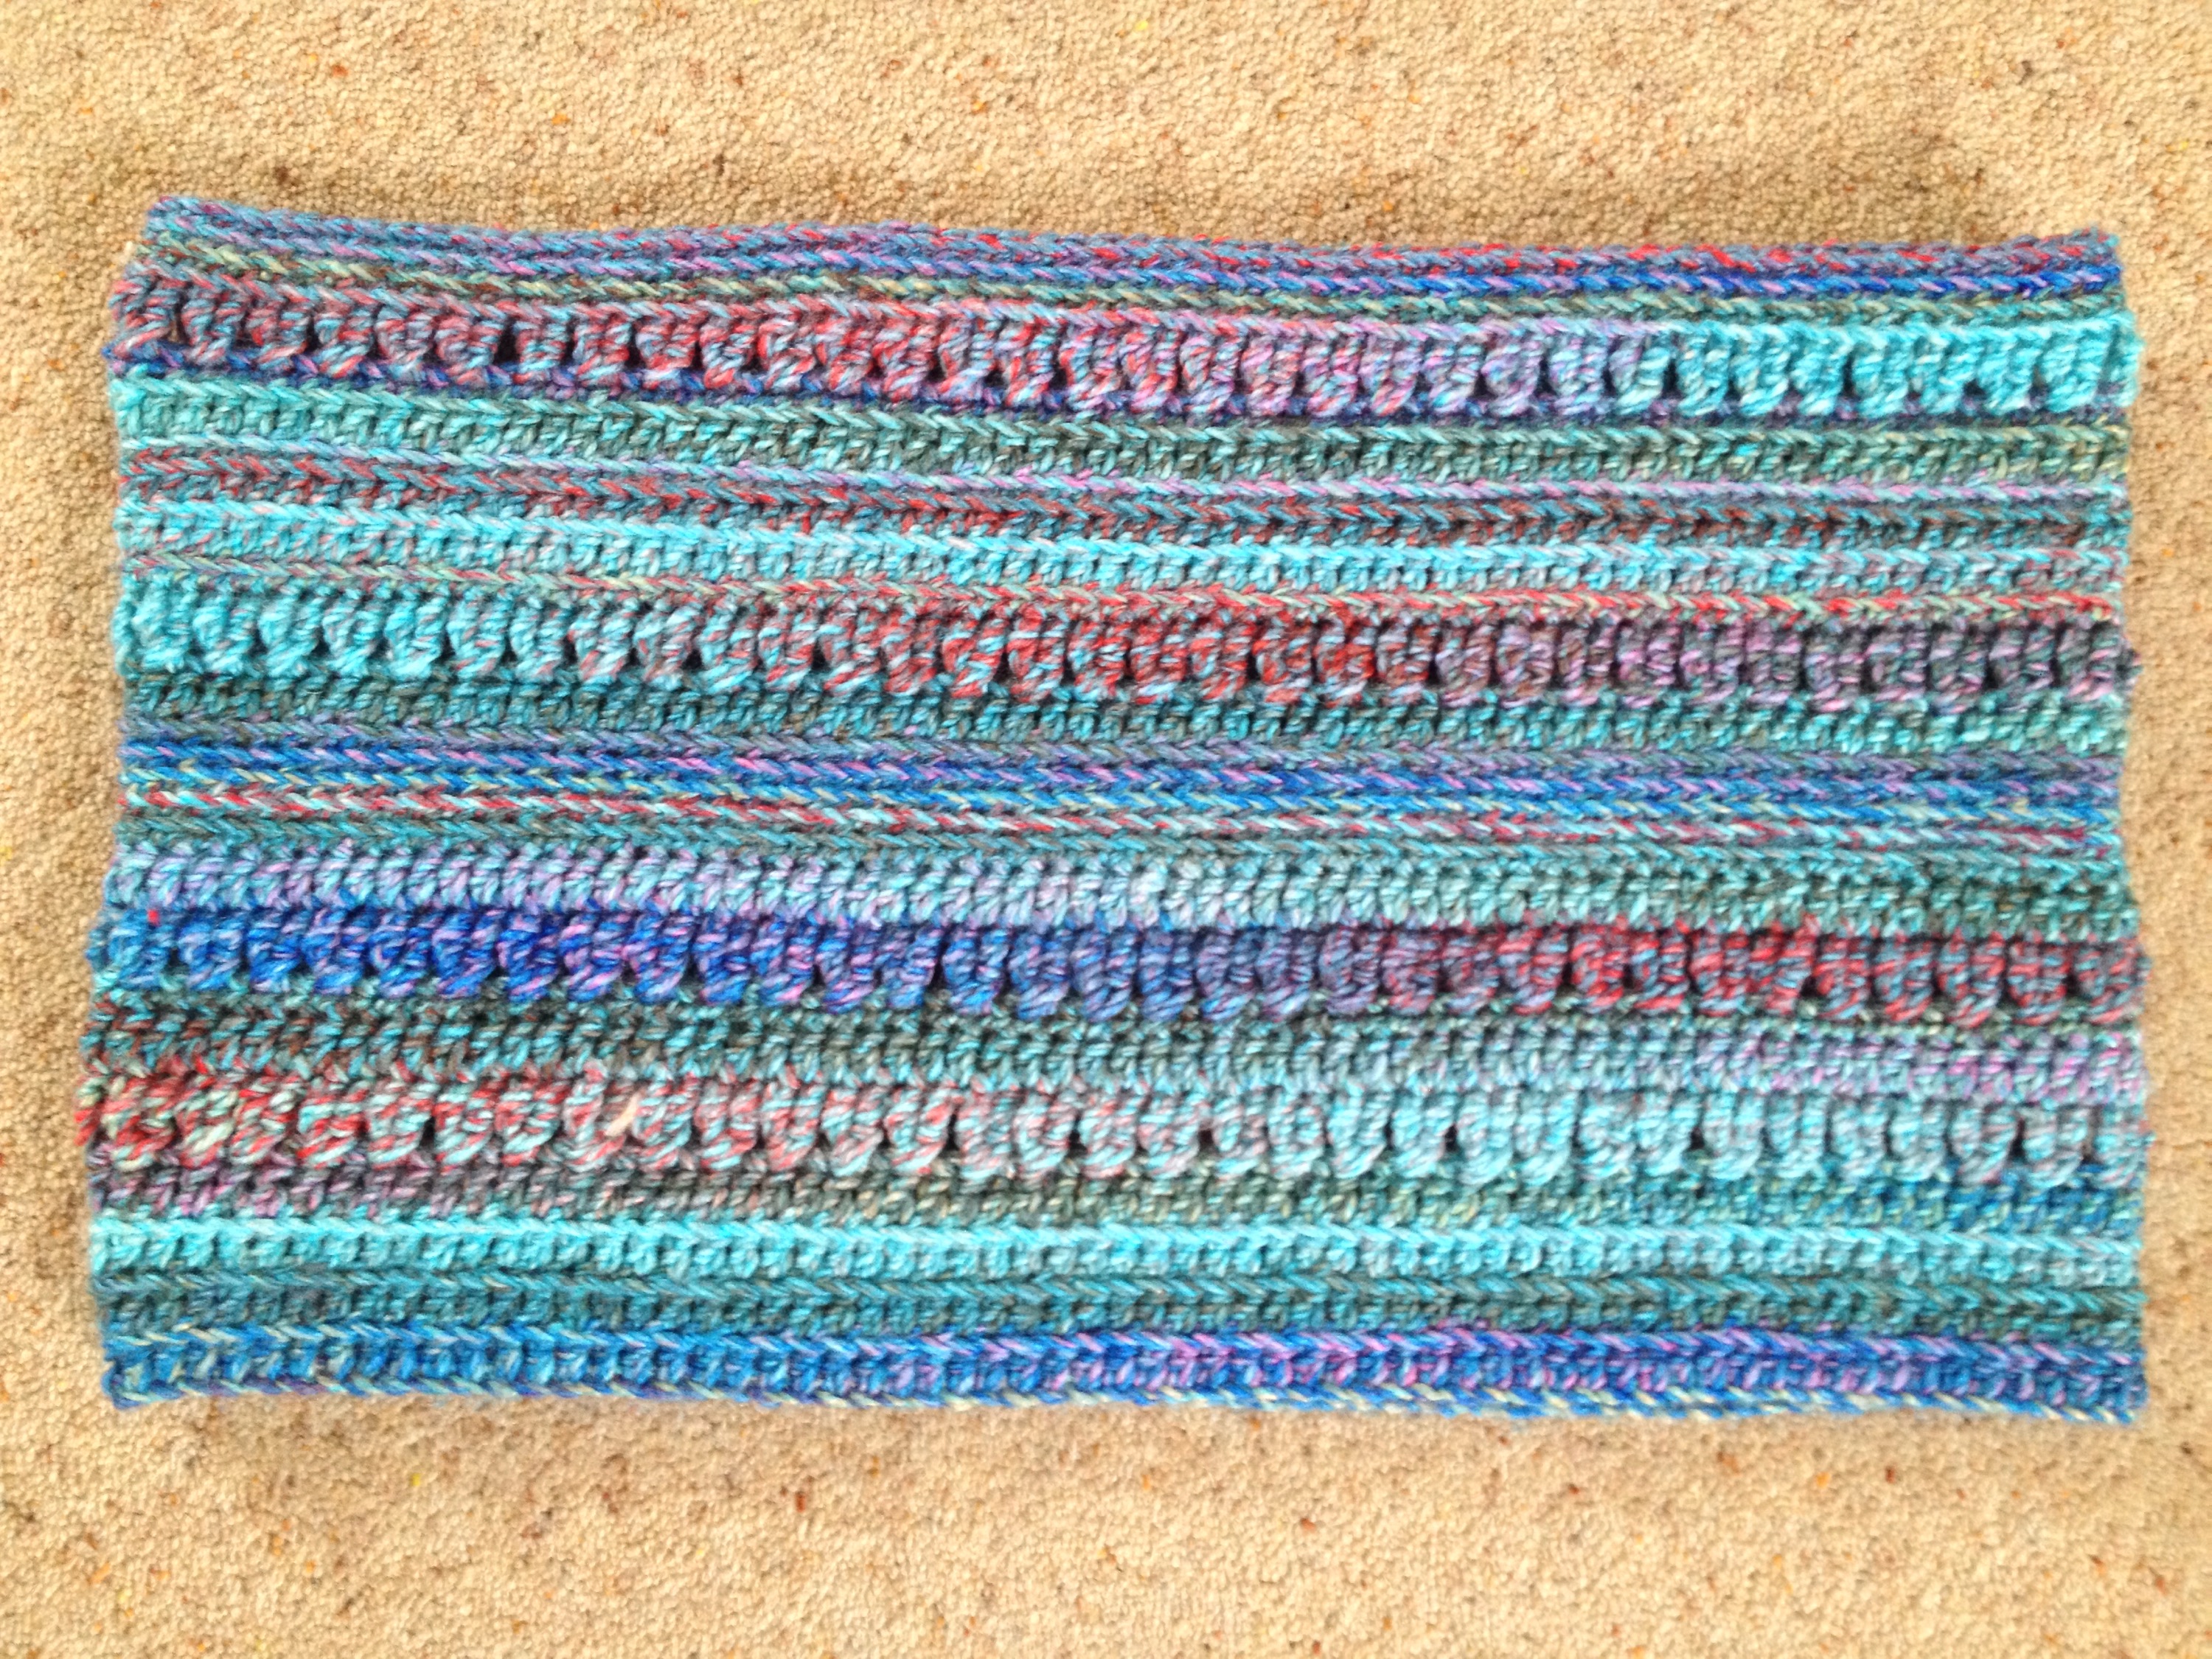
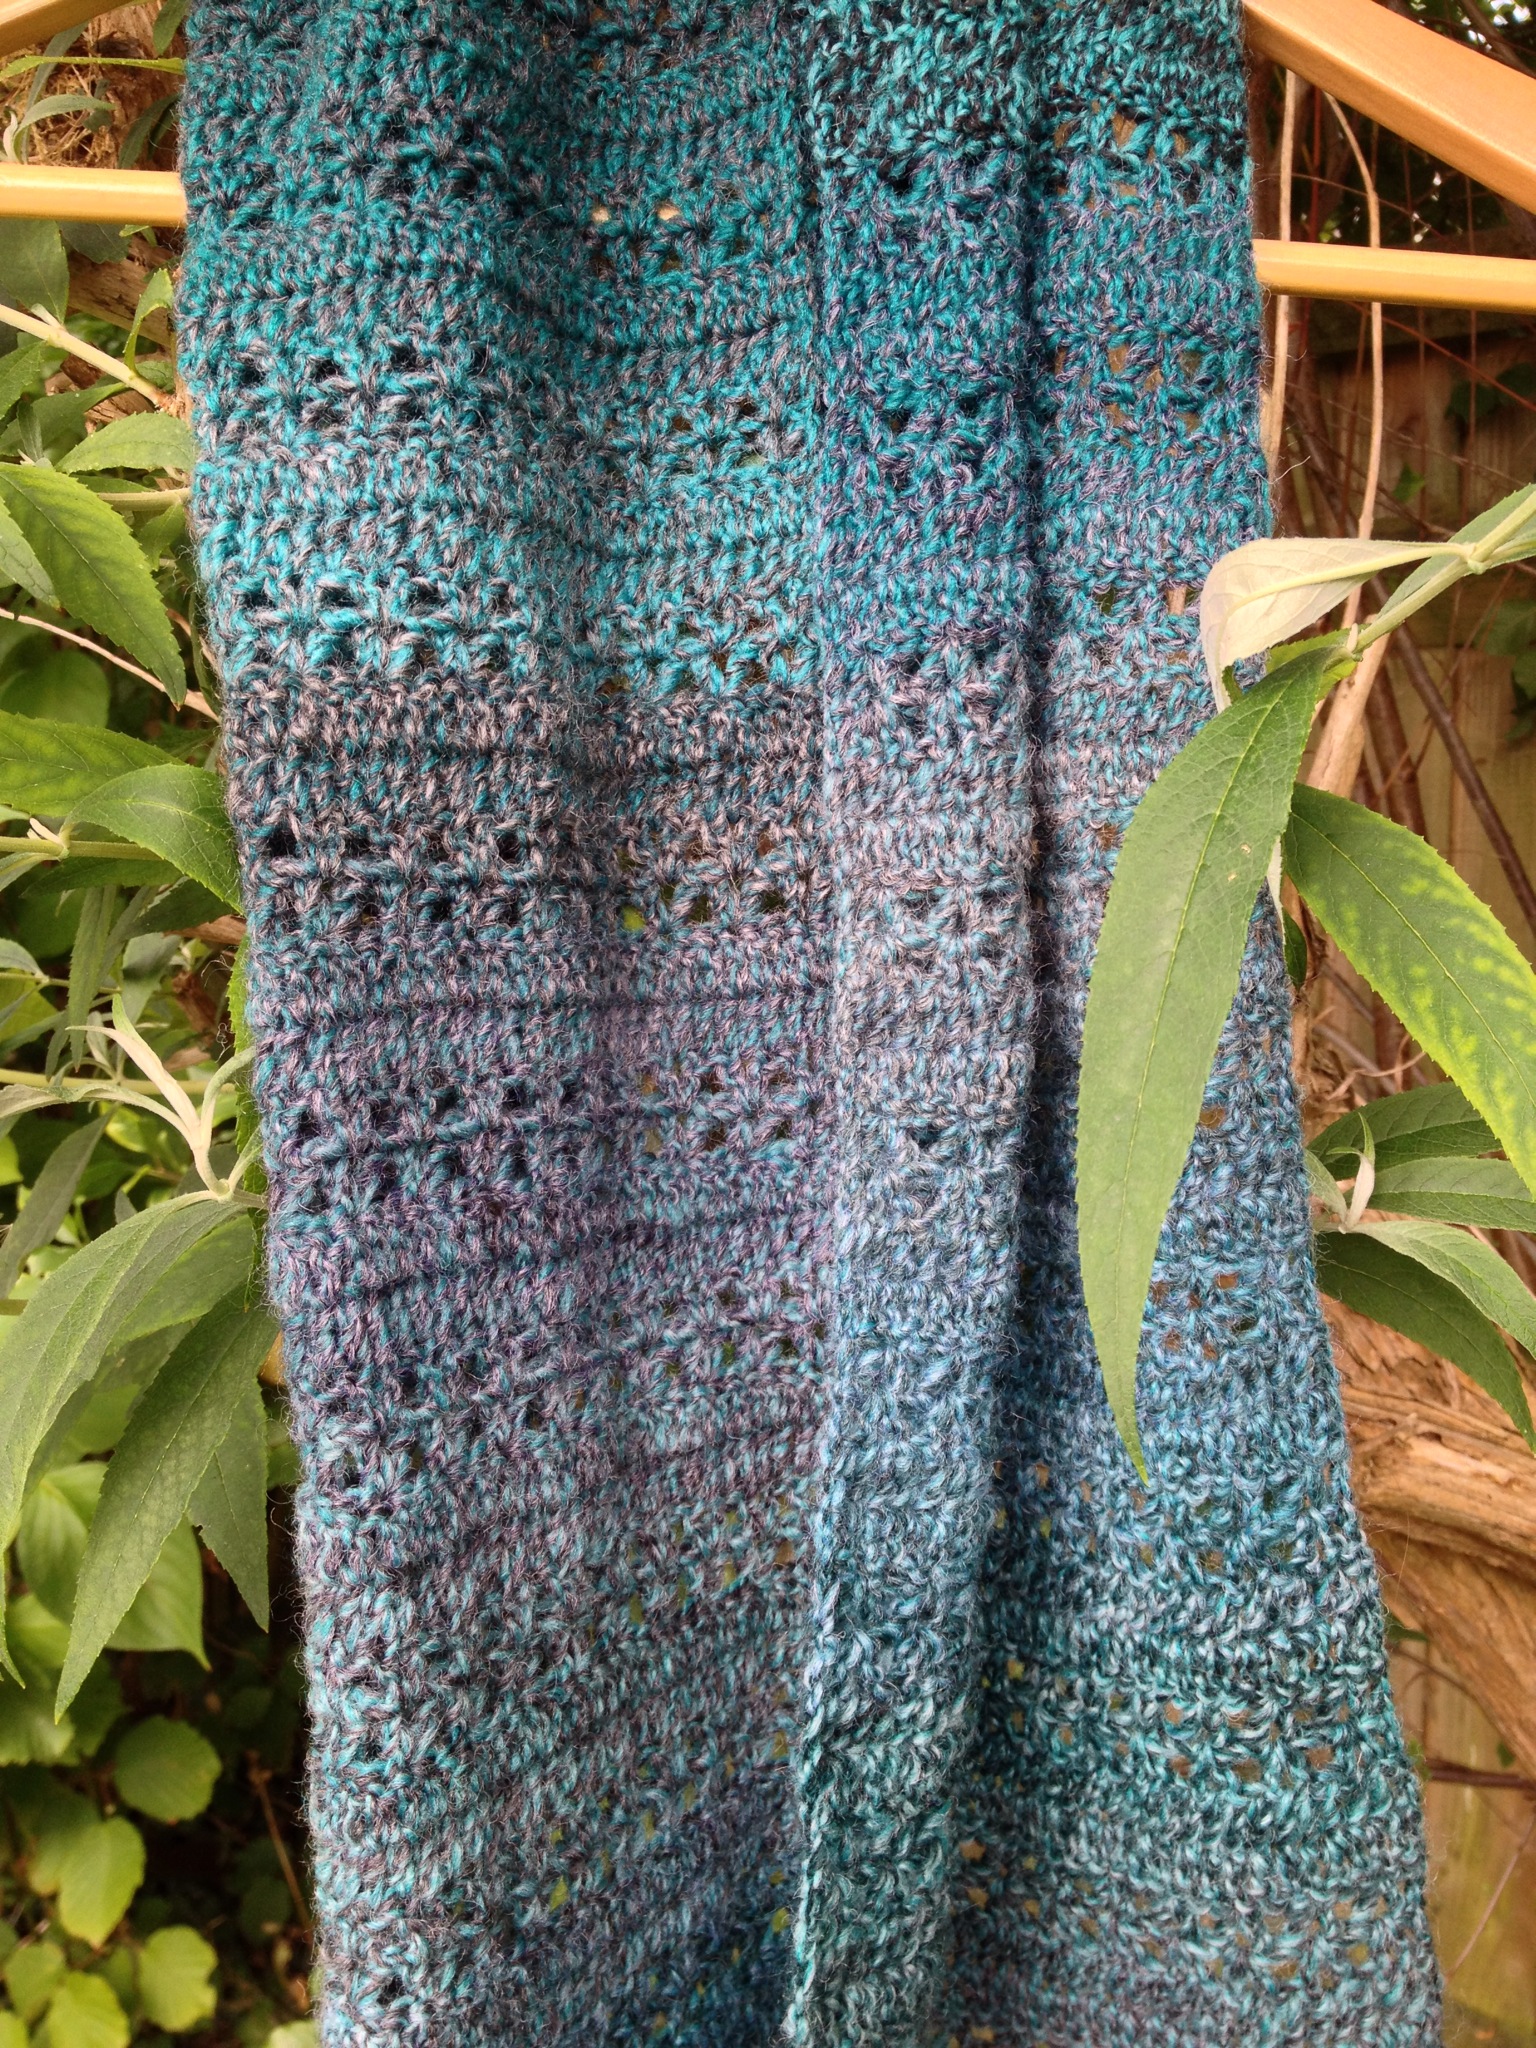
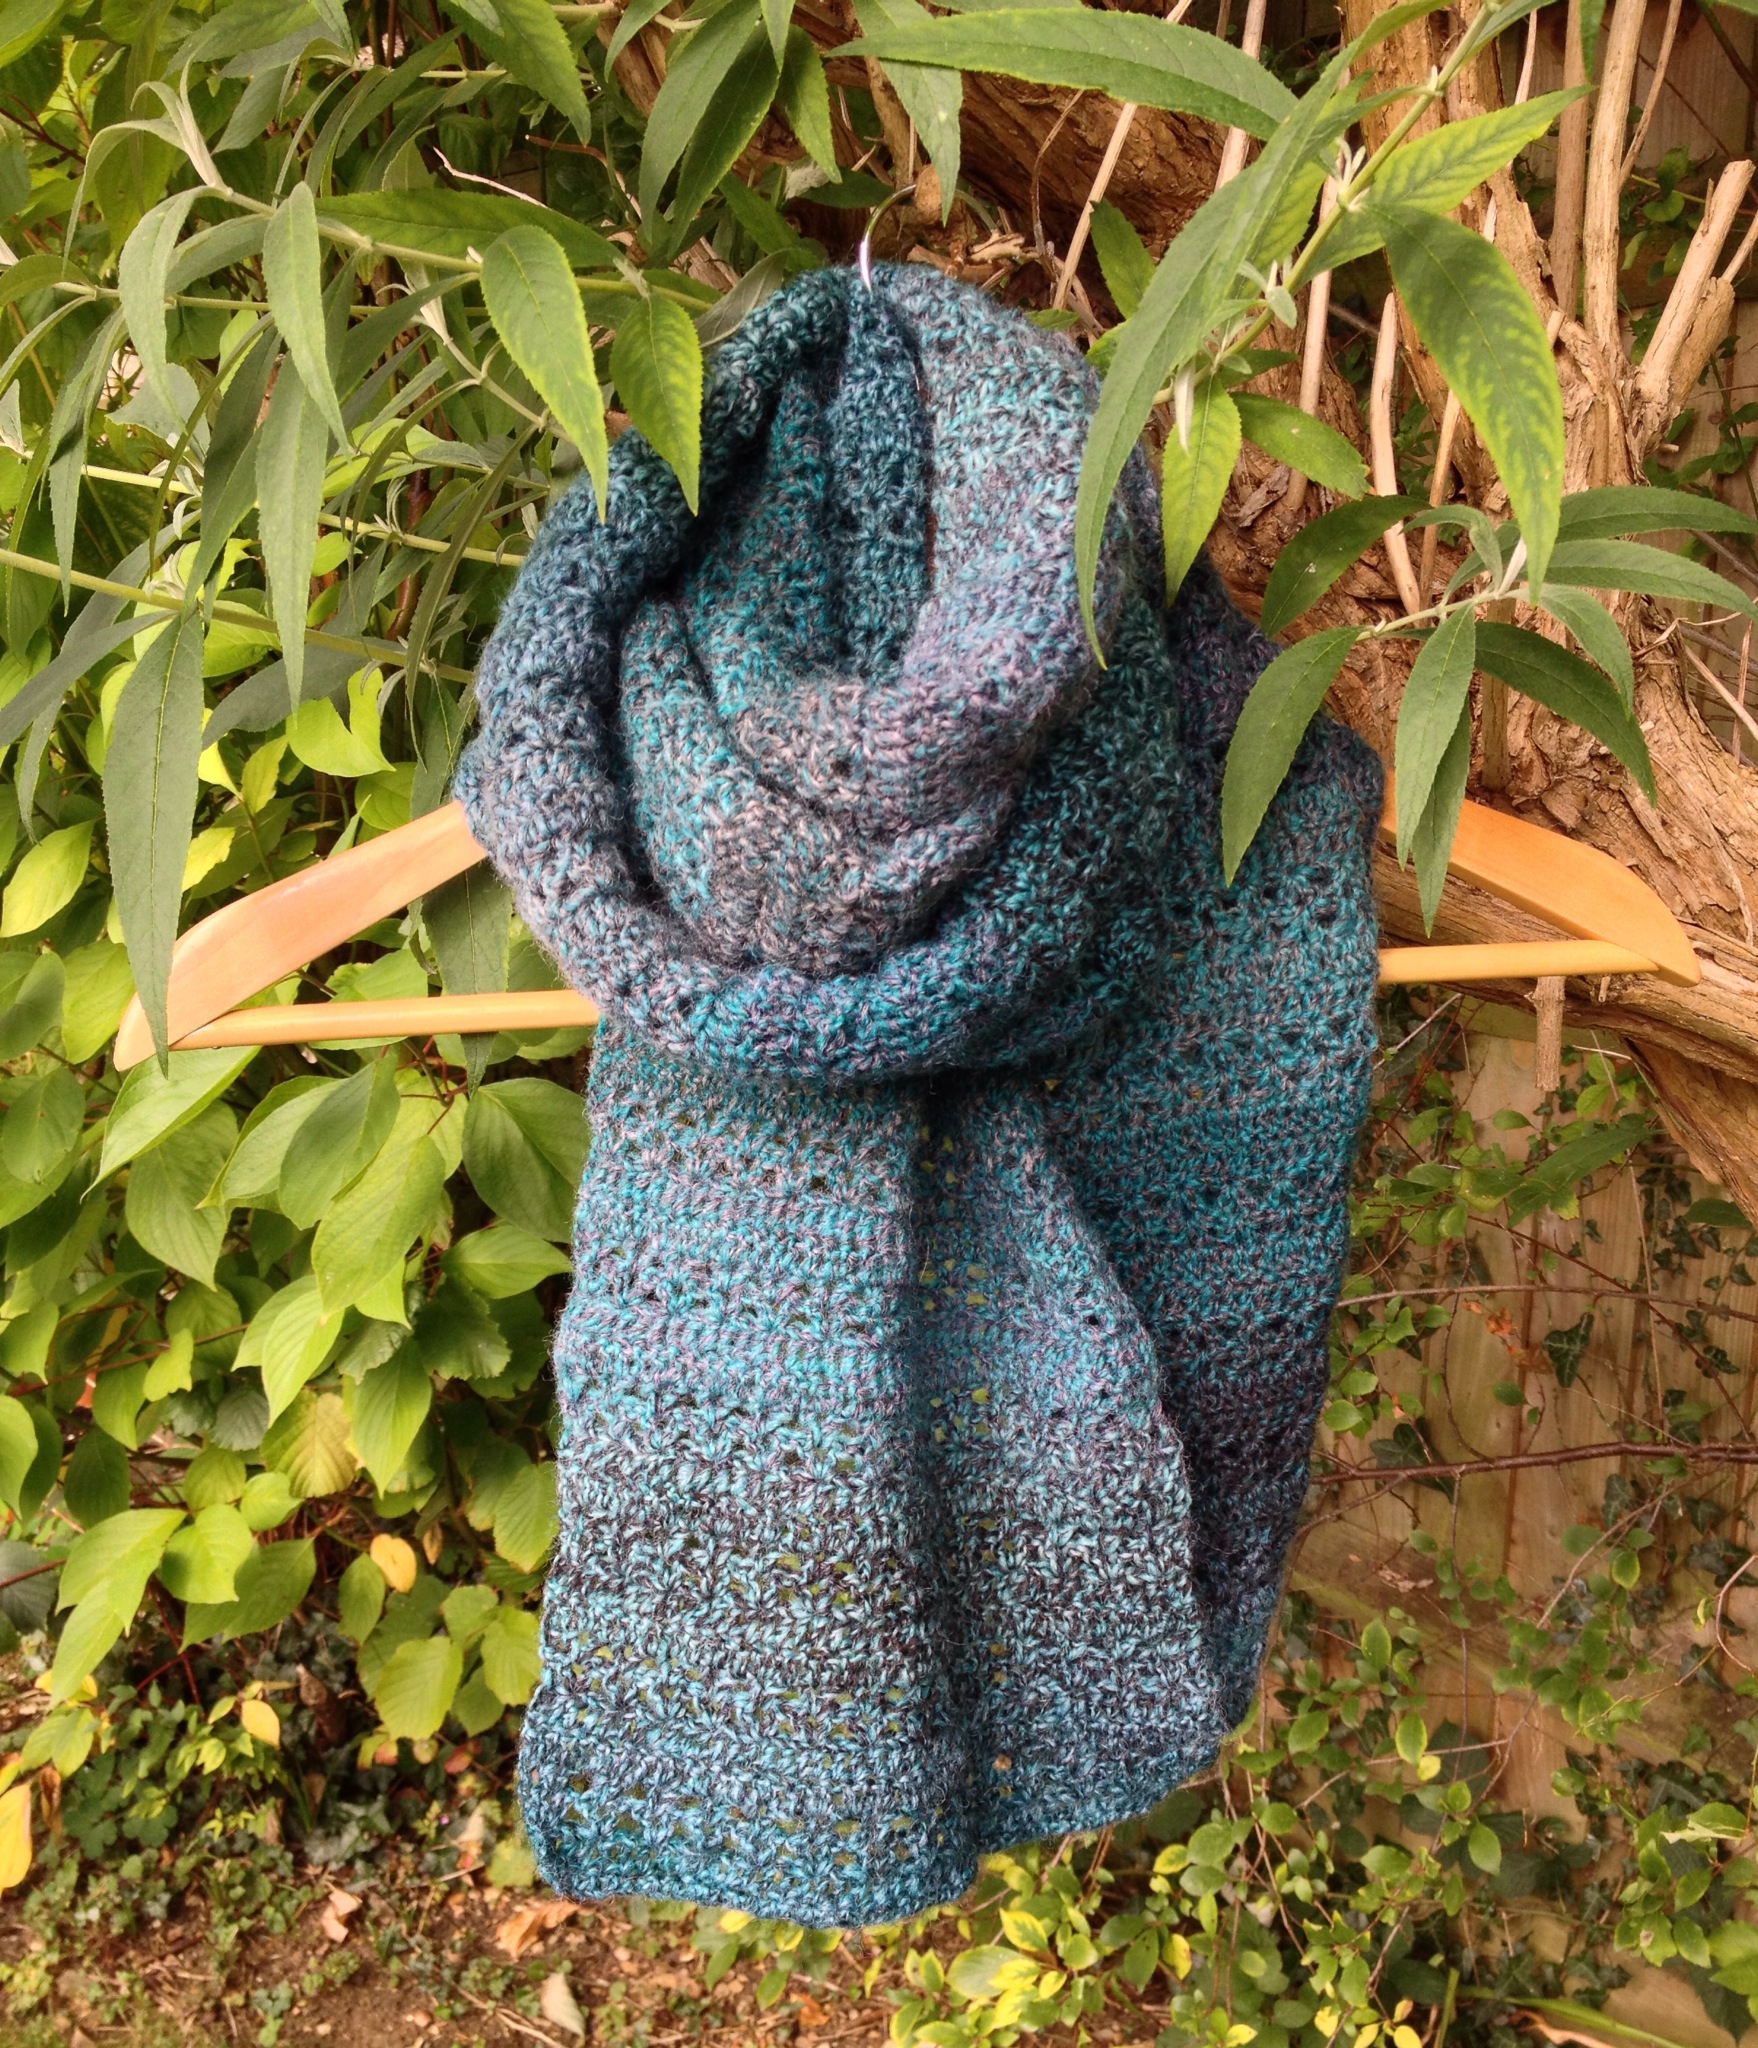
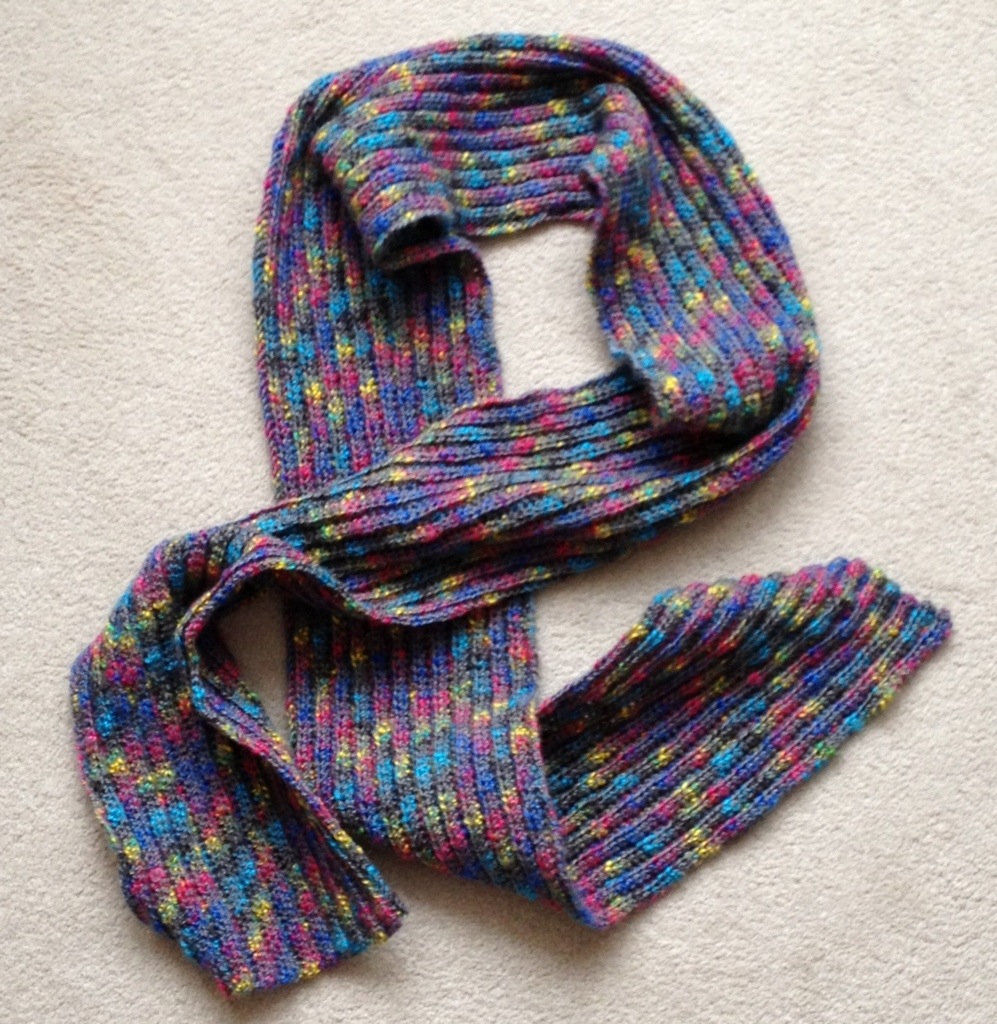
 As I wrote this title, following a discussion about farming, wool and the great wealth which came from wool in Yorkshire during decades gone by, it occurs to me that if this were one of those ‘big blogs’ there might be uproar from the wool purists. My Yorkshire cowl is made from 100% acrylic. It’s named because I crocheted it during a week there, and it’s always going to remind me of walks by the sea and the coastal path. The
  Yorkshire Cowl
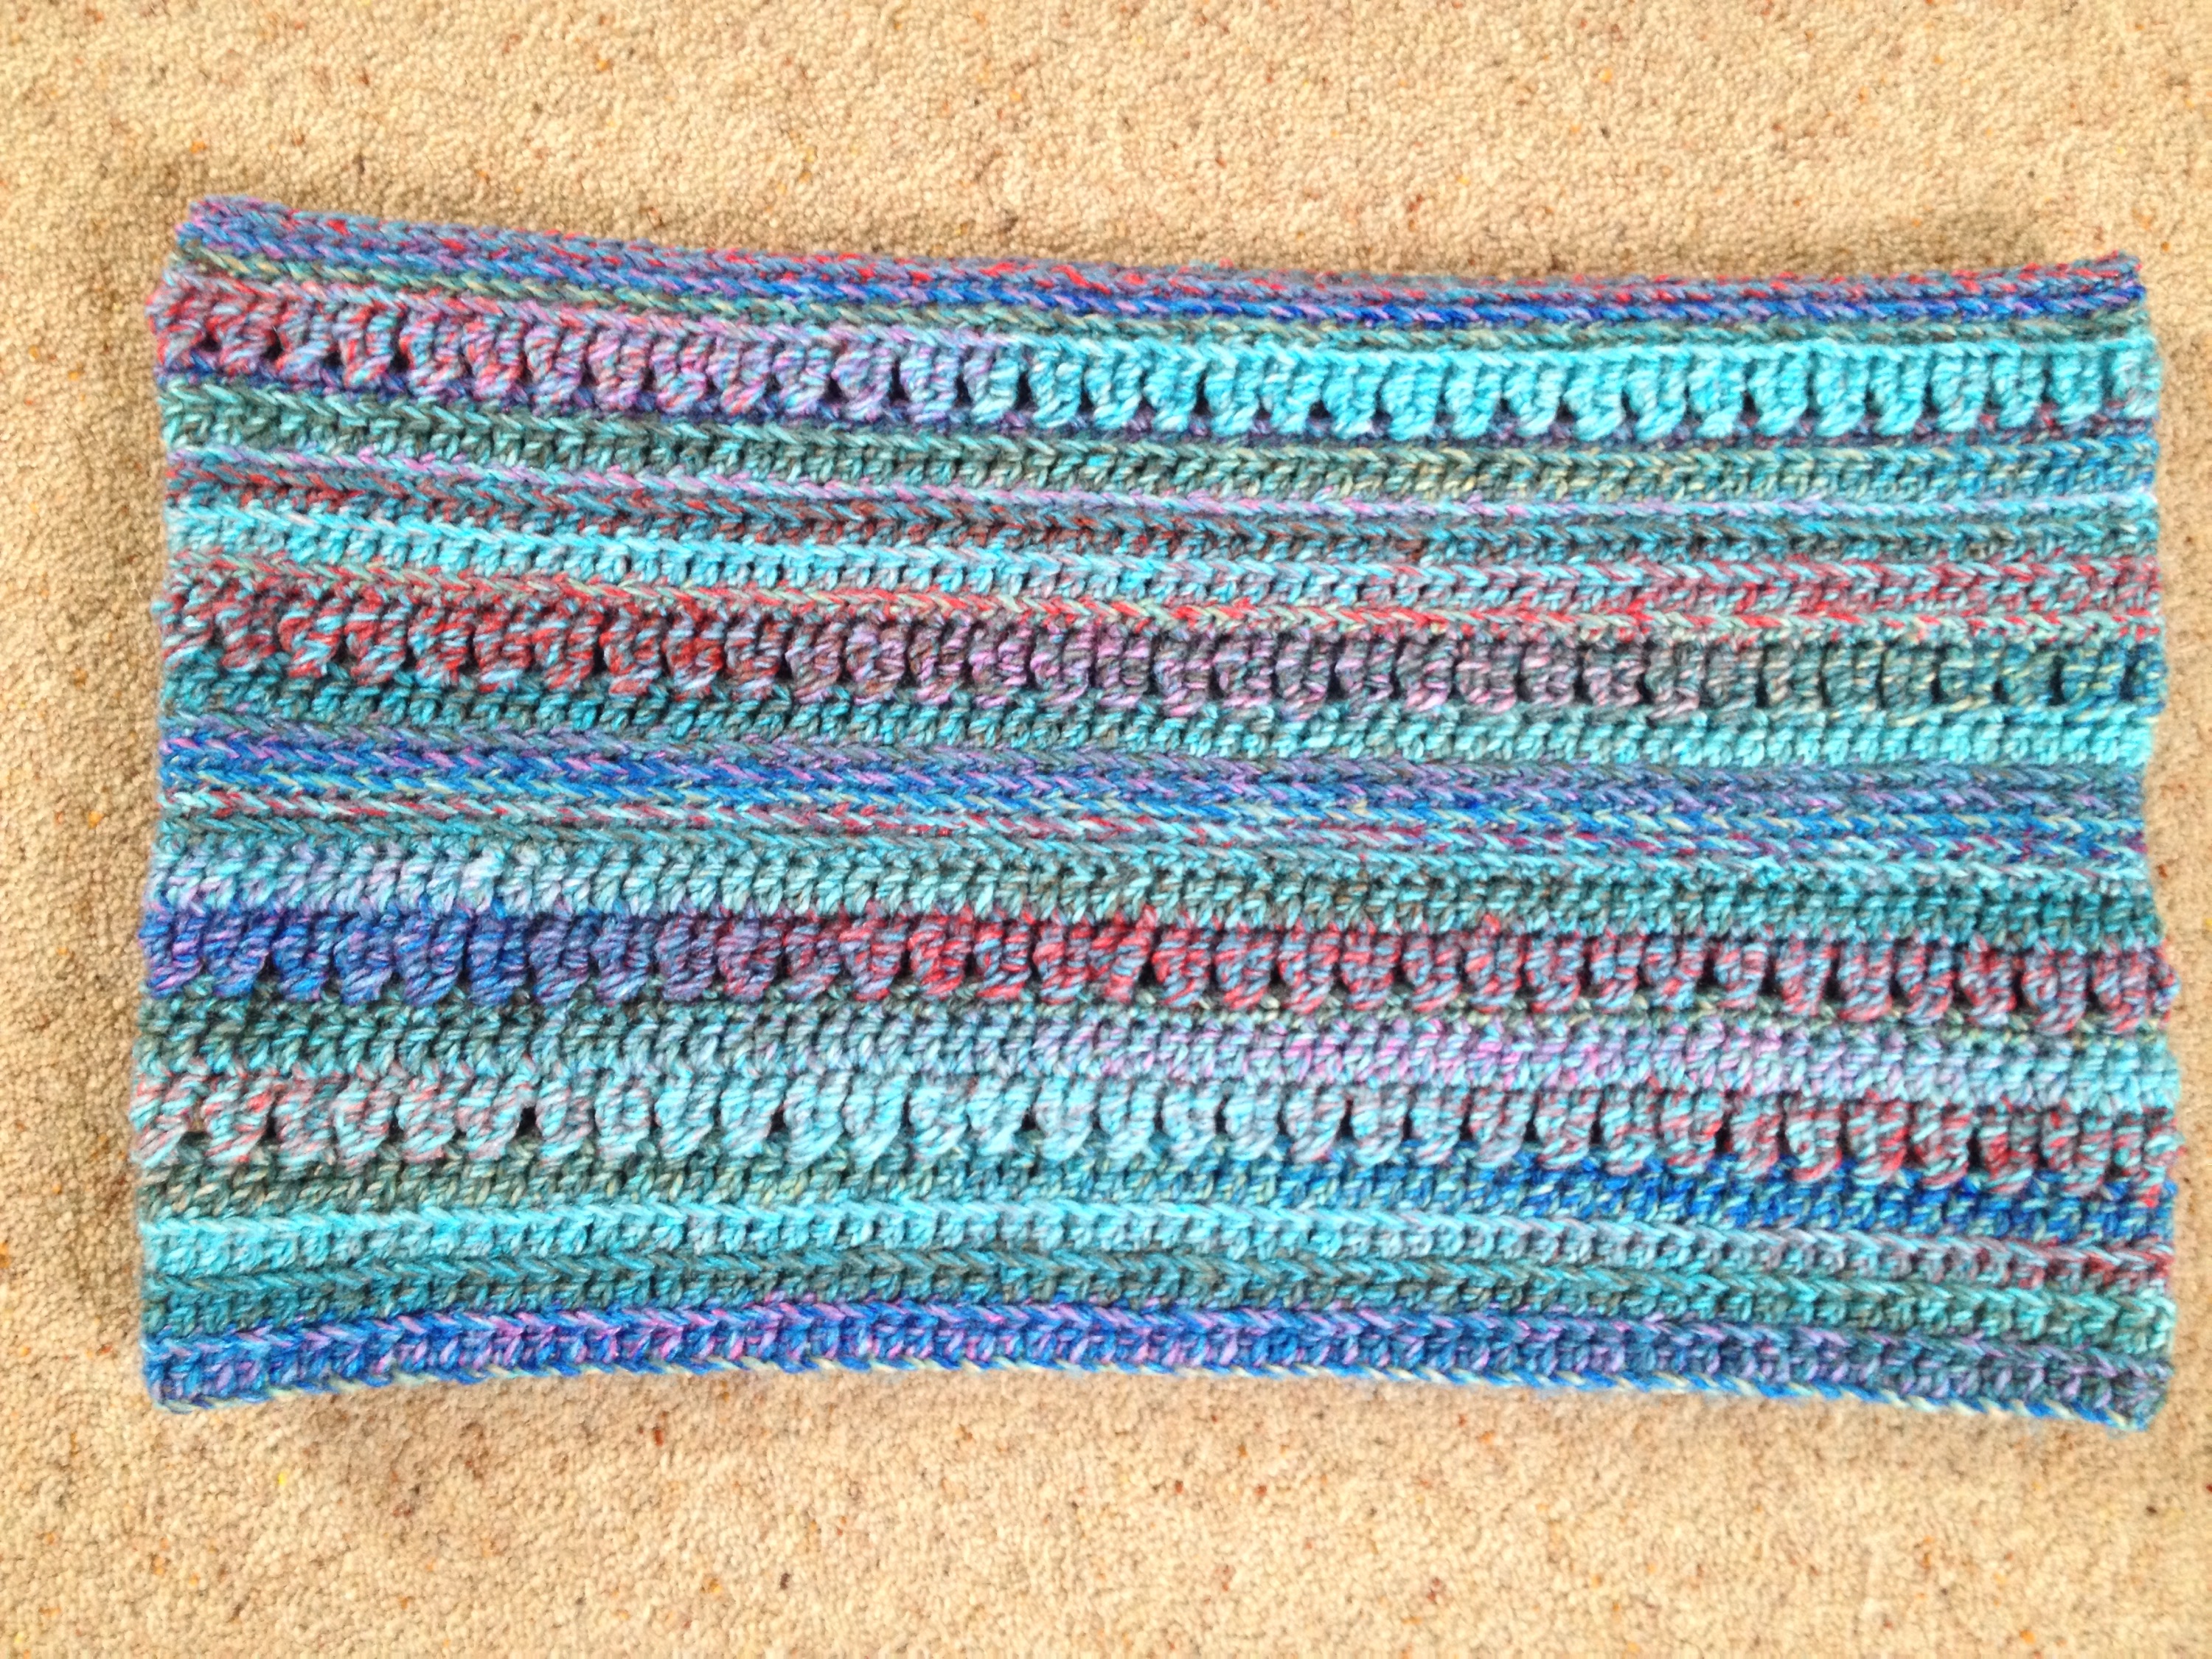
 Some people are good at selfies, some are not; especially when in windswept Derbyshire visiting
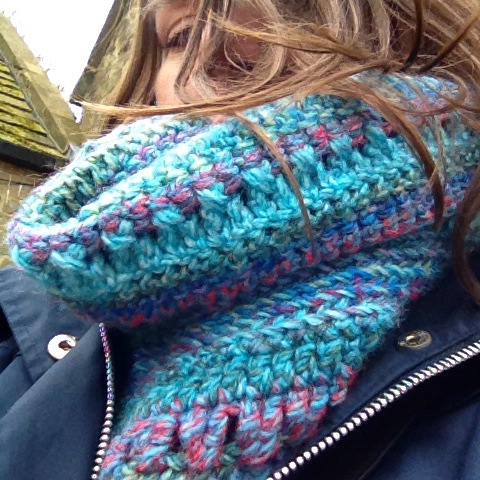
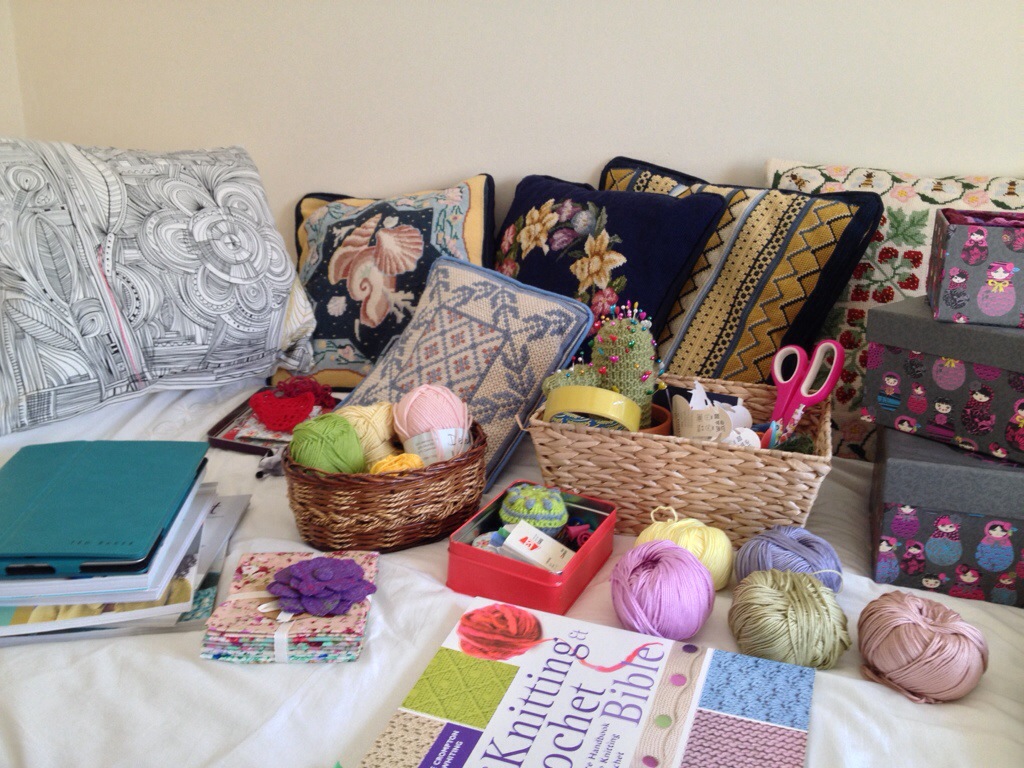
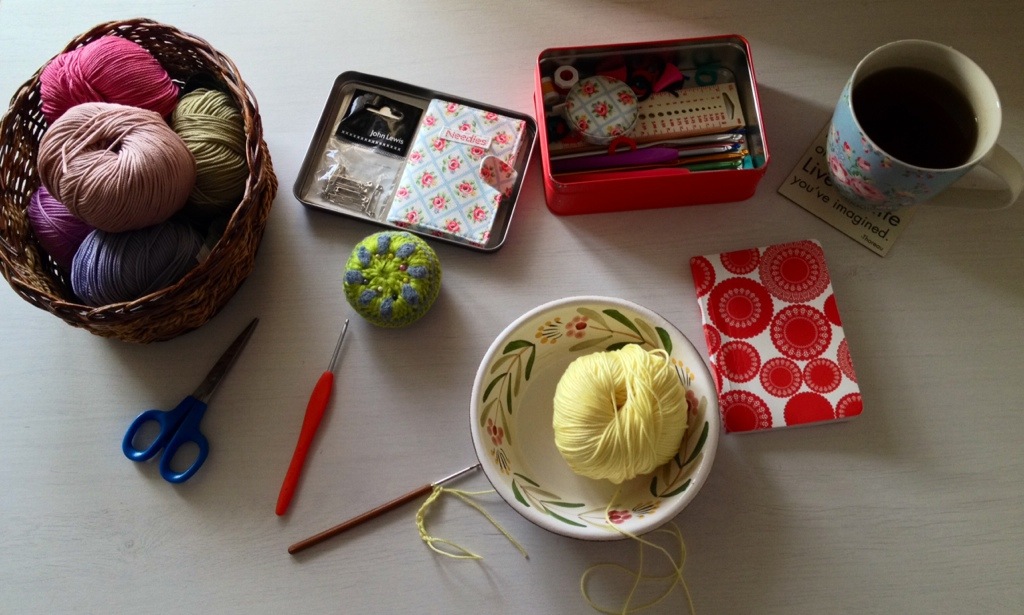
 What are you making at the moment?


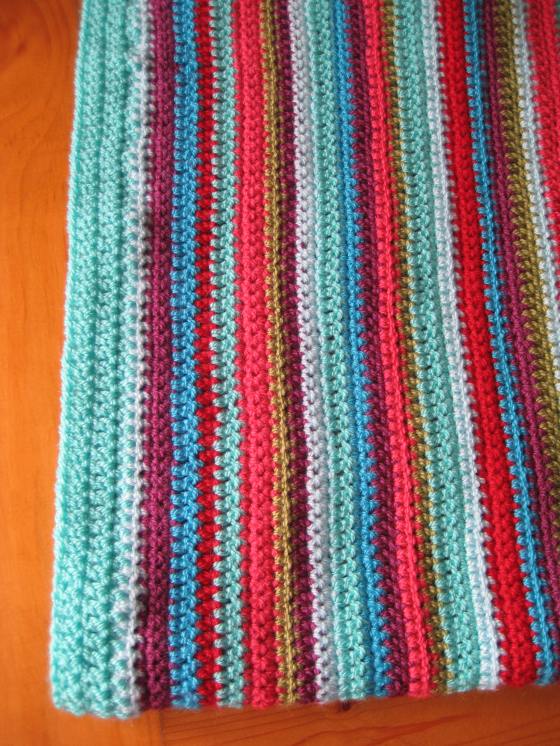

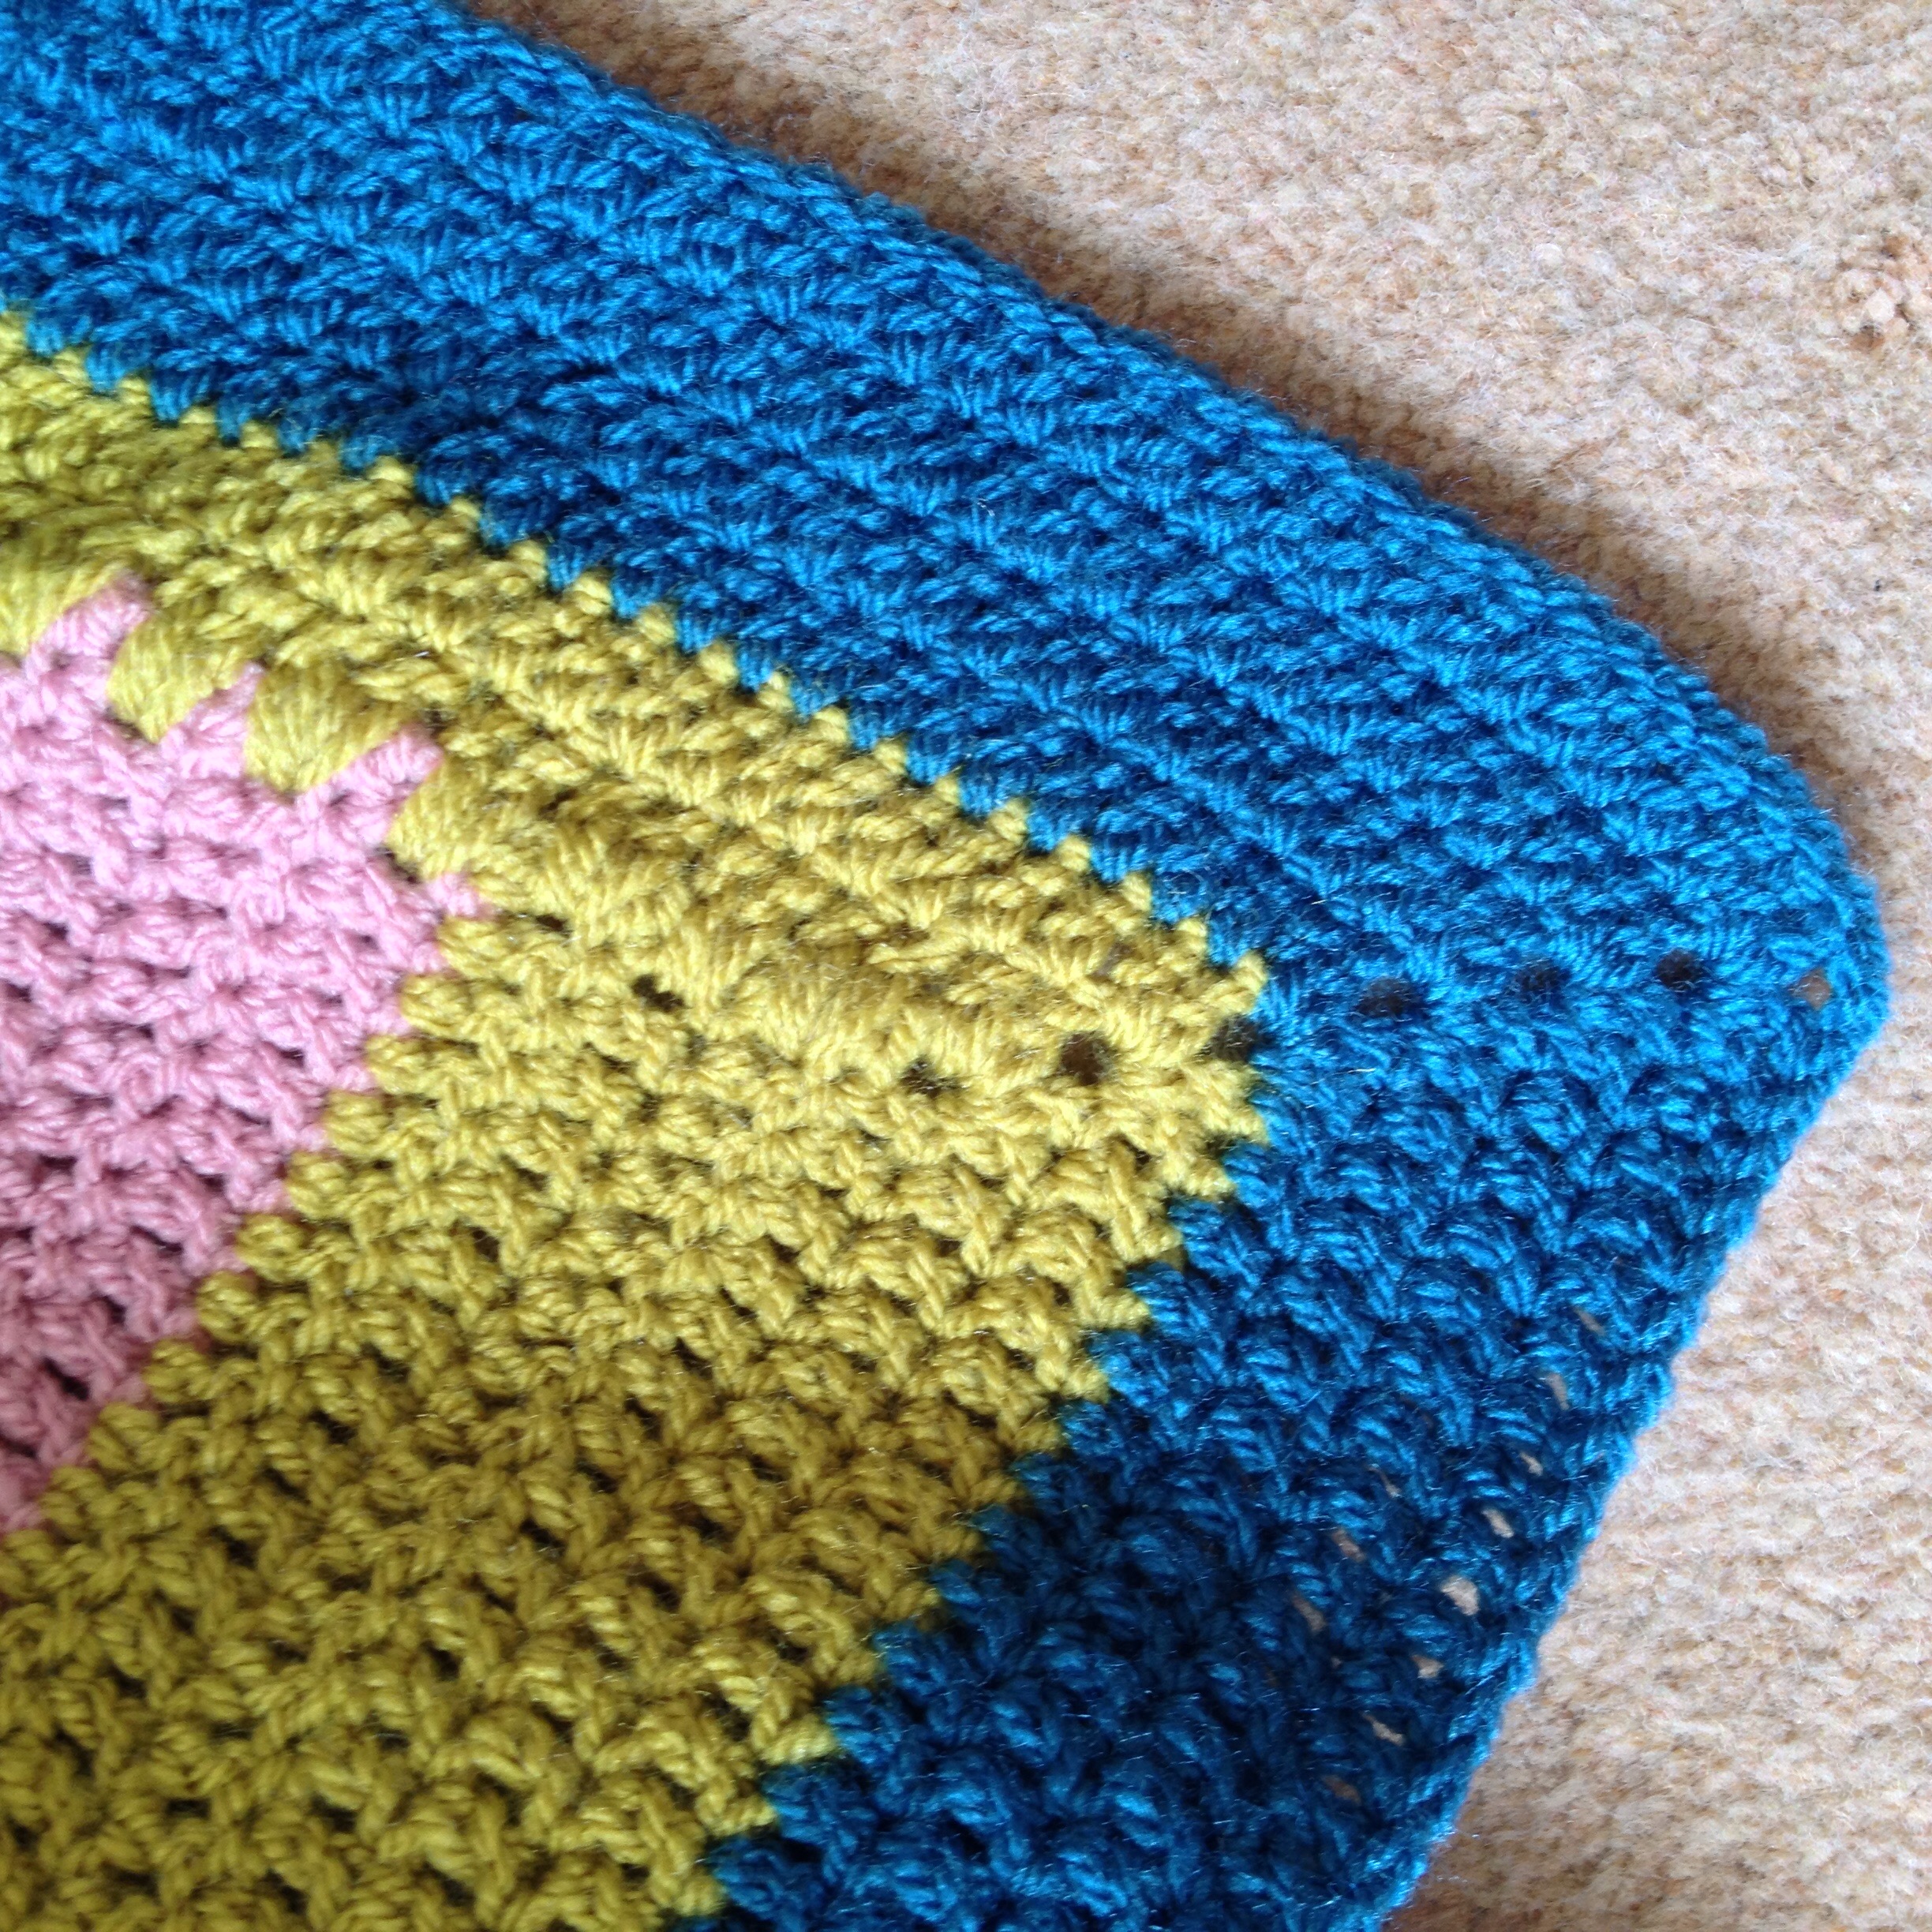
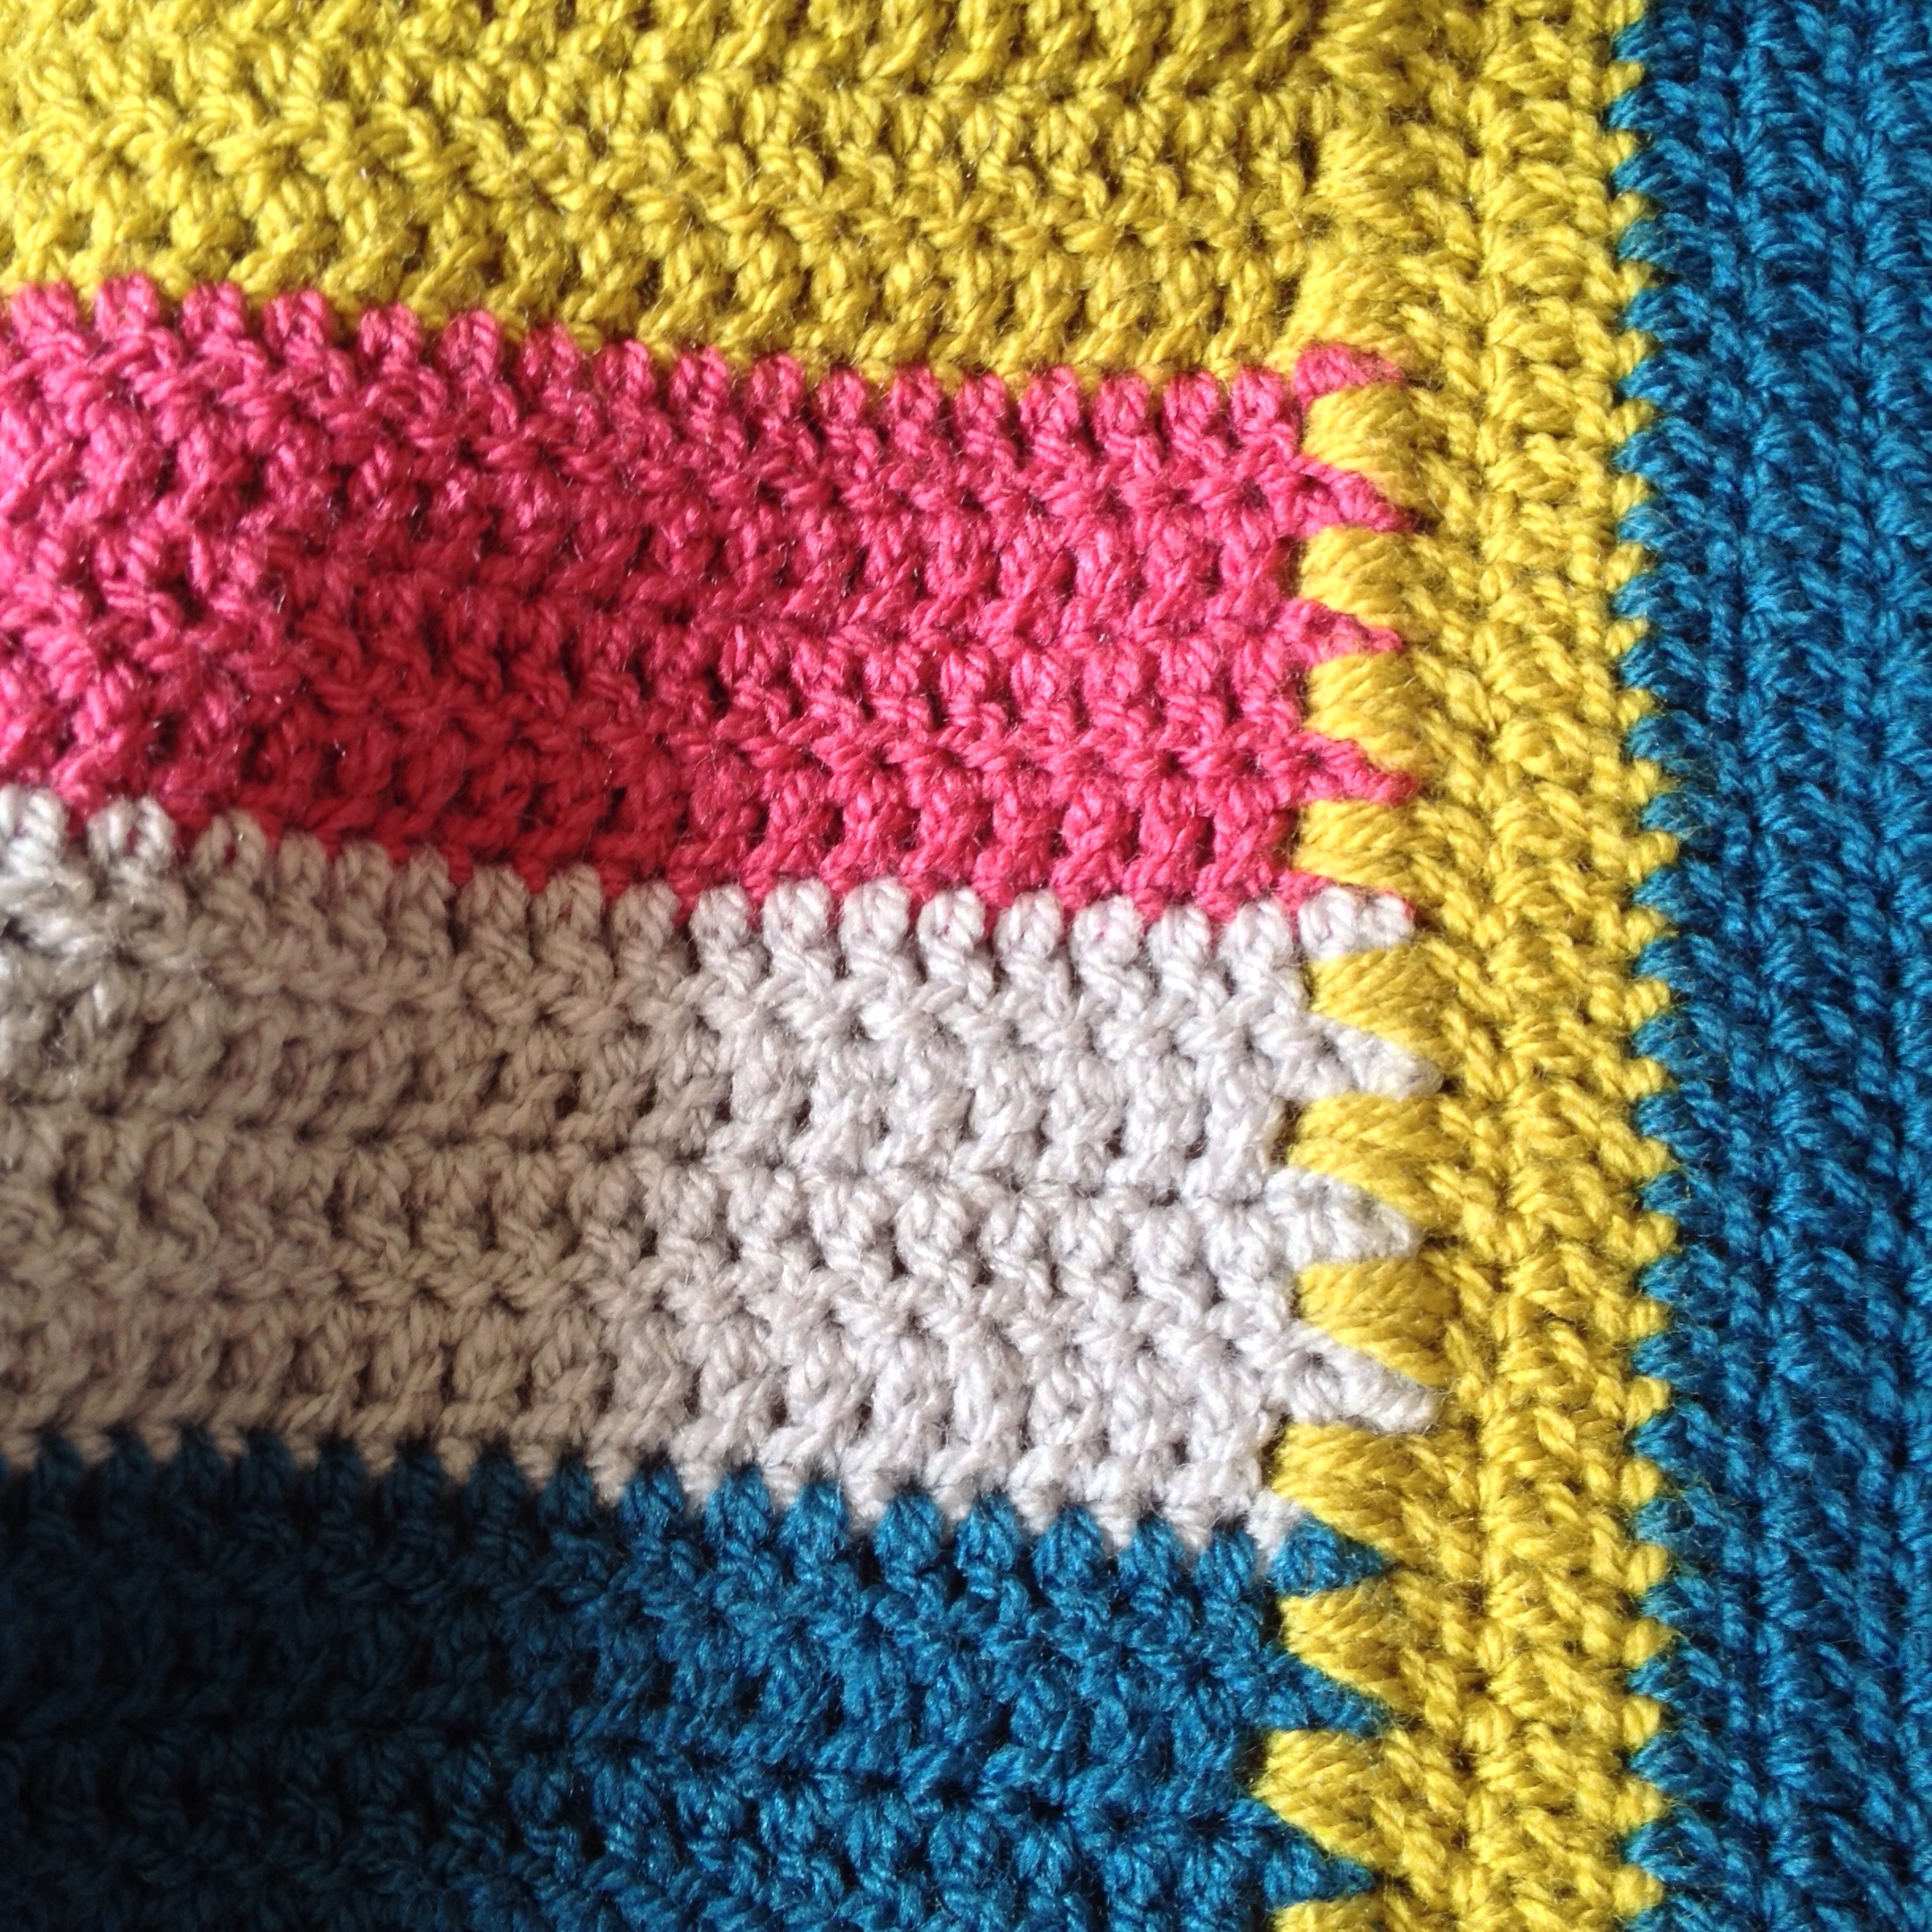
 I’m not entirely convinced about the side edges. As there was a mix of stitches adding the htr around the first stitches for the FR of the border left some gaps. I think this was where the first stitch was a turning chain on treble rows. After a bit of consultation I went into the space after the second stitch. It adds a rather rustic look to the sides whereas the top and bottom (see the edge on the right in the above photo) are very much neater. I like the 2 tr, 2ch, 2 tr holey corners, that’s the look of a proper crocheted blanket!
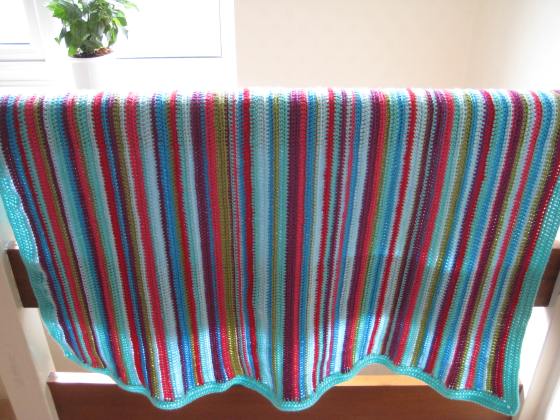


You must be logged in to post a comment.