
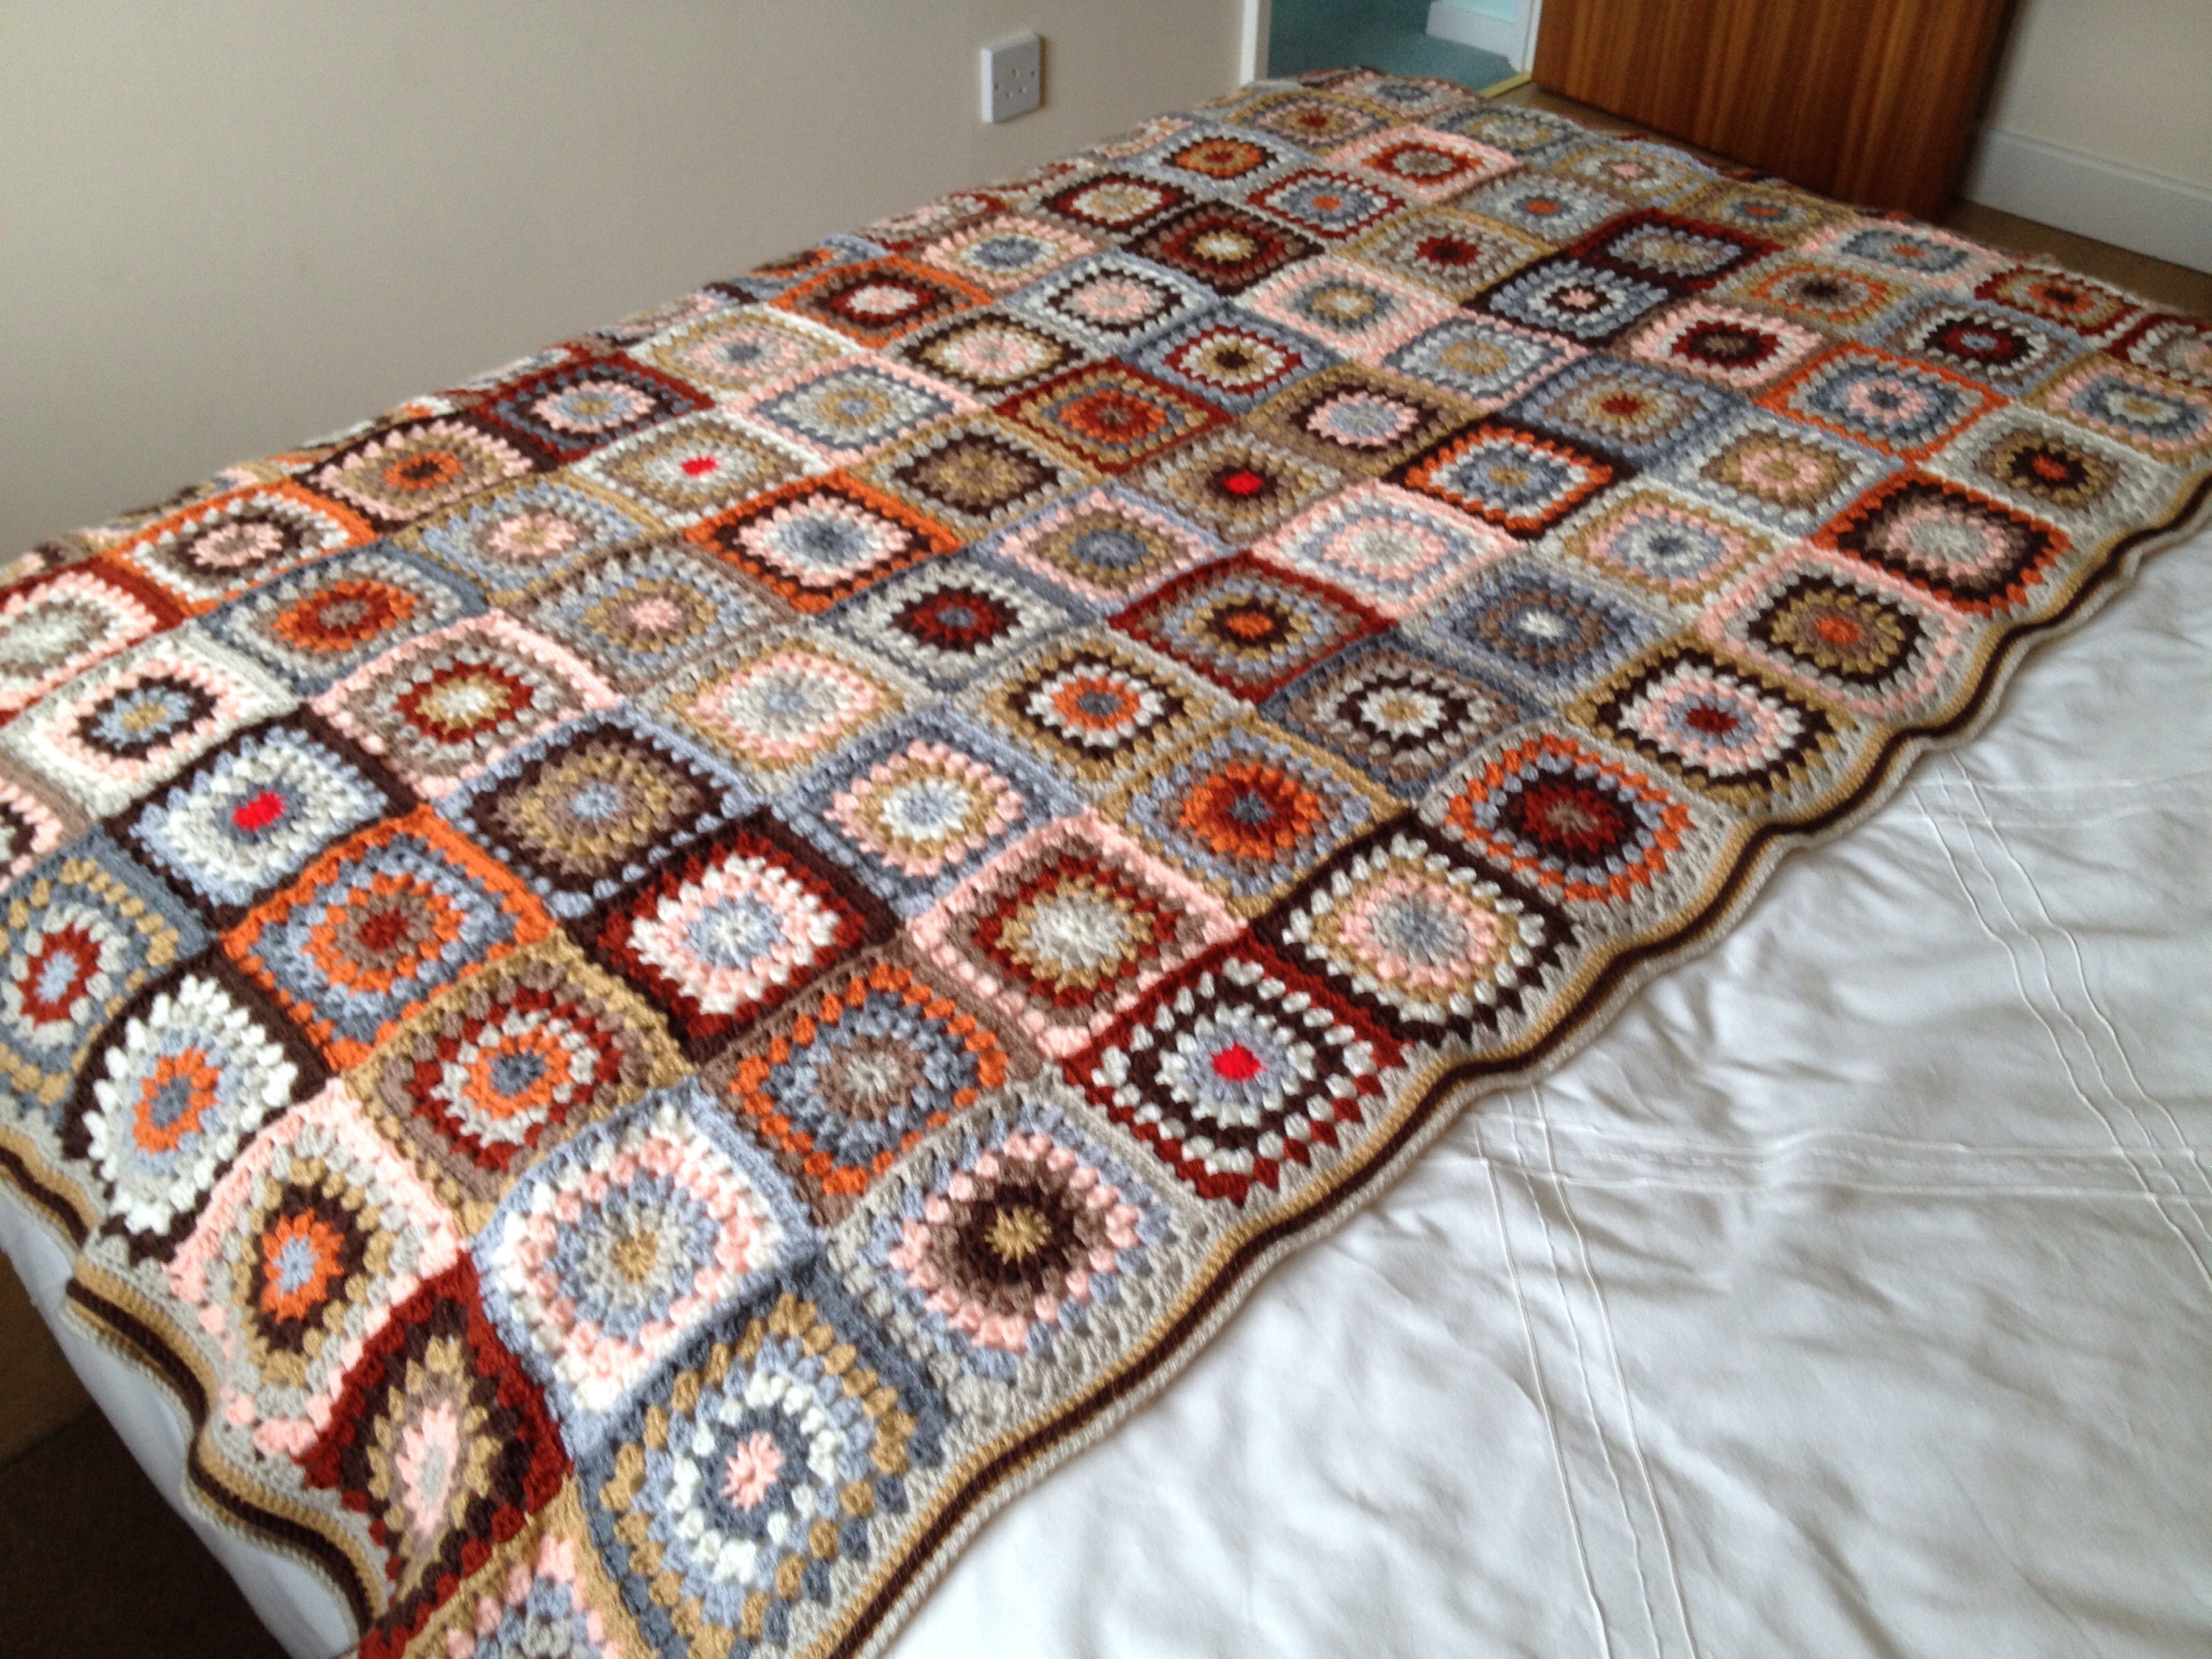
If you hadn’t already guessed; the blanket is for my Mother and the William Morris design curtains are hers. She wanted a new blanket for the end of her bed to keep her feet warm and to snuggle up in during Winter. This will replace one that was made by my great grandmother for her many years ago, when I was just a twinkle in the sky. So, the pressure to get this blanket right and as lovely as I could make it, was high. I did wrap it in Christmas paper, singing falalalala, la la la LA! and it was received with pleasure.

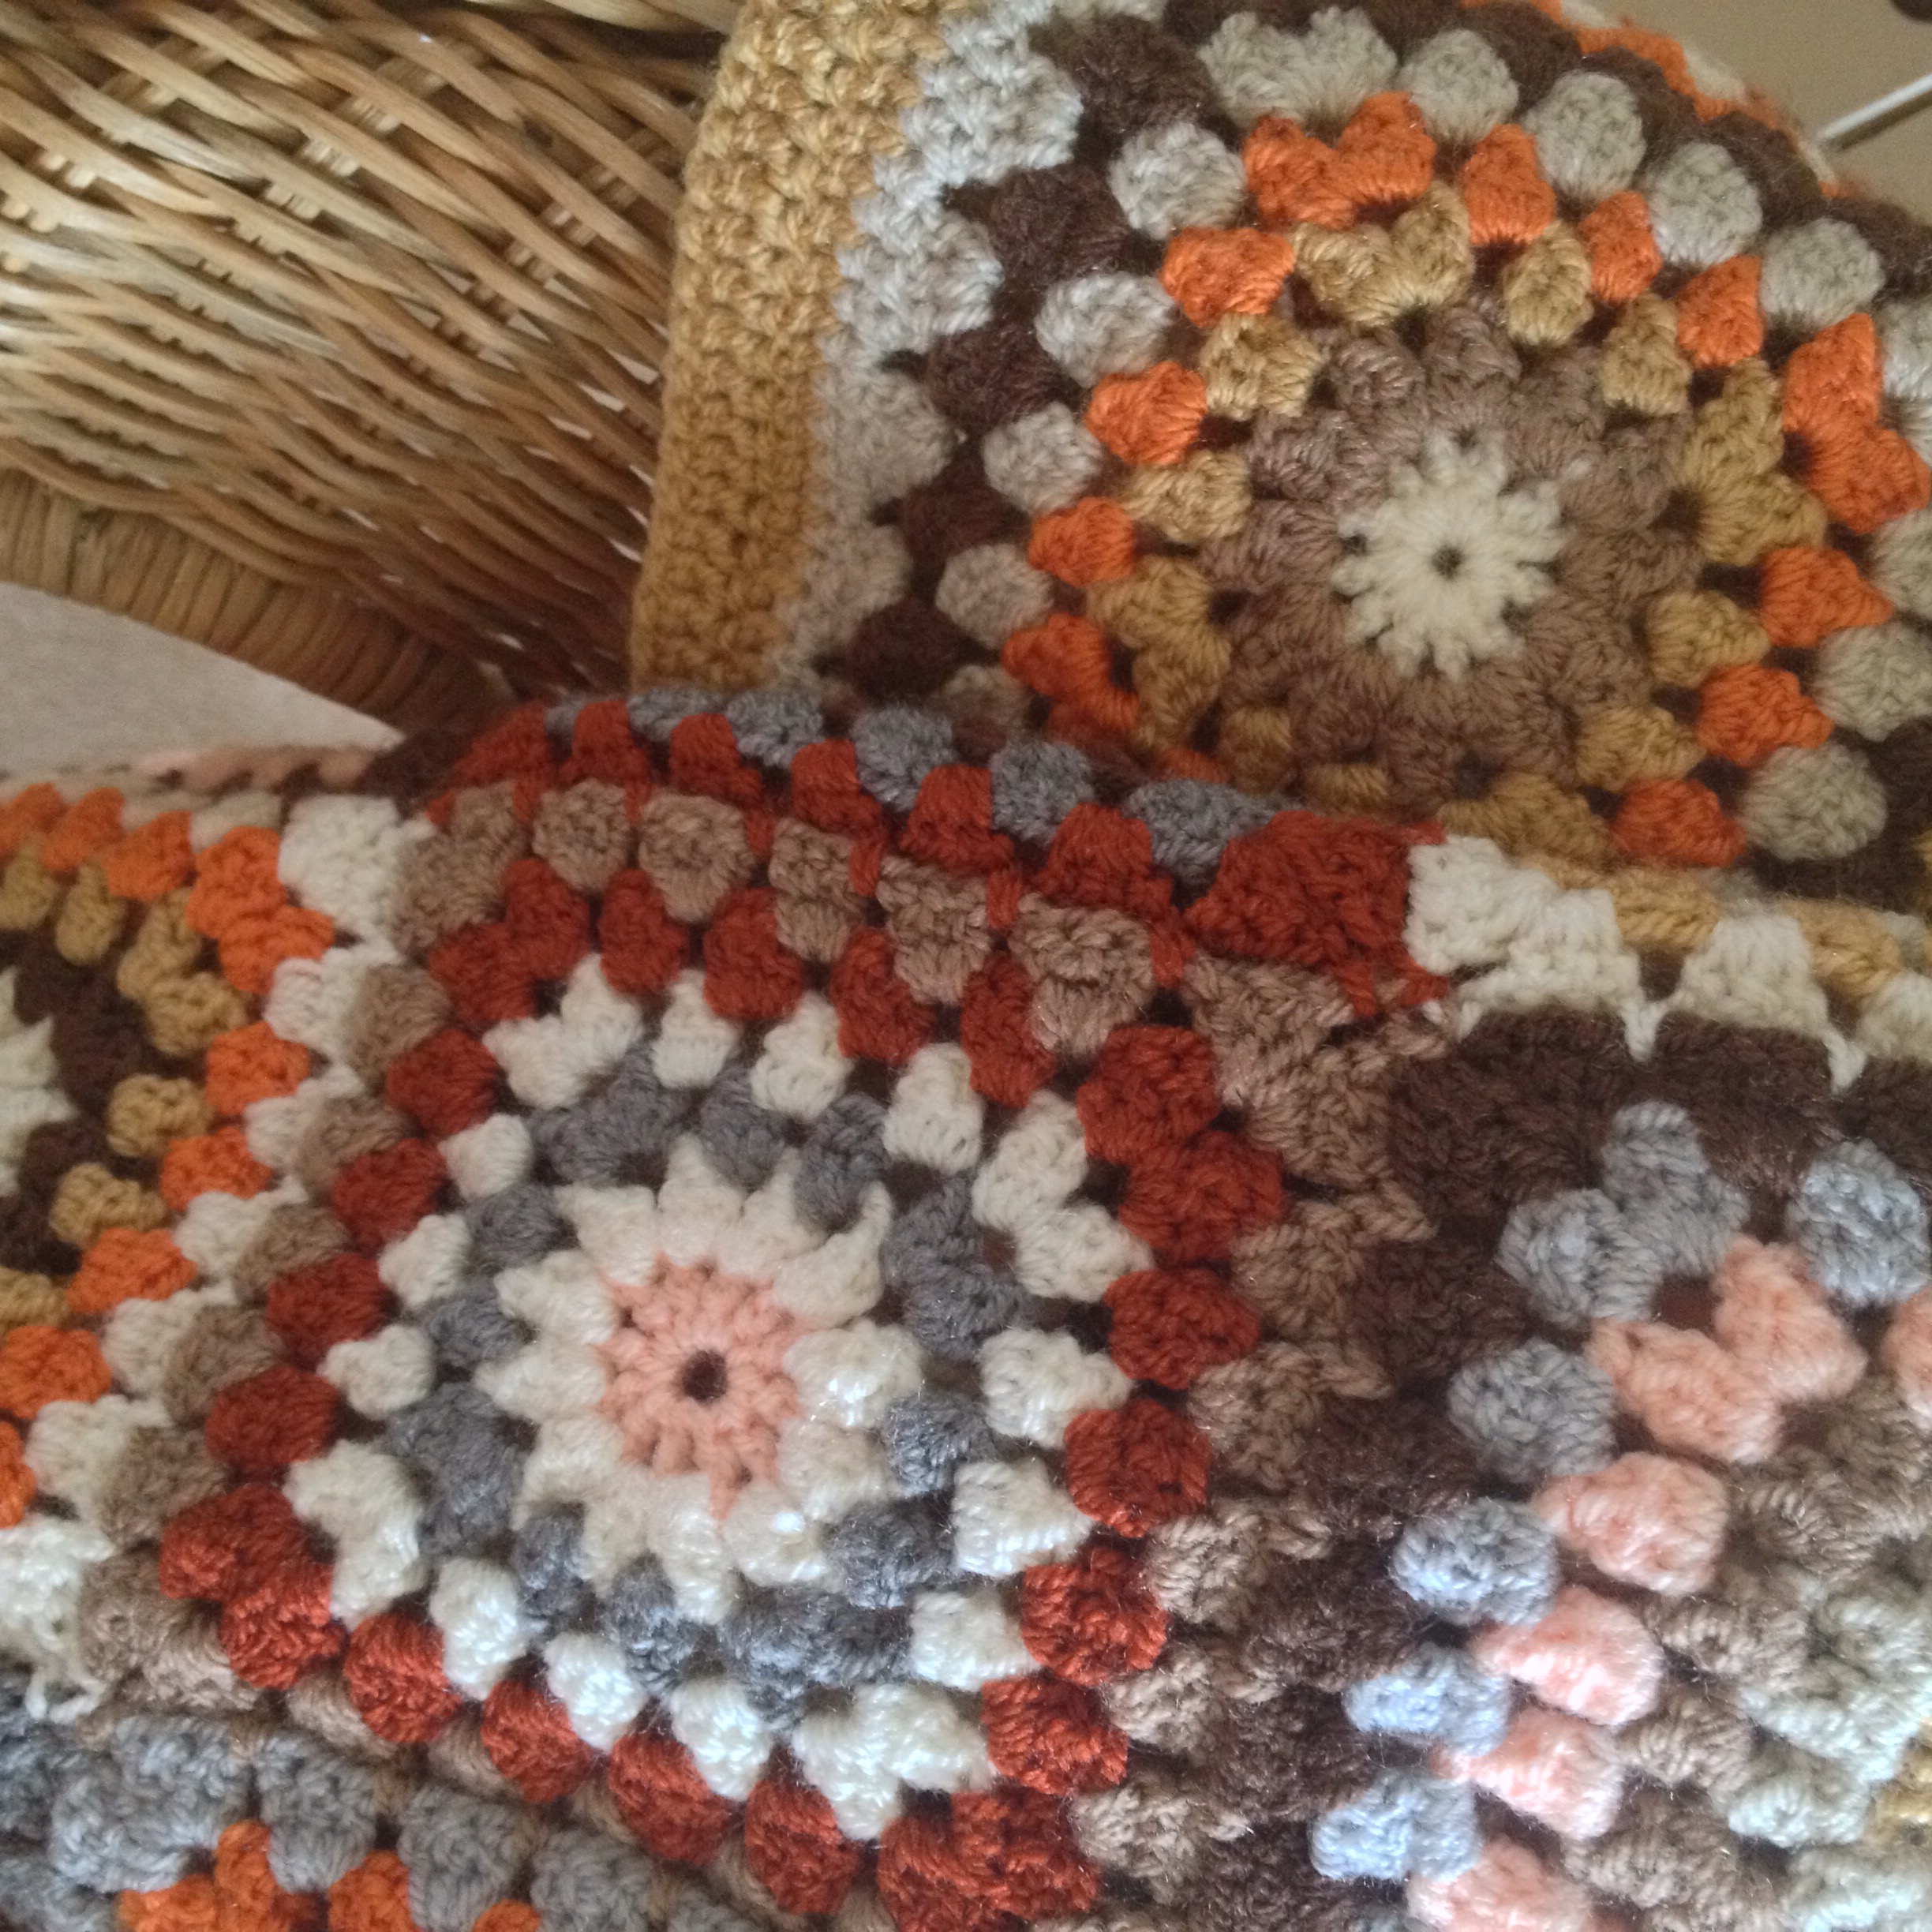
I was hoping to take some washing line pics, but post-blocking the weather was rather grim. These are not the best photos of a finished item at all; due to the poor light levels. And I realised afterwards that I’d plonked it on the bed rather quickly and didn’t smooth it out, oops sorry! Still, you do get the idea of its size and look…
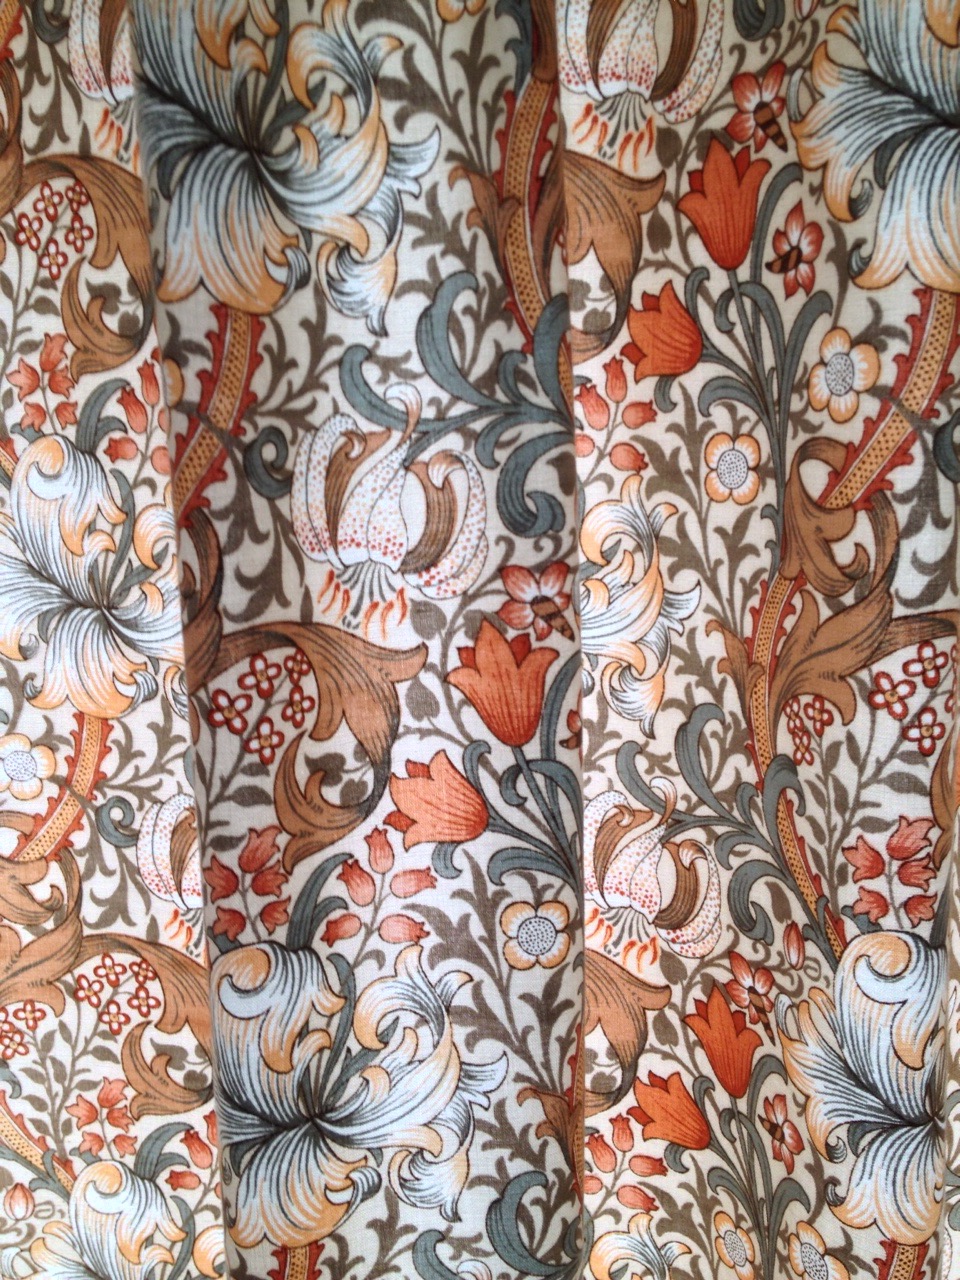
I wonder if anyone will be inspired to use these Autumnal, rather retro colours? They weren’t my thing at all at first, but they really grew on me. It’s sometimes good to do something completely different. I’d given Mum my Stylecraft Special DK shade card and she chose the colours, while comparing them to the curtains. They look really good together, she chose well.
Yarn: Stylecraft Special DK
- Silver
- Grey
- Walnut
- Copper
- Spice
- Mocha
- Matador
- Parchment
- Cream
- Camel
- Apricot
Hook: 4mm for the motifs and JAYGO rounds
3.5mm for the border
Length: 5′ 7″ / 67″
Width: 3′ 5″ / 41″
Weight: 1,422kg
Motif: my own design as follows…
UK terms
FR: Ch6, ss to join into circle
R1: Ch4 (Counts as1 tr and ch 1) *Tr into circle, ch 1 repeat from * 10 more times, join with ss to 3rd ch of ch , ss into next ch sp (12 tr)
R2: Ch3, tr2tog in same space, ch3 *tr3tog in next ch sp, ch3, repeat from * 10 more times, join with ss to top of ch3, ss in next ch3 sp
R3: Ch3, tr2tog,ch2, *tr3tog repeat twice from * to corner then tr3tog, ch3, tr3tog and so on around motif, ss to ch3
R4: As for R3 repeat from * three times to corner then tr3tog, ch3, tr3tog and so on around motif, ss to ch3
R5: Now a more traditional granny square round without clusters: Ch3, tr2, ch2, *tr 3, ch2, tr 3 repeat from * to corner then tr3, ch2, tr3 (I found that ch2 in the corners of this round worked best, but you might find continuing with ch3 works best in yours.)
R6: JAYGO using a ch1, ss, ch 1 in the corners, along the sides ss, ch 1 then tr3 and so on (see this tutorial by Lucy of Attic 24 for help if you need it.)
Please let me if these instructions make no sense, or if you notice an error, it happens!
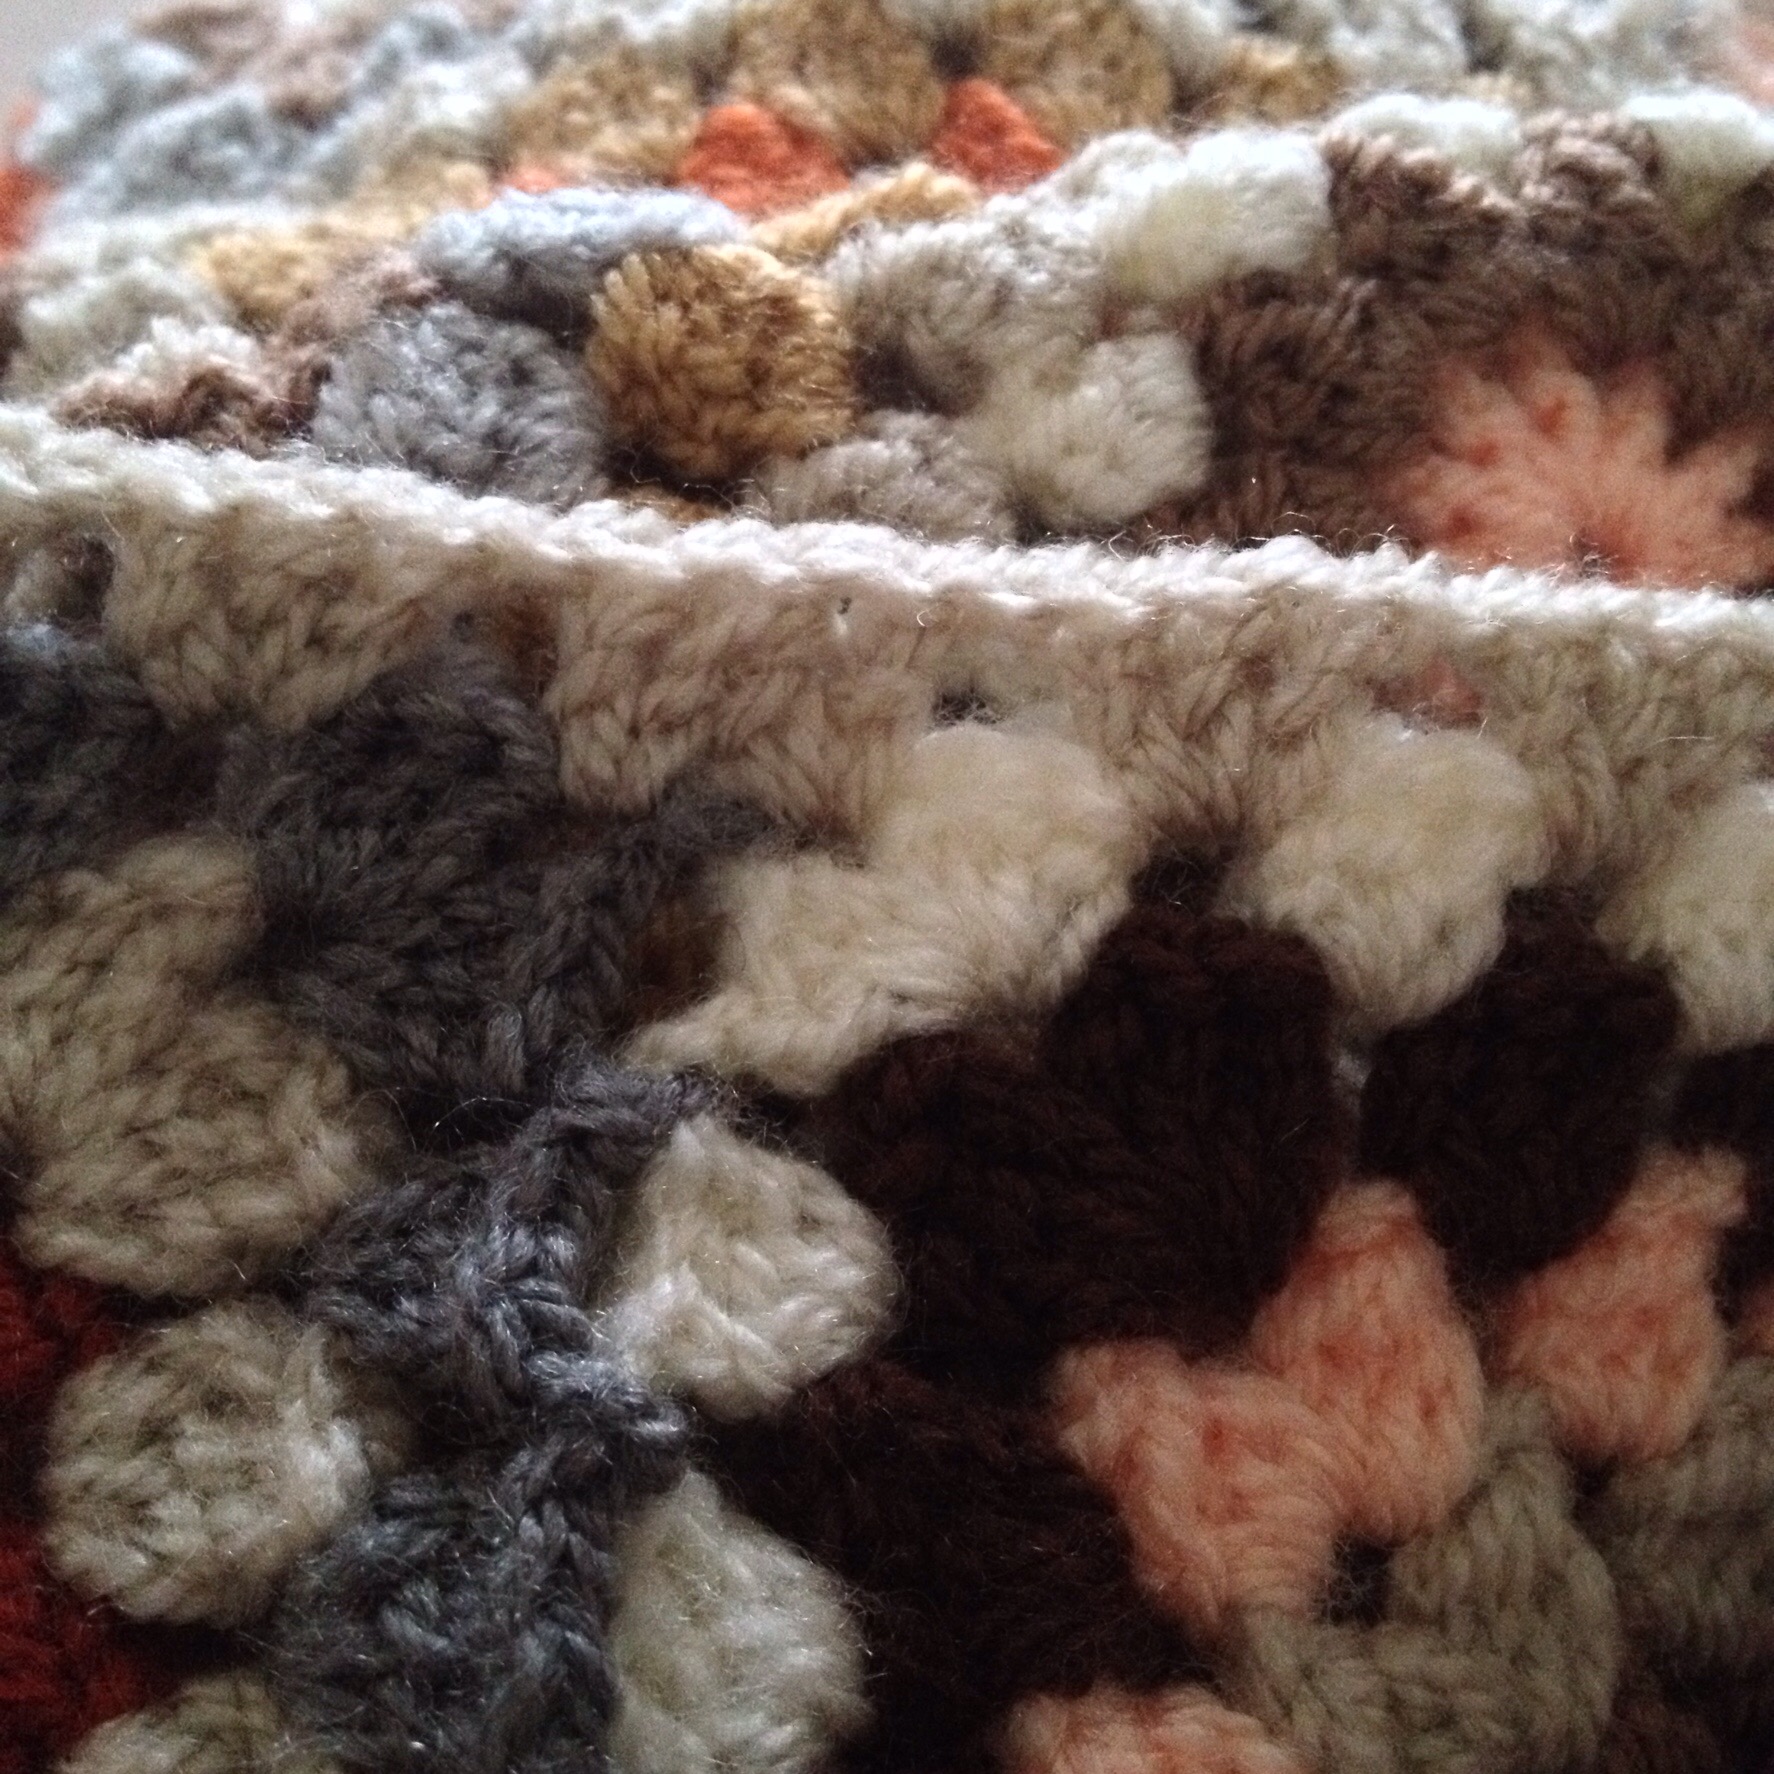
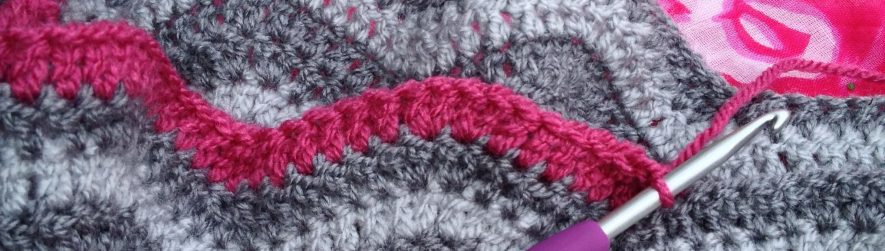
Border: When doing the first row of the pre-border edging you’ll find where you’ve JAYGOed two motifs together you have a lot of stitches along the edge each time when you come to where the corners of the motifs are joined (see photo above.) This is the solution that was passed on to me by Rachel, aka Mrs Pip: treble one stitch on the left hand side of the join, then treble two together – with a treble placed on each side of the JAYGO join – then make a final treble. This leaves only 3 stitches for the next round, but is wide enough to straddle the seam without being too tight. I enjoyed this round, it felt both interestingly different to crochet and pretty ingenious!
I did the final pre-border round in parchment, with a dc into each tr of the previous round and 3 in the centre stitch of each corner.
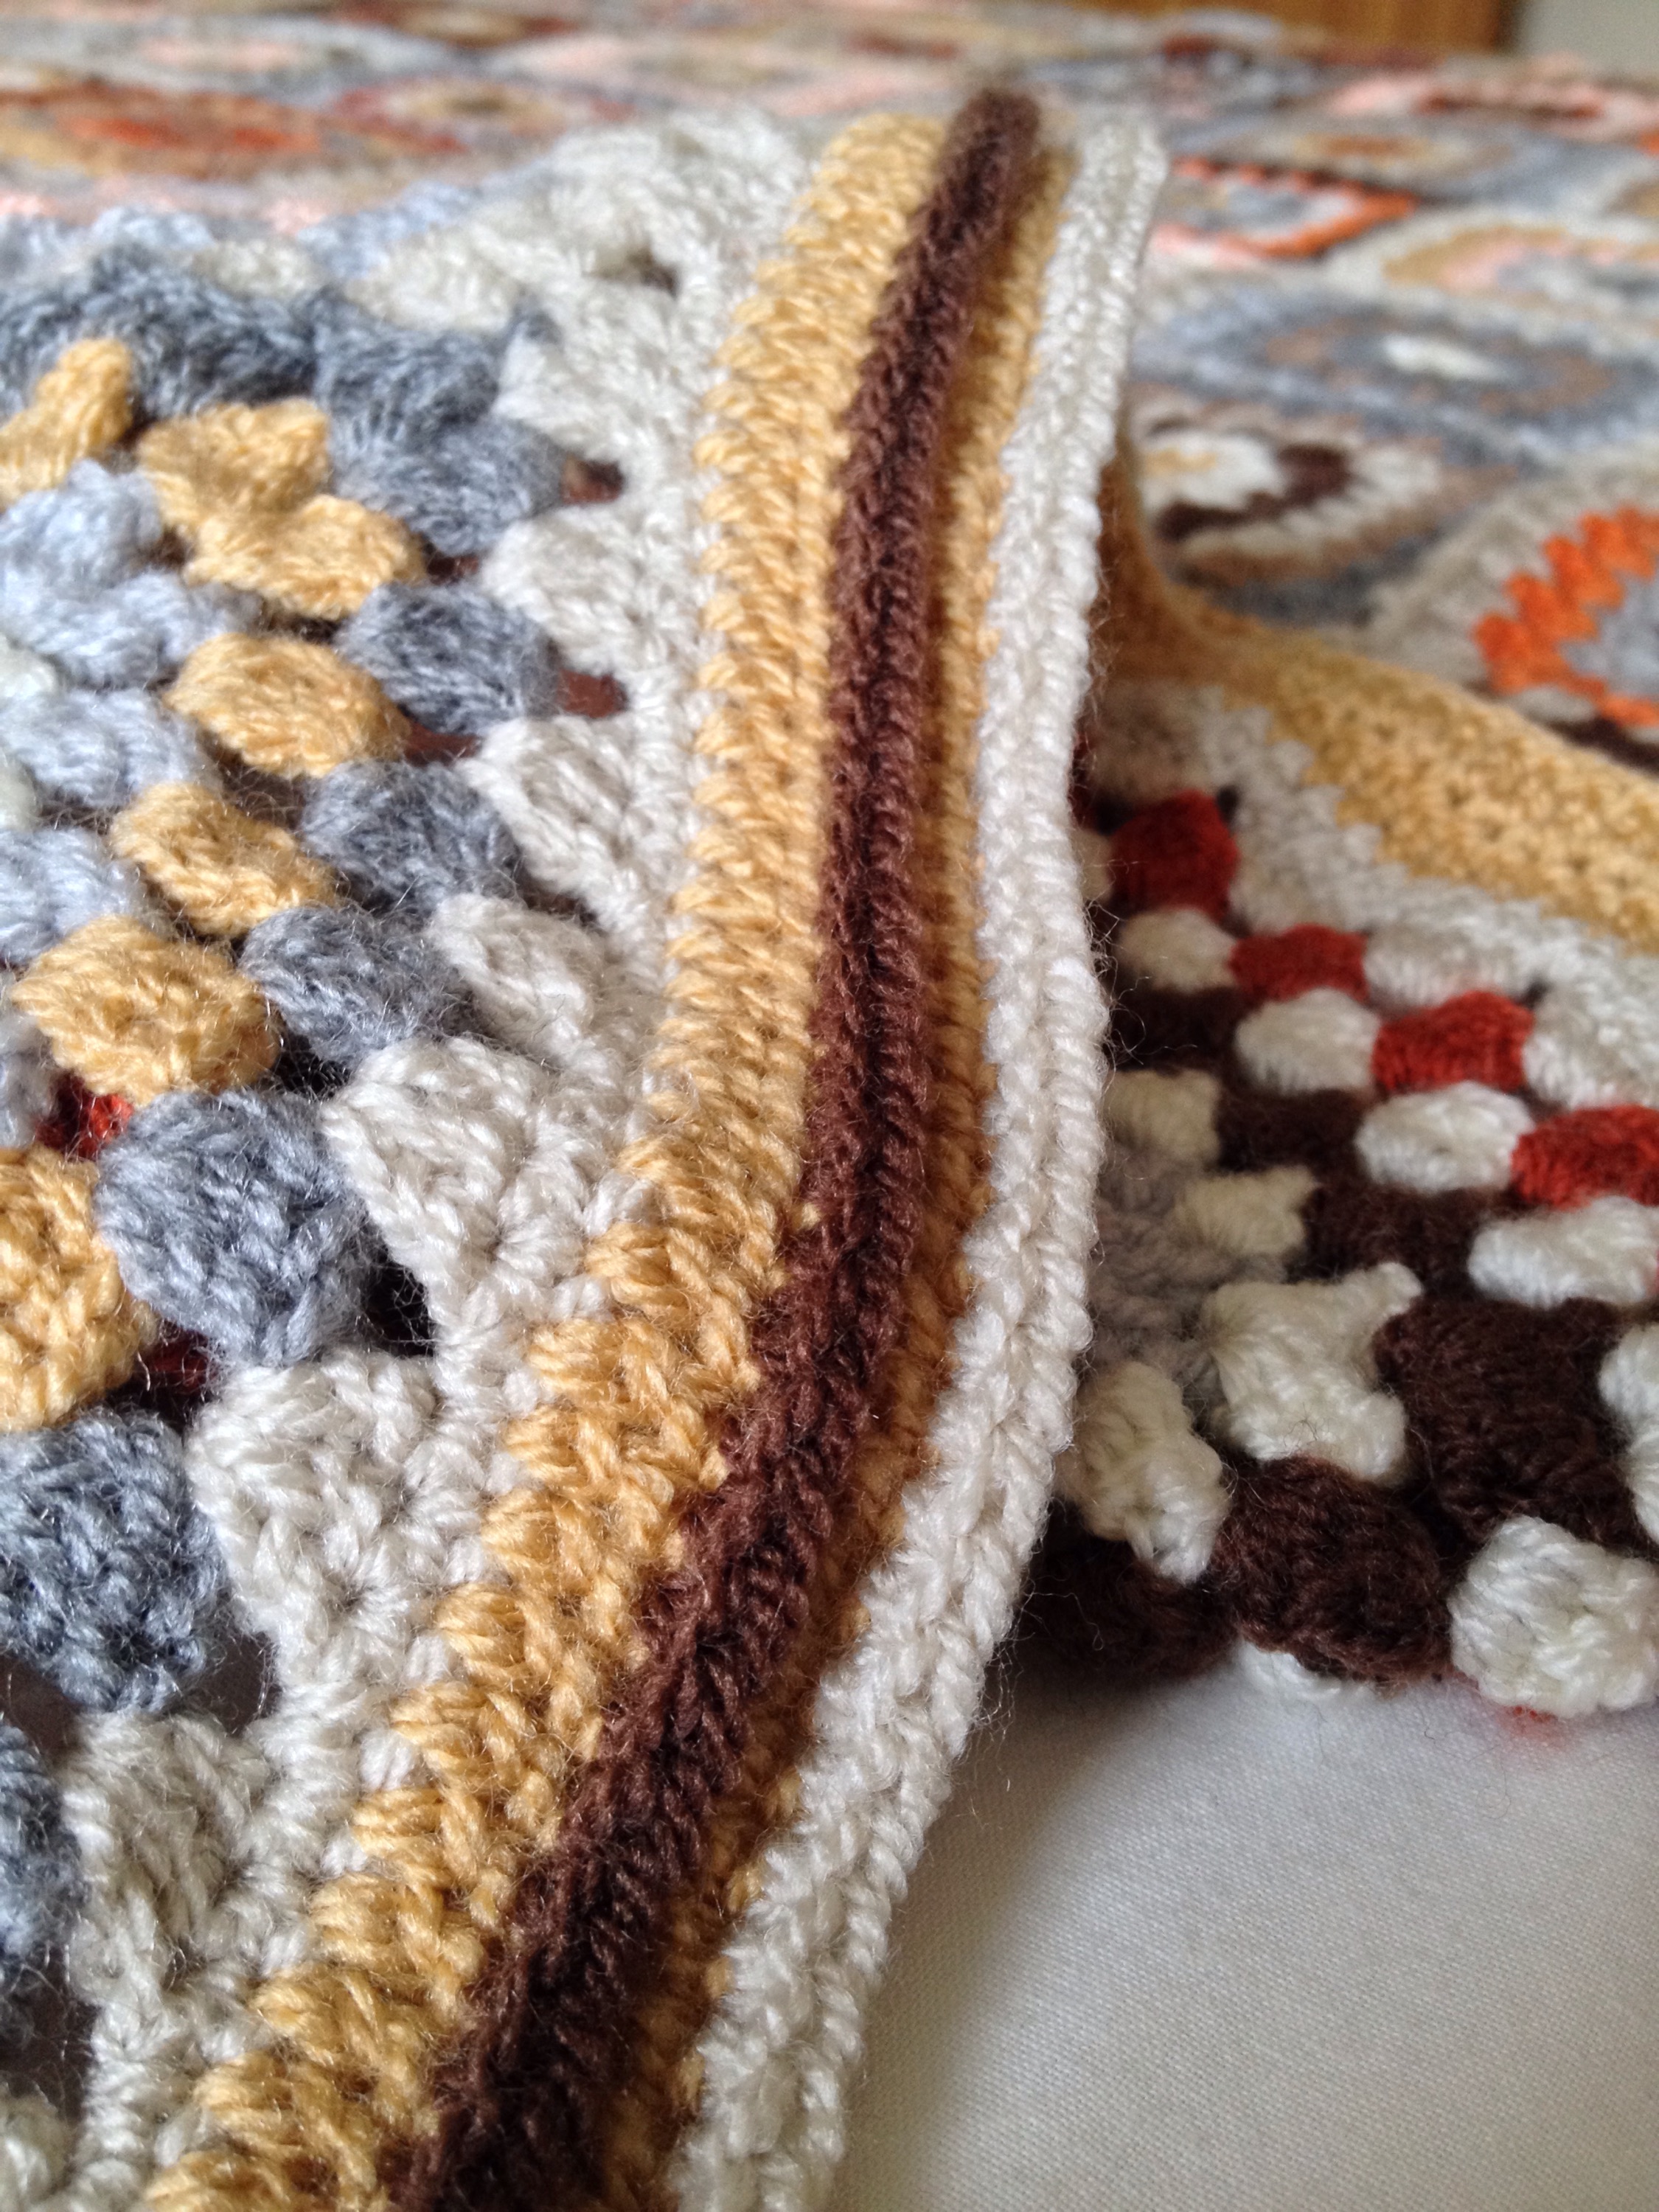
 Showing the back of the border
Border: #107 from Around the Corner Crochet Borders by Edie Eckman. It’s lovely and I really like the 3D effect that rounds 2 and 4 give from making dcs into the front loop only. It’s a thick border which goes particularly well with this heavy blanket.
I steam blocked the entire finished blanket, lying it on my foam mats on top of beach towels, blocking two thirds then the last third. Wear SHOES if you do the same, do not block scald your feet!
And now I’m crocheting a very small thing…

I’m singing in glee too I like very much xxx sorry but might have to copy this one, if ok with you xxx
Nice warm colours, really beautiful.
Overhere in Belgium the weather is too hot.
I will send a little bit of sun to you!
it’s absolutely lovely and looks fabulous on the bed!
What a wonderful thing to be able to replace the one your great grandmother made.
You are rightly pleased with it. It is a beautiful thing. Very well done!!
C
Very pretty!
Absolutely stunning!!!
It’s so beautiful – love the colour scheme you used! And Stylecraft Special DK is so soft too – I bet it’s a really comfy blanket!
Thanks for sharing the pattern too! <3
I’m pretty sure that Mr Morris would be saying something like “A marvellously splendid piece of work, my dear lady” if he was here to see it :-)
Absolutely gorgeous my dear friend!!! And I love the colors ,
I love, love, love this blanket so much. It’s different but it reminds me so much of the blanket in Nanny McPhee which made me go and make a small version! I tried to like the post but it said that I have to have a wordpress account to do it even though it lets me comment. Weird!
Amazing! Love how you matched those colours and that edging is so clever. Will keep it in mind for my next blanket. Bet it was well-recieved.
I think this blanket is absolutely gorgeous and your mother’s color choices make it even more special. I was wondering if you chose the square colors randomly or had some sort of a system to your color choices within each square. Thanks so much for sharing this!
It was not really thought out; I don’t plan too much as it tends to take the fun out of it for me. I think I made a pile of circles in each colour, then did all the second rounds using each colour and so on. Then I did some more to get enough squares for the sized blanket I wanted, but there was no counting how many of each colour etc.
Thank you for your kind comments.
Pingback: Definitely not grey! | The Little Room of Rachell