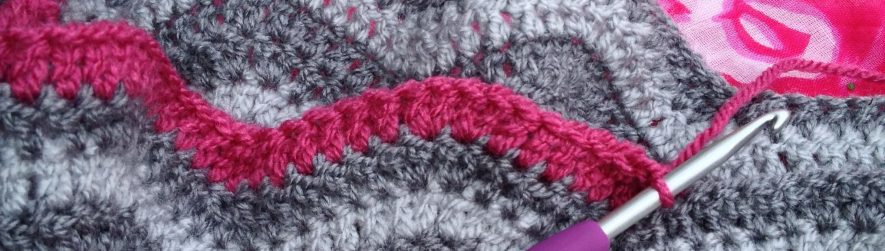
 I’ve never managed to find out the name for this lovely textured stitch. If you recognise it please let me know. It’s one I used for a wash cloth ages ago and I thought it would make a good thickish pot holder.
Pot Holder
You’ll need to use 100% Cotton.I used DMC Natura DK with 4mm hook, I used roughly 30g, amounts will vary depending on your tension and size of your finished pot holder.
You could also use aran weight, or thicker, cotton with the appropriate hook.
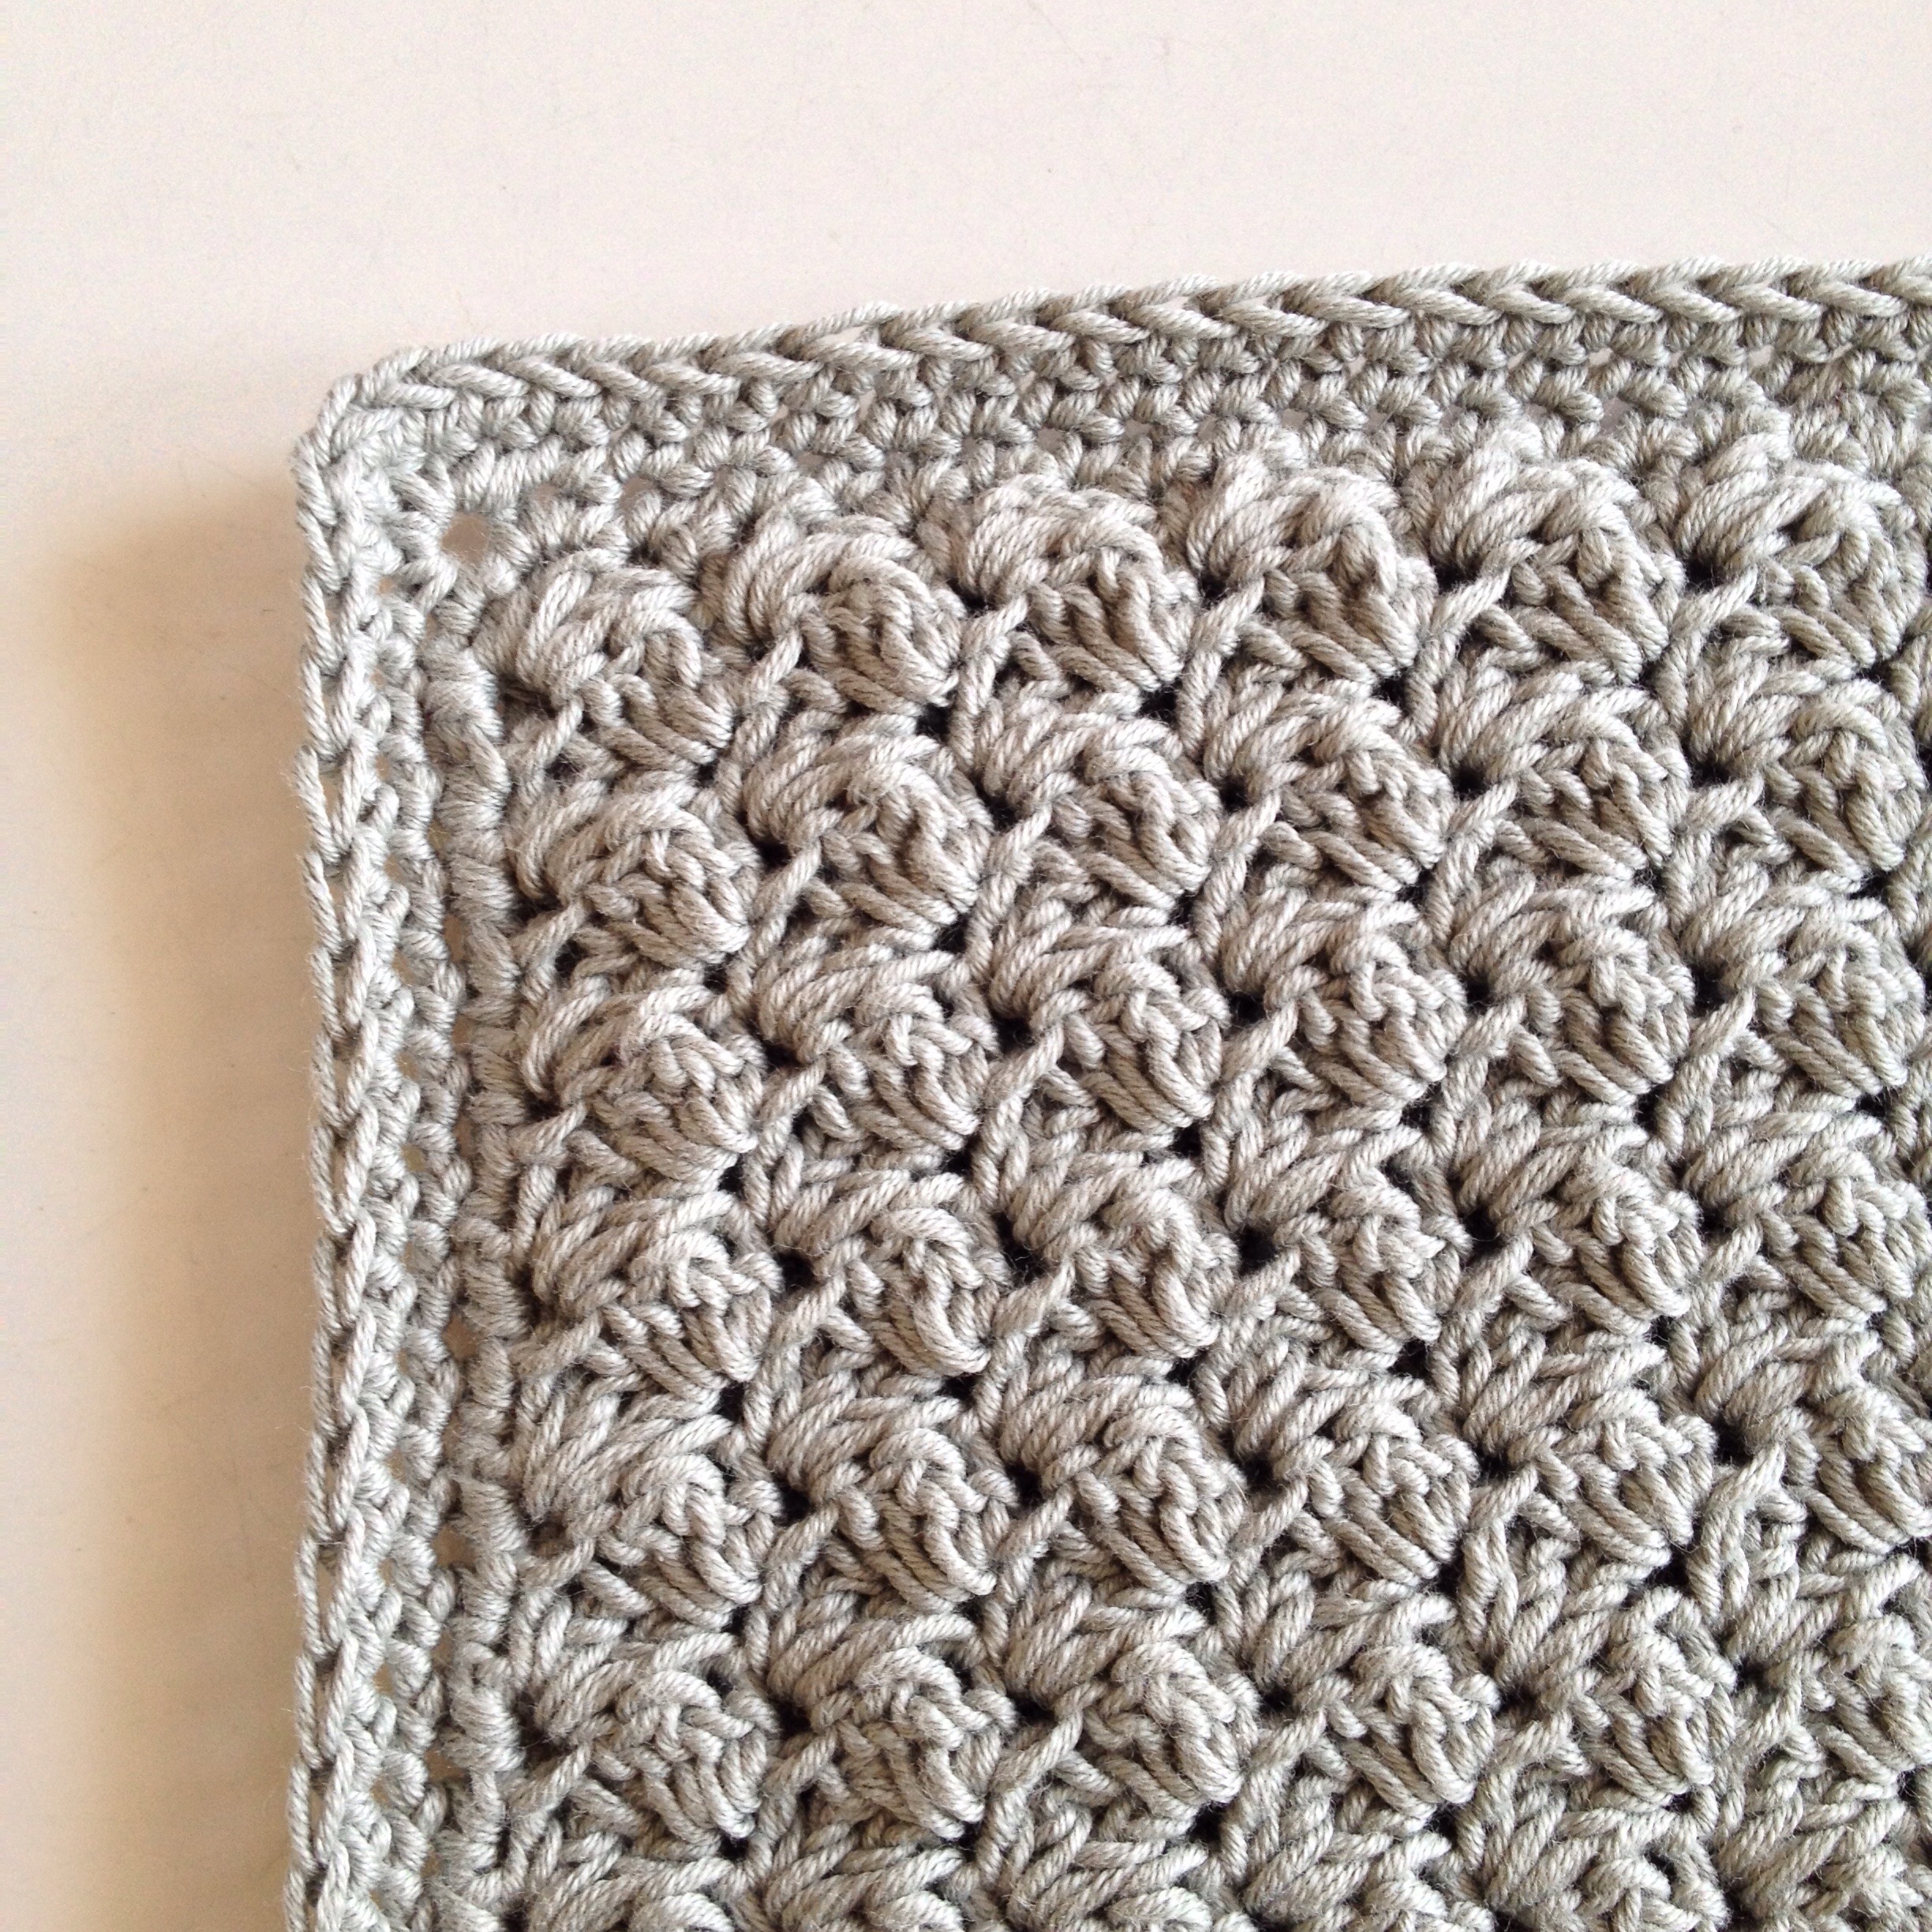
My pot holder measures 6″ x 6 3/4″ / 15cm x 17 cm
All terms are for UK crochet stitches
FR: Chain 32
R1: 1 dc, 2 tr into the 2nd ch from the hook, miss 2 ch *work 1 dc, 2tr in next ch, miss 2 ch and rep from * across the row to the last 3 chs. Miss 2 chs, 1 dc in last ch. Turn
R2: Ch 1, 1 dc, 2 tr into 1st st, mis 2 st, *work 1 dc, 2 tr into next st, miss 2 st and rep from * across until the last 3 sts. Miss 2 sts, 1 dc into last st. Turn
Repeat R2 until piece is the desired length. (I did 24 rows.) Fasten off. Darn ends.
Repeat and make another piece exactly the same size, do not fasten off. Darn in the starting tail end. Put the two pieces together (wrong sides together.) Crochet them together working through all 4 loops as follows:
Edging:
R1: Work 2 dc into the same st as the last dc of your last row, also going through the 2 loops of the other piece too. Continue working along the edges of the cloths along the four sides, making 1-2 dcs into each stitch. Be consistent and do the same for both sides. I made 1 dc into each stitch on the top edge and at the sides, but 2 into the bottom stitches where the loop of the initial chains are wider.
Work 2 dc, 1 ch, 2 dc at the corners.
R2: Ch1, 1 dc into the 1st st, then make 1 dc into each stitch, chaining 18 (or the number you choose for the length of loop that suits) at the top left or right corner. Work 2 dc, 1 ch, 2 dc at the corners (increase the ch to 2 if you feel they look better or suit your tension, try it both ways and settle on one for all corners…) Secure the last ch with a ss into the 2nd dc corner stitch, make 1 dc into the same st, continue making 1 dc into each st around. Ss into the intial dc of the round.
R3: Ch1, 1 dc into the first st, then make 1 dc each stitch as before, 1 dc into each st of the ch loop and around. Ss to the 1st dc of the round. Fasten off and darn the ends neatly.
If you make a pot holder using this pattern please leave a link in the comments, I’d love to see yours.
(Saturday: I’ve just come across the stitch in The Harmony Guide to Crochet, it’s boringly called Sedge stitch II. Sedge stitch I is basically miss 2 ch, 1 dc, 1 htr, 1 tr and rep to the last 3 sts, 1dc in the last st. That looks worth a try sometime.)

Beautiful! — Is is as “squishy” as it looks like? Do you think it might work for a laptop cover? (in terms of protecting it). Have a lovely weekend – Carina.
It’s not super squishy as it’s not super thick DK cotton, not wool. A soft Aran or chunky wool (or acrylic) would be better I think. It would definitely make a nice textured cover and give a bit more padding than a flatter stitch combination.
Have a lovely weekend.
That’s very pretty and classy too. ((hugs)), Teresa :-)
Pingback: 16 for 2016 revisited | The Little Room of Rachell