Holey cowl

….Just in time for our current lovely Springtime temperatures! Oh well blink and the weather changes here in England.  I’ll take it away with me to wear during chilly evenings, or for wearing by the sea if the wind blows. 

The yarn looks a different colour in every photo, it’s more red not raspberry. 

The apple blossom should flower soon. It’s so pretty. 

Details – as you might want to knit a holey cowl too? 

I used Louisa Harding Orielle – Ruby (colour no. 12) 

This is a gorgeous wool blend; with 97% baby alpaca and 3% metallic polyamide (can you see the little sparkles?) It’s as soft as a cloud and drapes beautifully. 

I used 4mm needles and sewed the seam at the end. Can you spot it in the second pic? I’m not sure how I managed such a neat job of it, but I did enjoy the sewing. It would knit well on circular needles too if you prefer seamless makes. 

I used 3 x 50g skeins but if you want a longer cowl or a narrower one, the amount would obviously differ. 

Height: 41cm/16″ (I wear mine doubled over, I don’t have the neck of a giraffe!)

Circumference: 61cm/24″ 

Cast on 72 stitches 

1-5 rows: Knit  

6th row: K1, *yo, k2tog and repeat to the penultimate stitch, k1

And repeat until it’s the right height for you. 

Easy! Good pub or cafe knitting if you have a crafty meet up ahead. 

Valentine’s heart patches


This is a sweet little patch. I intend to buy two blank craft cards and envelopes and attach a heart patch to each using double sided sticky tape. Do they still use that all the time on Blue Peter? I’m going to send them to two little-ish girls for a Valentine’s surprise.

Alternatively you could just knit two rectangles, swiss darn the heart (or one on both sides) and sew or crochet them together, to turn them into a little woolly pincushion or a pointless but cute woolly thing. You’ll probably have even better ideas. If you do, please share them!


Yarn: I knitted these with Stylecraft Special DK scraps, in parchment and did the swiss darning in raspberry. You can use any DK you have.

 
Needles: I used 3.5mm but use whatever you have or prefer. 4mm would work equally well and will still make a patch small enough to easily fit onto a card.

 
Pattern:
Knit a moss stitch border with stocking stitch as the main part of the patch

Cast on 20 stitches

Moss stitch for 2 rows:

Row 1: *k1, p1*and repeat * until the end

Row 2: *p1,k1* and repeat until the end

Stocking stitch with a moss stitch border for 8 rows

Row 3: k1, p1, k to last st, p1

Row 4: p1, k1, p to last stitch, k1

Repeat rows 3 & 4 6 more times.

Repeat rows 1 & 2 once

Cast off

Swiss darning/duplicate stitch: decorate the patch with a contrast yarn. See this video from Simple Stylish Knitting if you’re unsure about how to do swiss darning. It’s easy once you get into the rhythm of it. Sew in a good source of light, so you can see what you’re doing properly.

 Both of my hearts are slightly different from each other. The main thing is to start at the top, and do the middle stitches first. Make sure the bottom stitches line up with those at the top.  You can make the heart as wibbly or symmetrical as you like.

Yep: I’m knitting a Hitchhiker too

          Every time I scroll through the pretty pics on Instagram I see the Hitchhiker pattern being knit by someone. Seeing this many pictures of the same item is really a form of brain washing, or extremely effective advertising, so the other day I found myself click clicking on Ravelry here and in receipt of the pdf. I only wish I’d designed it as I read somewhere that 18,000+ (and I’m hoping this is true and not a wild exaggeration!) copies of the pattern have been sold.

I got so indignant about a character’s behaviour in my audio book, A God in Ruins by Kate Atkinson, that I had to undo some last night as the teeth were at the wrong end. I only noticed after 8 more rows. D’oh! Apart from times of audio distraction it’s very easy and satisfying knitting.

I hope you don’t feel like I’m spamming you with too many posts this week. It’s just that I’ve had more to show as I’m not just plodding on with the same couple of makes. Also I’ve got lots of free time as I’ve been laid up resting my knee. 

What are you up to at the moment?

Homemade compliments

I’ve just read Sarah of Crafts from the Cwtch blog post about how her new knitted Colourblock Shawl has prompted compliments from strangers on the street. This reminded that when I wore my crocheted ribbed scarf to evening class on Tuesday I was complimented on the colours. It’s so gratifying to make something handmade and have it noticed. (For the right reasons!) Shop bought rarely gathers compliments; I guess the colours and designs can be too generic to stand out.
IMG_0381.JPG
If you want to crochet a ribbed scarf the pattern’s here. Or, you could dig out your knitting sticks and make Sarah’s cosy shawl.
IMG_0382.JPG

Currently I’m rippling away still, full speed ahead. The end is in sight, bar the darning and border. I have about 19 more stripes to crochet and I’m whizzing along to (don’t judge me) Glee: season 4. I gave up on Glee at the beginning of series 3 which was shown years ago here. It was so samey and they looked far, far too old to still be hanging around a High School music room! Series 4 was apparently broadcast two years ago, most of the originals have moved onwards and upwards which makes it fun seeing their next steps. It keeps me singing along as I fiercely hook, hook, hook on the sofa. To be honest I am absolutely dying to make some small fun makes, but I know I have to get the zesty raspberry ripple finished and then go back to the motif blanket. Both WILL be completed in time for Christmas.

What are you up to?

Knitted cactus pin cushion

Inspired by a cactus pin cushion I spied in a craft shop in the Summer I decided to have a try at making my own version after my table got a bit scratched by my new pins the other week. They’re too long for my 20131111-102229.jpgpin cushion which I reckon would be termed ‘vintage’ now as the material dates from the 1970s. I’m wondering if these are really millinery pins?

20131230-154113.jpg
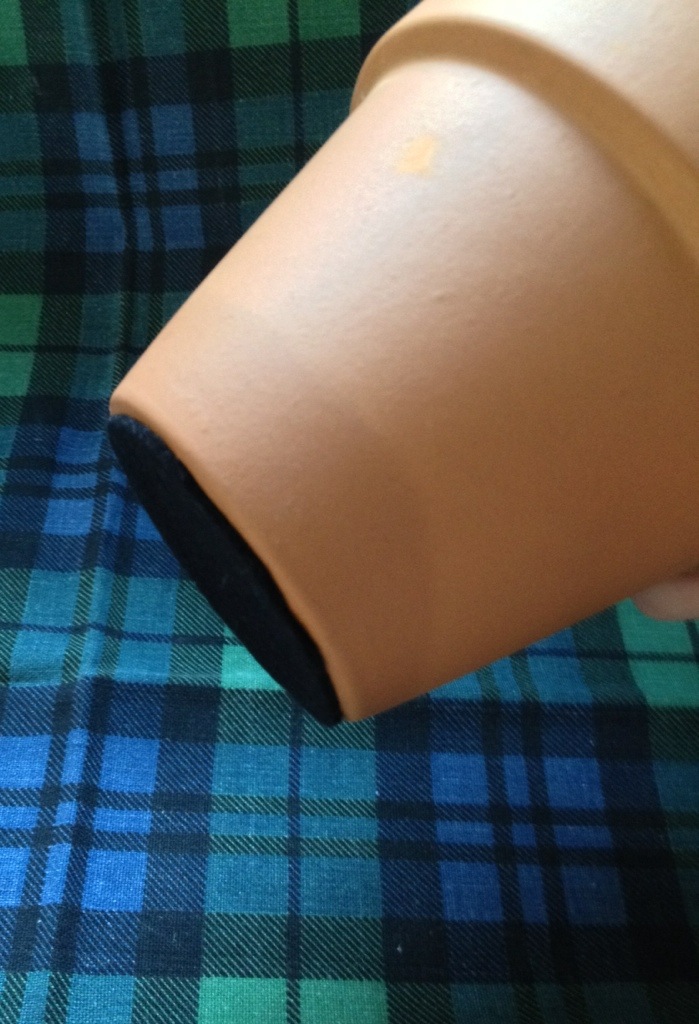
I glued a circle of felt to the bottom of the flowerpot so it wouldn’t scratch the table. I bought a new terracotta pot although you’d never know with all the glue marks I’ve left. At least I didn’t superglue my fingers together, though I did ruin the trousers I was wearing due to glue blobbage as it set firm in a plastic disc. Oops.

20131230-154127.jpg
There’s a lump of polystyrene at the bottom of the flowerpot, then some toy stuffing so the cactus sits at the right height. Next time I might try using rice or similar just because of the huge mess the polystyrene made (see photo on my Facebook page…) when I tried to saw a chunk from a piece I’ve been hoarding.

20131230-154141.jpg

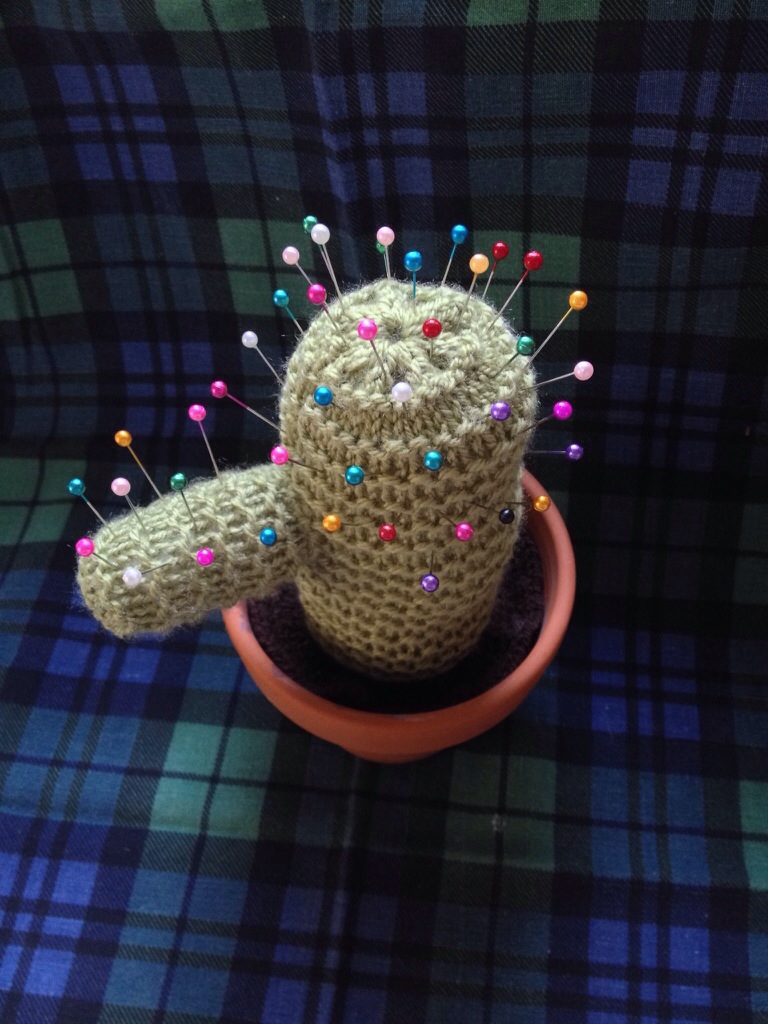
How to knit a cactus

I used Stylecraft Special DK Meadow Green, with 4 mm needles.

Cast on 30 stitches for the main body of the cactus
Rows 1 & 2: Knit 2 rows of stocking stitch (that’s 1 row in knit stitch, the next row in purl stitch)
Row 3: Knit a row of garter stitch (that’s all knit stitch)
Repeat these 3 rows until you have a nice tube – check this by keeping the knitting on your needle and folding the rectangle in half until it’s the diameter you’re happy with.
Don’t cast off, just cut the thread leaving a length to thread a needle and gather up all 30 stitches tightly, fasten off securely and darn in the ends. That’s the top of your cactus.

Cast on 15 stitches for the ‘arm’ of the cactus (I probably need to look up cactus terminology?!)
Repeat the 3 row pattern, as for the body, until you’re happy with the tube you’ve made. As above, gather up the stitches and secure.
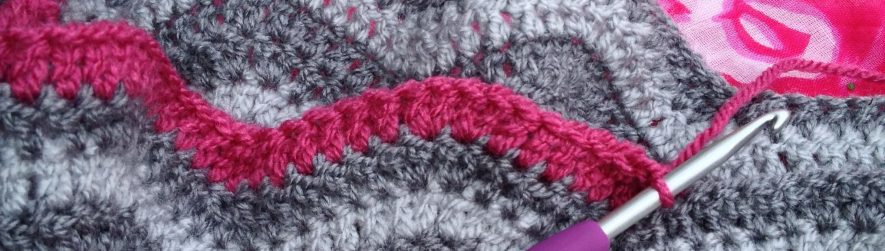
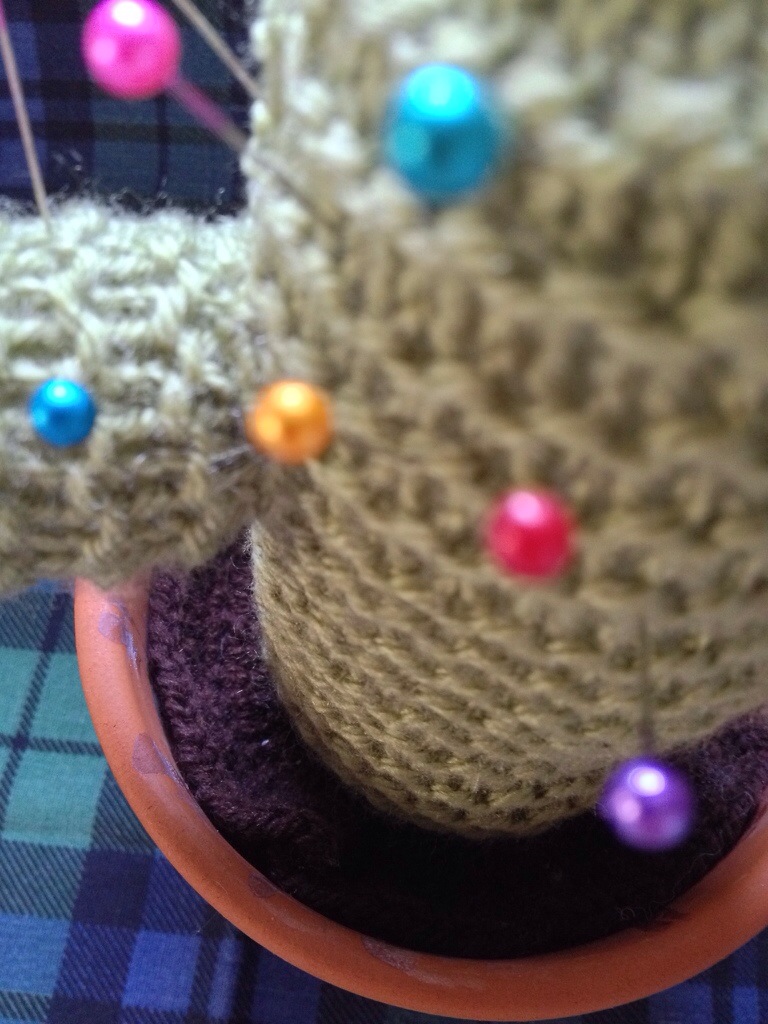
Crochet some earth!

FR: Chain 6, slip stitch into a circle.
R1: Treble 6-8 into the circle (depending on your tension)
R2: Chain 2, then DC into each treble of the previous round
R3: Chain 2, then DC into each DC of the previous round, increasing into every other stitch
R4: Chain 2, then DC into each DC of the previous round, increasing into every third stitch

Continue rows in the same way increasing into every fourth, then fifth, sixth stitch etc until the circle fits nicely into your pot.

Sew the arm onto the body of the cactus and then sew the cactus onto the earth circle (sounds New Age?!) Use superglue with care, sticking the sides of the earth circle to the pot.

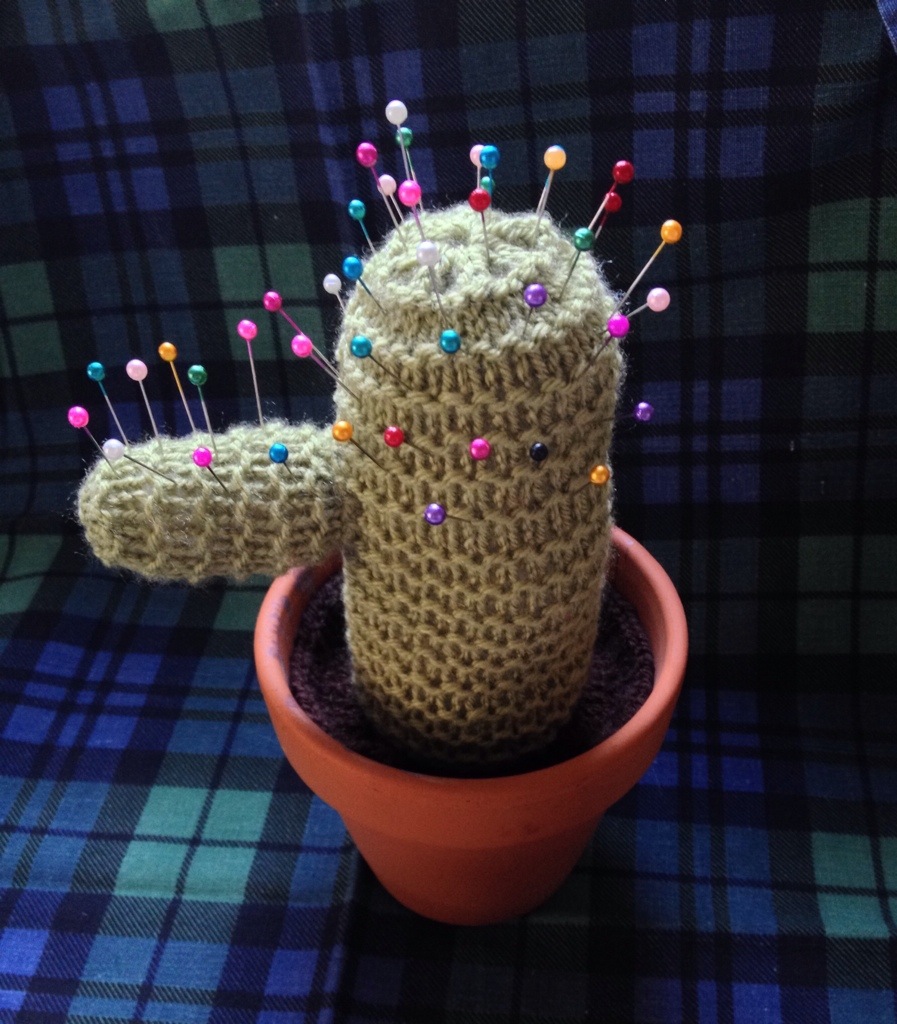
Stab the cactus with an assortment of pins and darning needles until it’s suitably spiky.

20131230-154155.jpg

20131230-154213.jpg

Here it is in use last night as I began preparing to sew a Cath Kidson pattern – a large tote bag.
20131230-154218.jpg

It’s an anniversary today – 2 years of The Little Room of Rachell. How time flies! When I look back I’m amazed at how much I’ve made, with lots of learning curves. I really didn’t think I’d still be blogging beyond learning to crochet, which was my goal for the New Year of 2012, but it’s been fun making crafty connections with others and sharing what I’m up to online diary style. So I carried on day by day, week by week without a plan. I just looked at my stats and this is my 305th post! Admittedly I’m rarely short of something to say, both here and in real life! Thank you for reading, especially if you’re part of the little band of followers who’ve been here since the beginning. And thank you for leaving so many great comments (2,374!) I always really appreciate it when you stop to type your thoughts, or respond positively to a post. As many of you know I often reply with an email, it’s been fab batting chatty messages back and forth.

The blog’s definitely evolved and is not solely crochet focused anymore. This year I’ve been dabbling in all sorts of crafts, although crochet is still a big part of how I spend my spare time. I joined a knitting group in the Autumn and find it far easier to crochet while I chat and get to know the group. I don’t have to look at what I’m doing all the time, and I always take something simple like the huge Granny Squares so there’s no counting or complicated pattern to follow. Several of the group are also both crocheters and knitters which is cool.  I have to say that it’s nice to watch someone else also wave a hook and a glass of wine around!

Have a fun New Year’s Eve! Enjoy reflecting on the past year and looking ahead with crafty resolutions, learning goals or just anticipating lots of creative fun to come in 2014. :-D xxxx
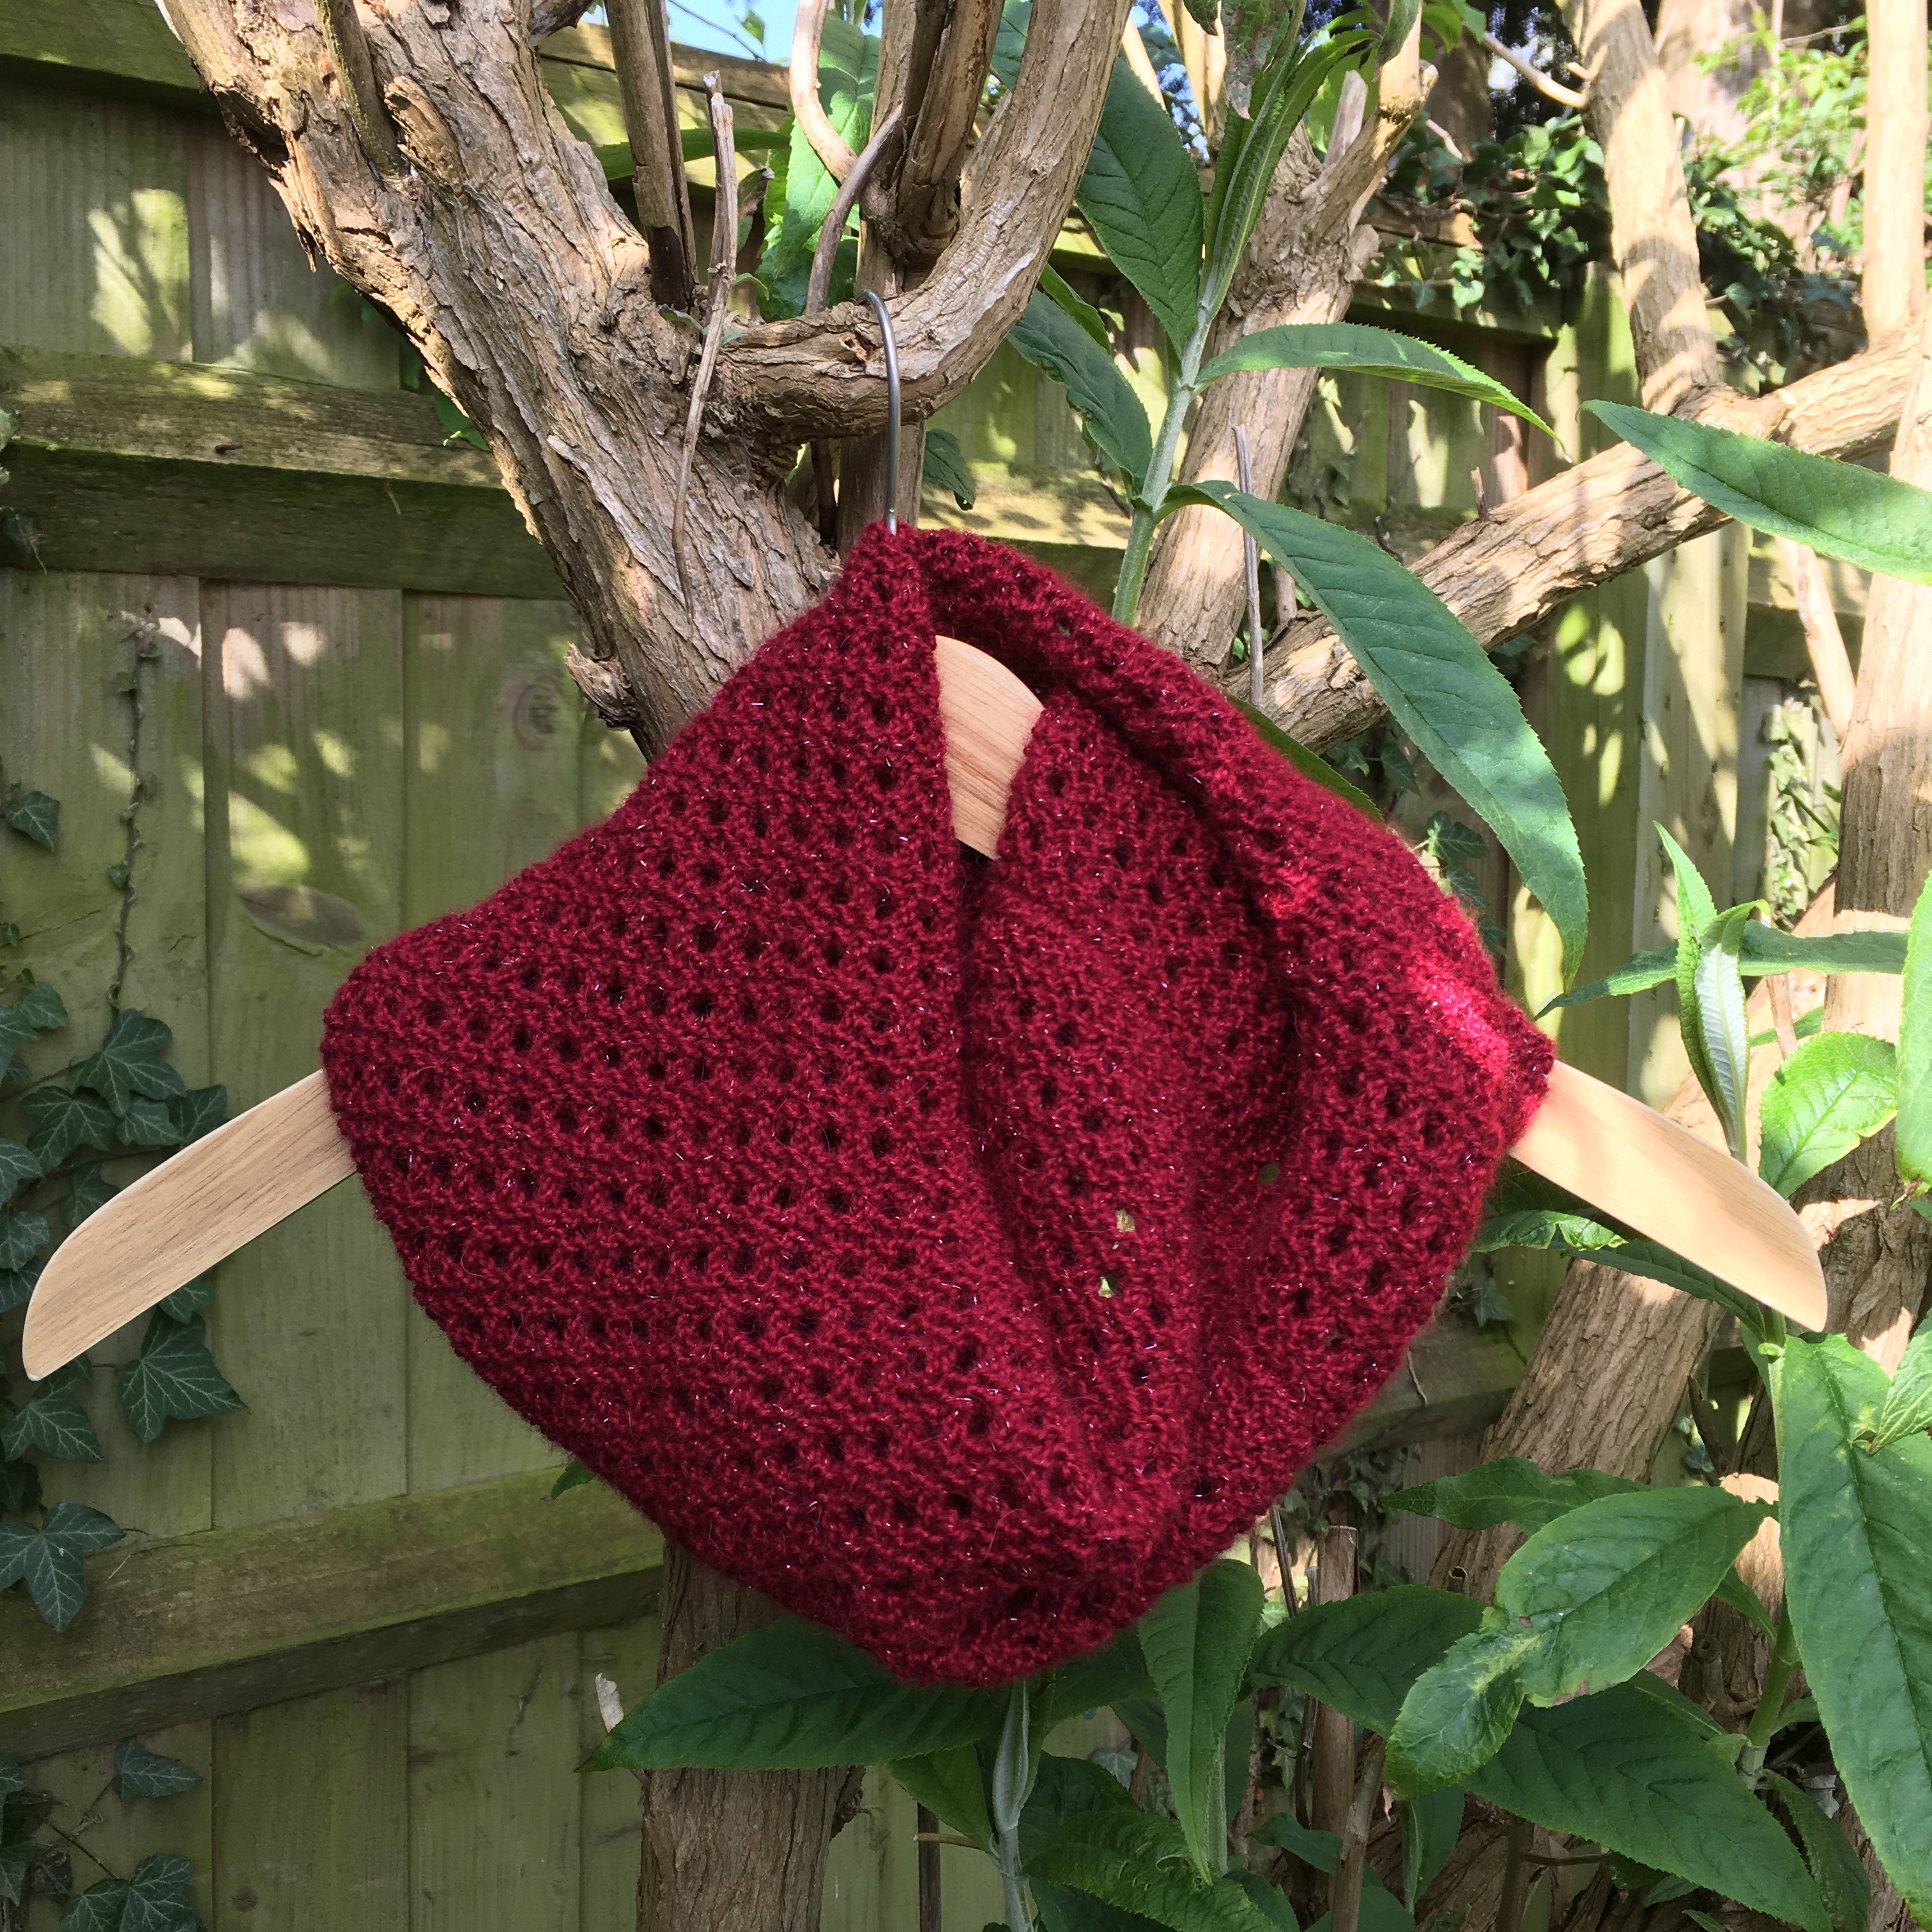
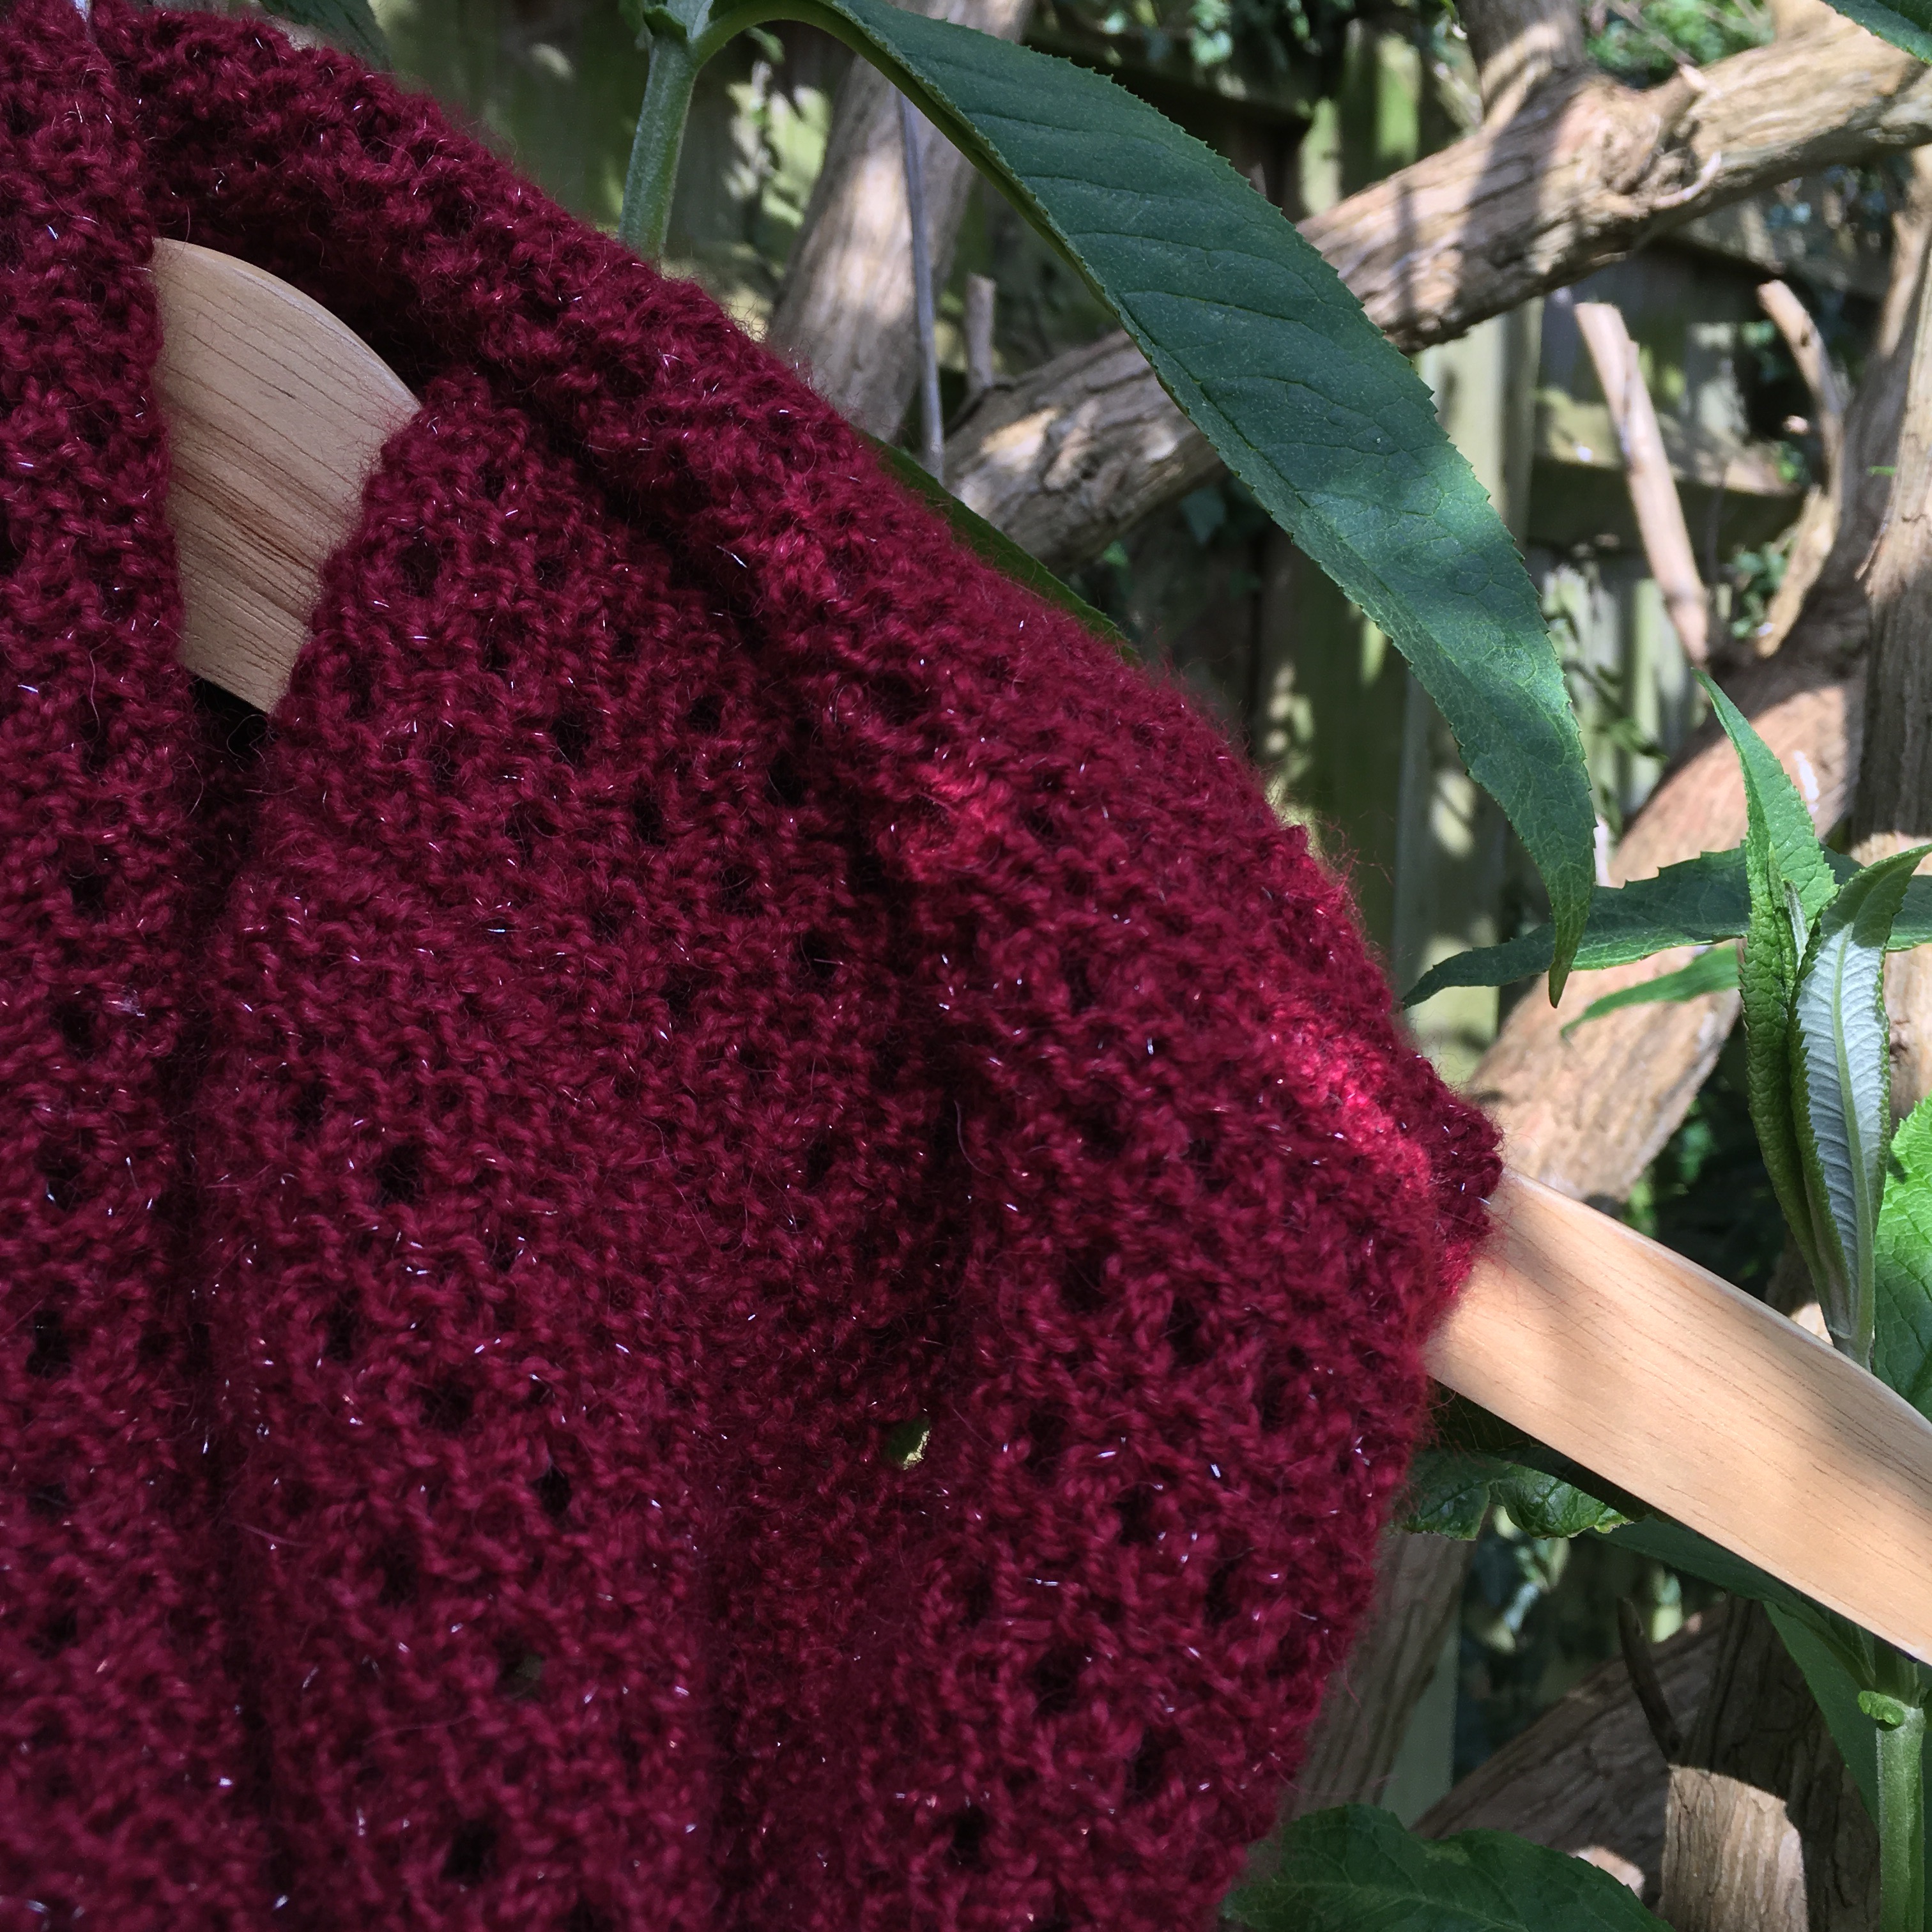
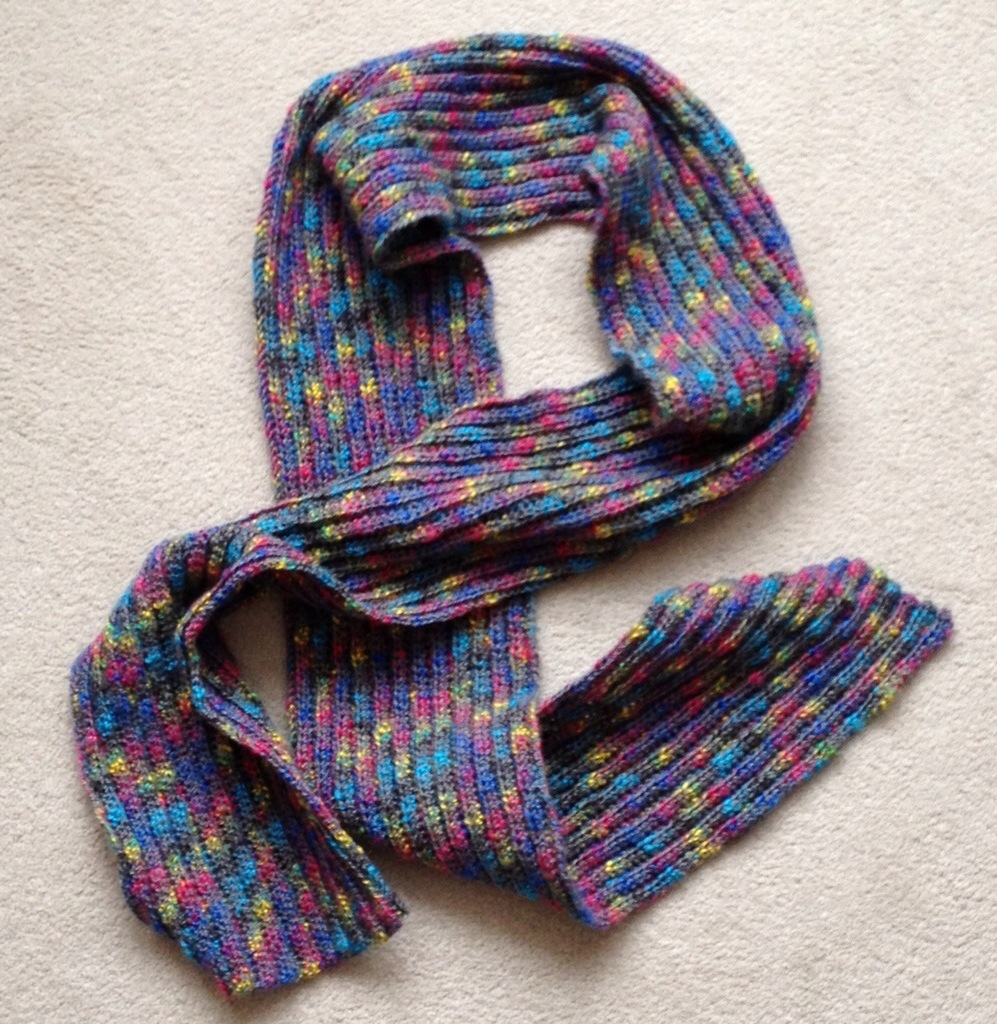