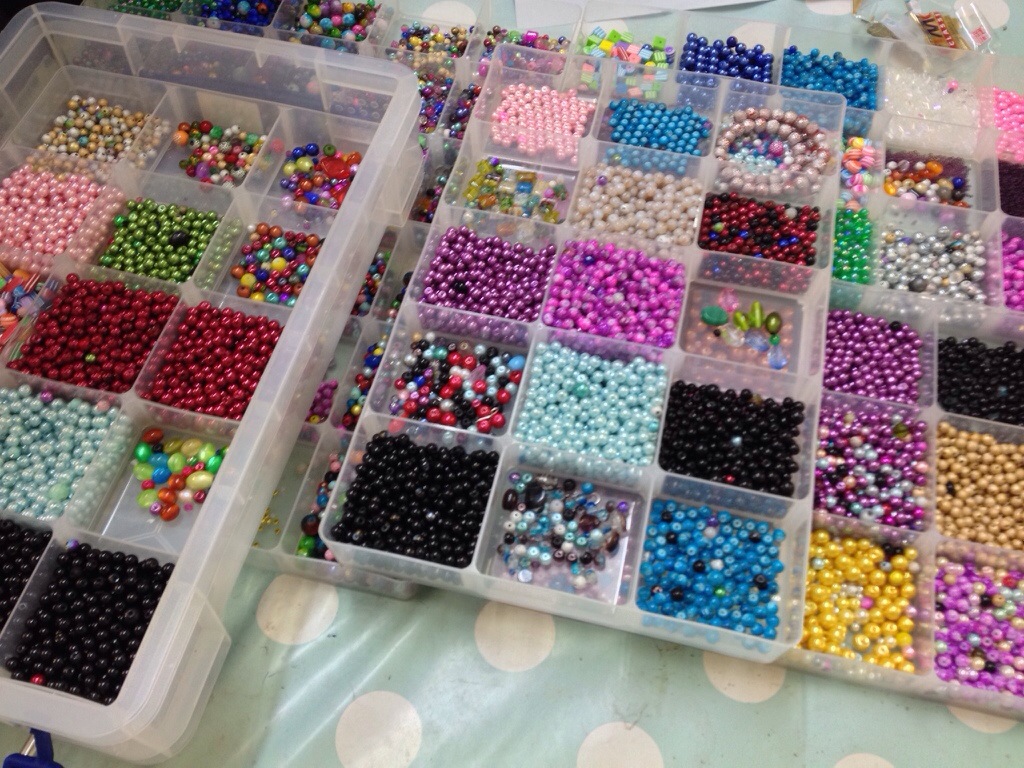
A couple of months ago I noticed that London Jewellery School had started following me on Twitter. Emboldened by the recent invite from John Lewis to their Open House Blogger Event I cheekily tweeted LJS and asked if they offered any free workshops for bloggers. They replied promptly saying I was welcome to attend a taster class from the very tempting list. “And a friend can come too?” I wondered. “Yes, no problem!’ I know this was even more cheeky but I’m glad I asked. We chose to go to the polymer clay bead class and waited a few months for the date to come around.
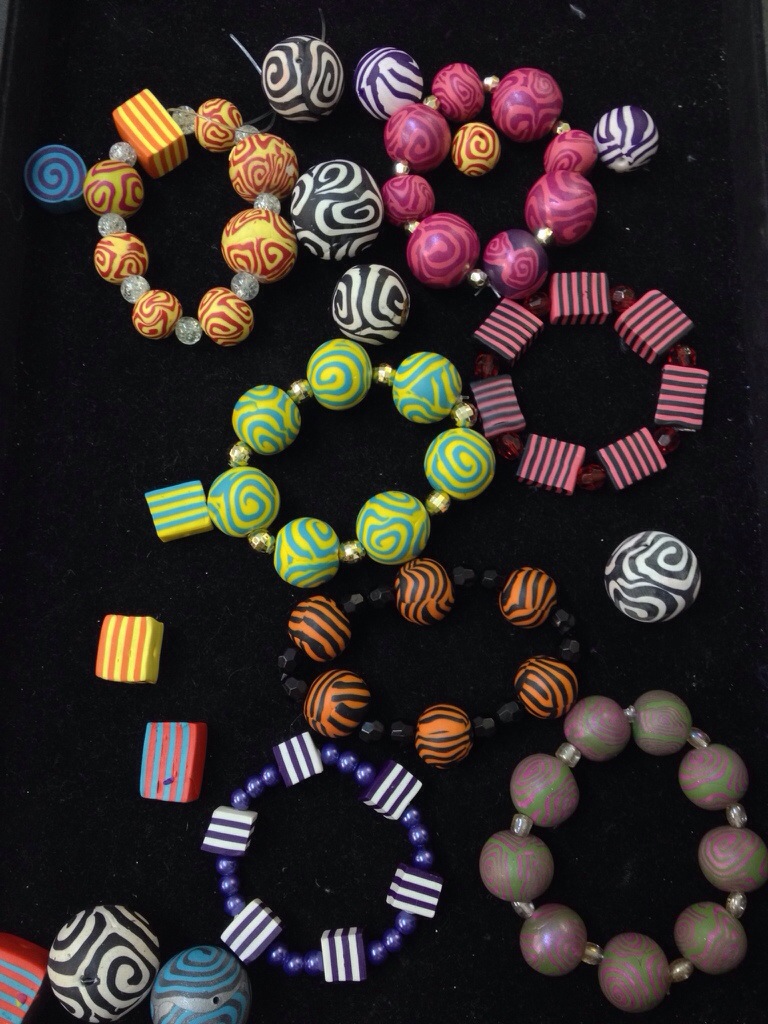
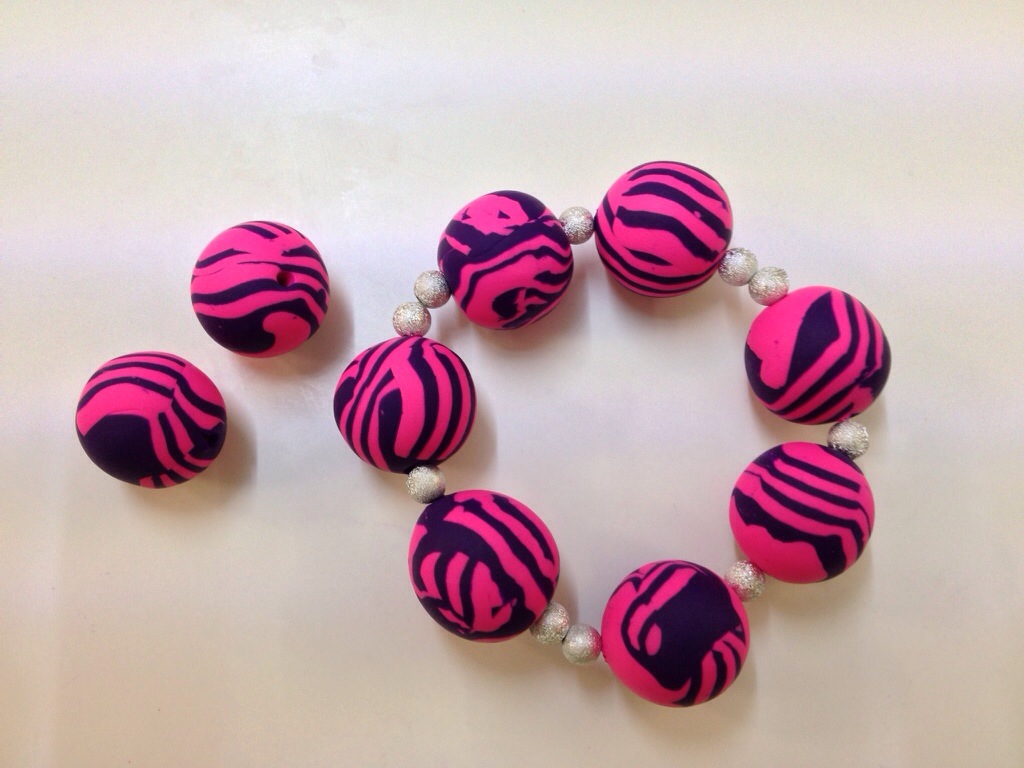
First we looked at samples of the types of beads we could make. I really liked the bracelet above and decided to make my own version.
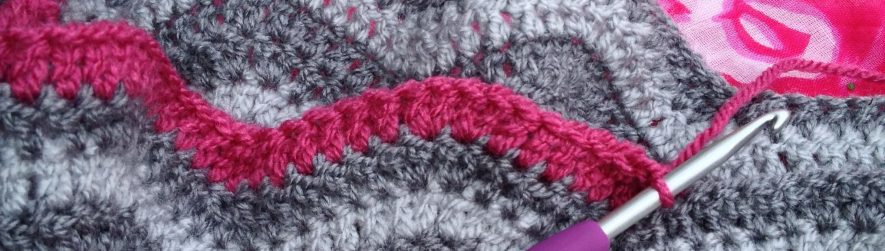
This clay is very, very hard to work – but fortunately there is a secret weapon which you use to ‘condition’ the clay…
…a pasta maker! We each had one clamped to the table. I suffered some teasing about being a pedant from the tutor for unscrewing the G-clamp to straighten my machine but it was worth it not to have it on a wicked slant. I kind of got my own back by having a friend who whistled and sang her way through the class to Absolute 80s on the radio. Ha! (If you’re reading this – it really was delightful. Louder whistling next time the tutor calls me names please!!!!)
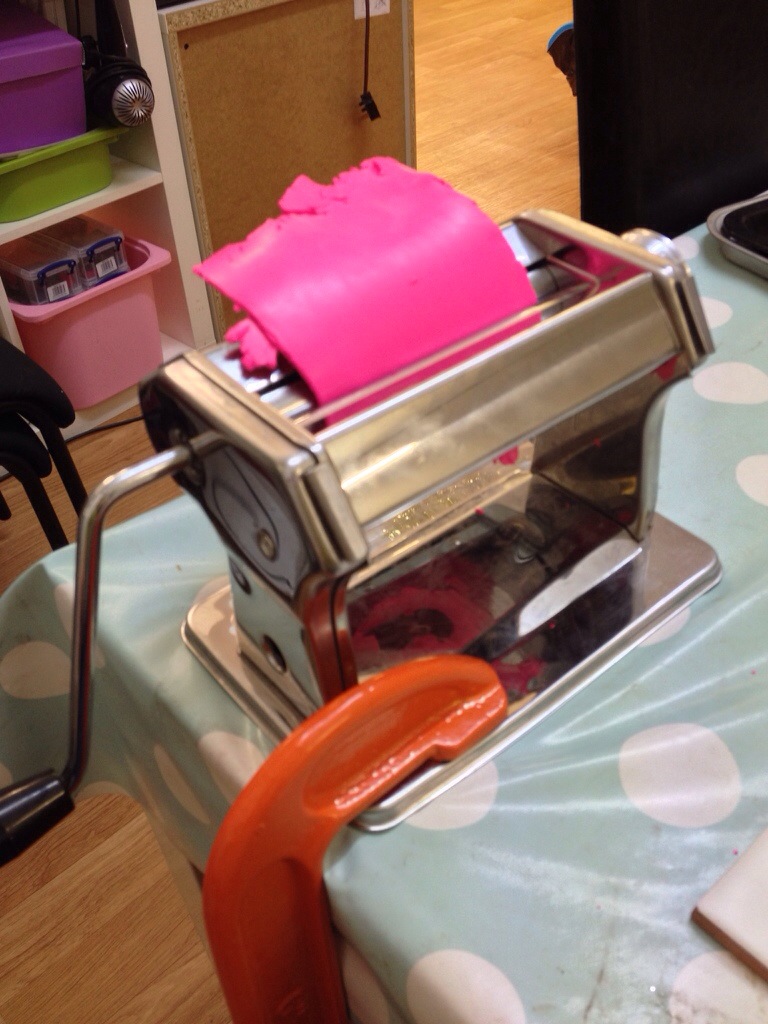
There is a pasta maker under our stairs – it’s been quite a while since we made fresh tagliatelle so I’m very tempted to requisition it for polymer! (Someone will be reading this in Brussels and wincing.)
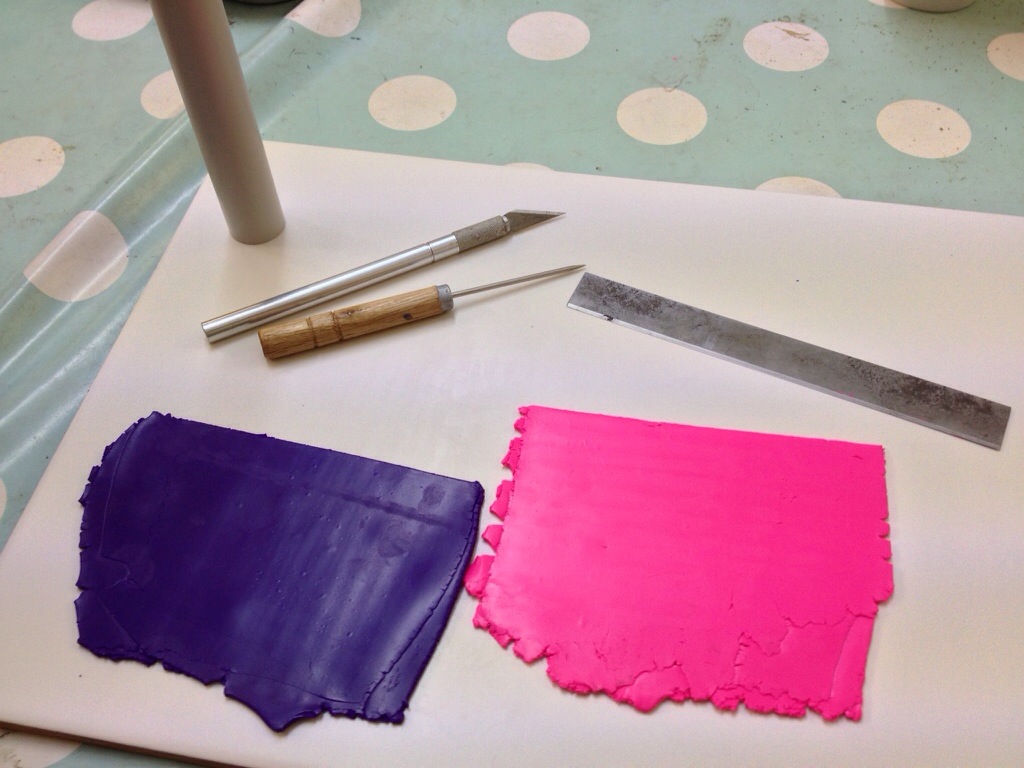
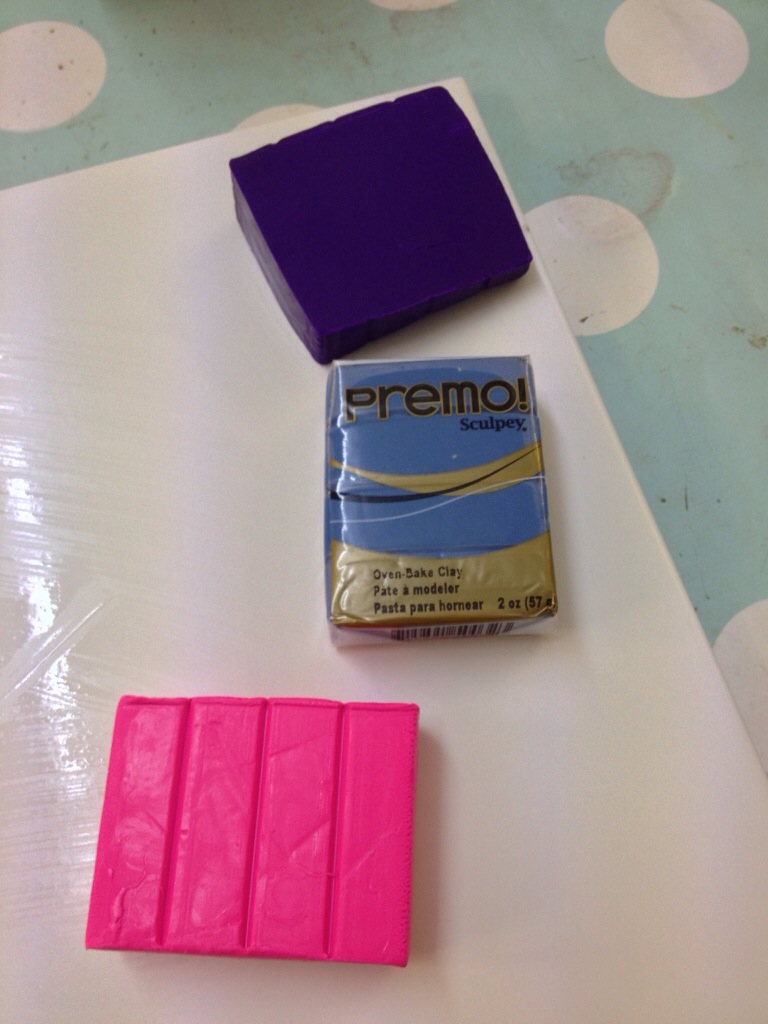
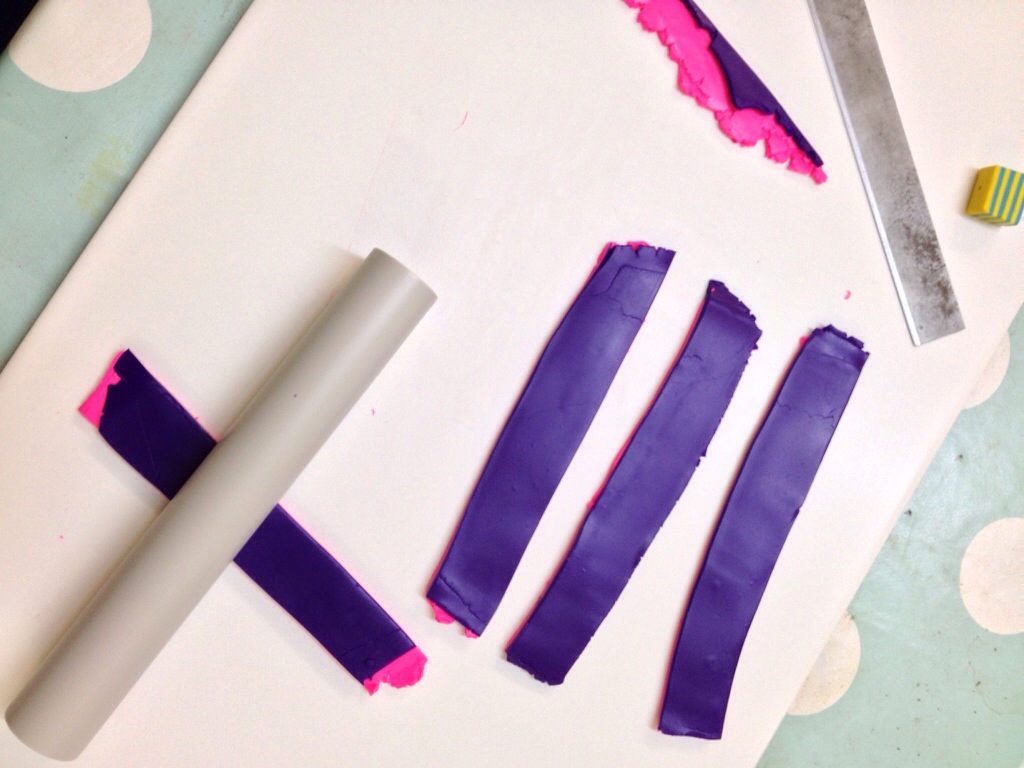
Roll out two colours, try to make them a similar size, lie them on top of each other, cutting the raggedy ends very carefully with the razor edged cutter. If you want square or rectangular beads then cut to the desire shape and size and you’re done. Spherical beads take a lot of handling, but I enjoyed chatting to the group while moulding mine. One woman has been taking classes with LJS for years, she listed a huge number of different skills she’s learnt and items she’s made.
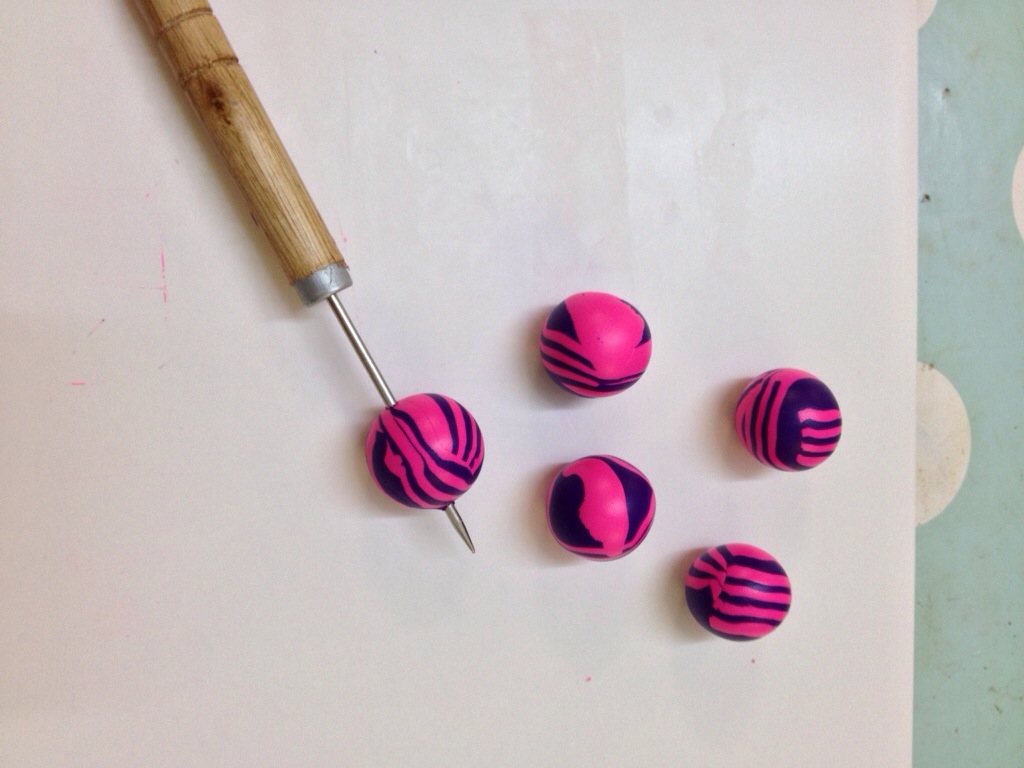
Tricky this making a hole business – you want to be gentle and twist the braddle (?) so the beads don’t split open at the ends and also you want them to be as centrally placed as possible. I started off slowly, and carefully, but time was ticking and so the remainder ended up being pierced quickly so they could go into the oven and we could begin making the next batch.
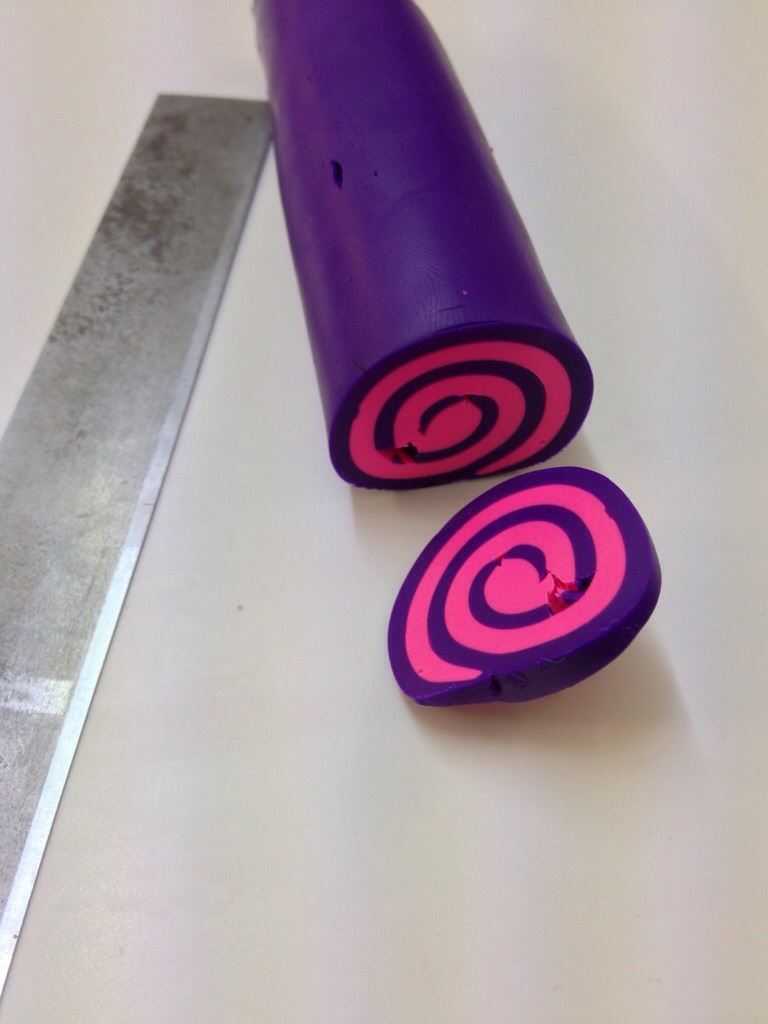
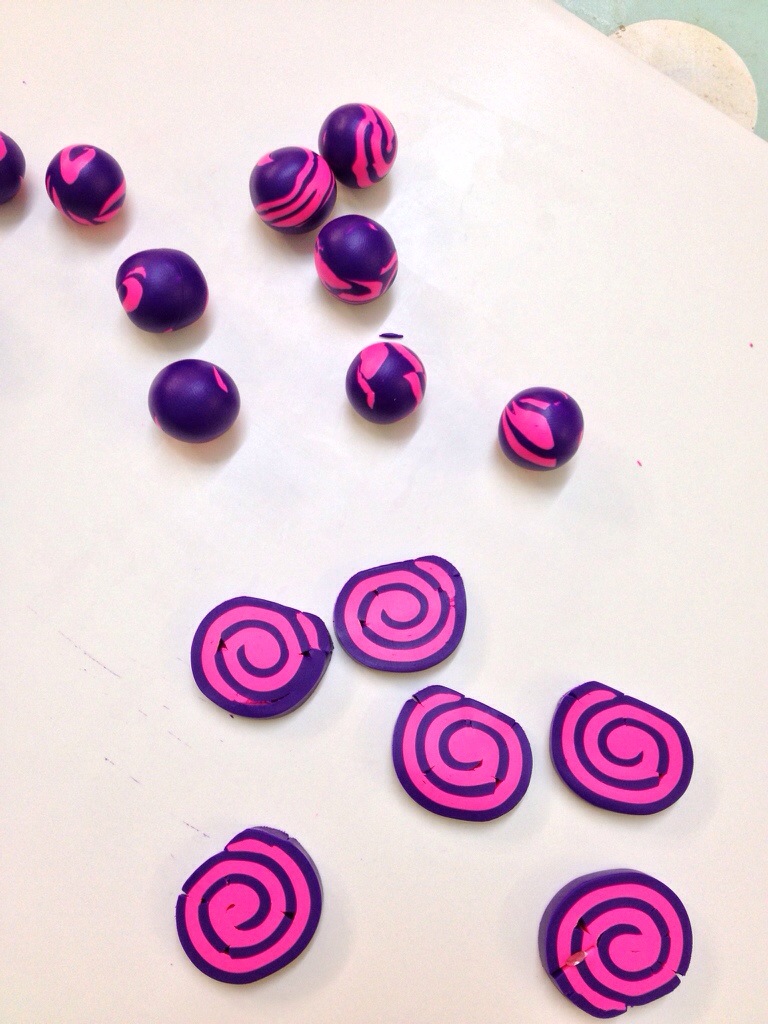
We could make what I termed ‘swiss roll’ shaped beads next but I was quite taken with the spheres, so made some smaller and more purple versions just by rolling the slices around, and around, and around…. If there’s not enough of a pattern, or one dominant colour, just add small pieces of the other colour to the outside of the ball.
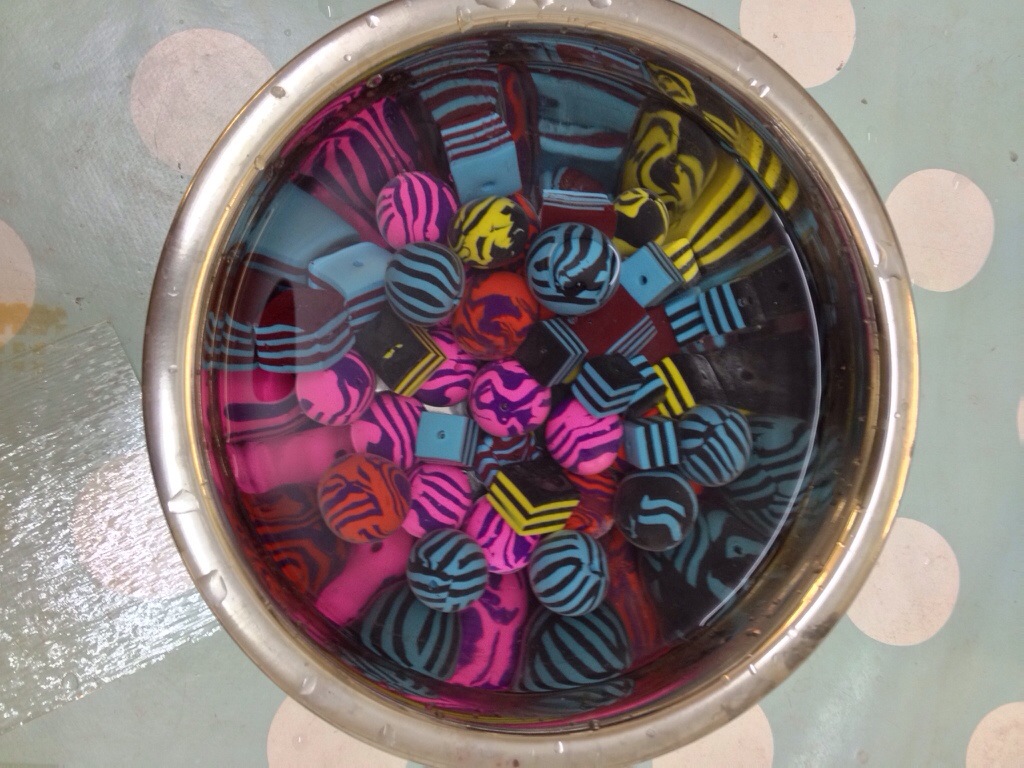
When out of the oven the beads were plopped into a bowl of water to quickly cool. Aren’t they delicious looking? Just like liquorice allsorts and humbugs. Luckily we all chose different colour combos so there was no confusion about whose were whose.
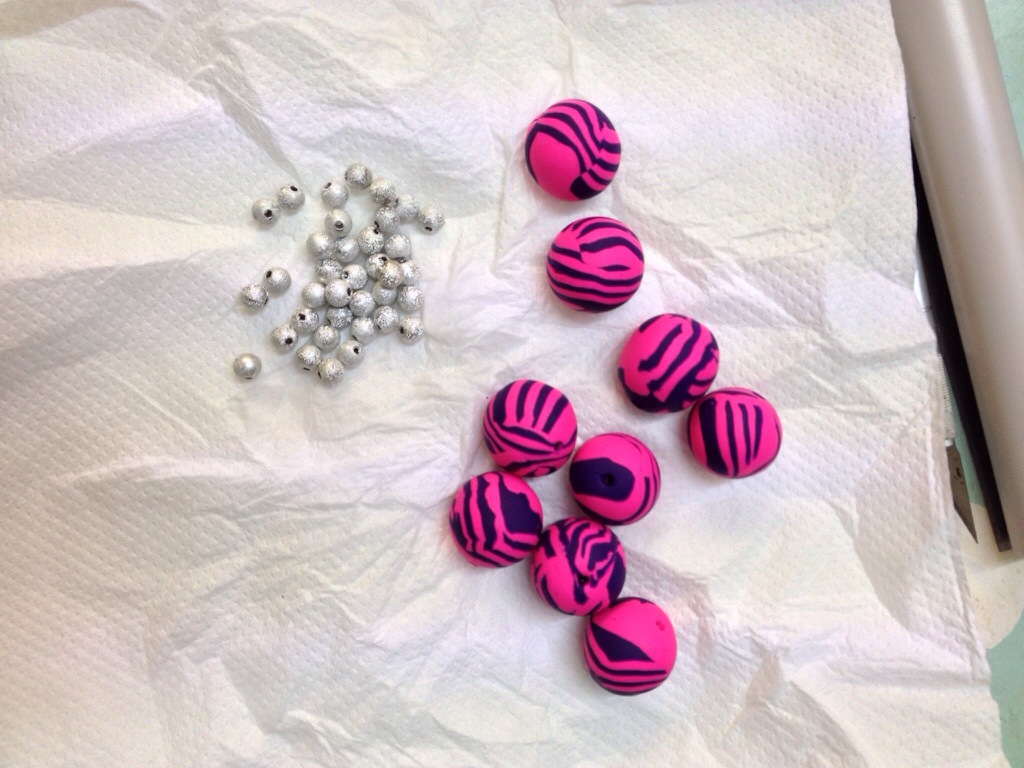
A quick dry with some paper towel and then the tricky bit. I found choosing beads from the beautiful range the hardest part of the whole process.
My rather 80s style beads…a necklace fit for Five Star?!
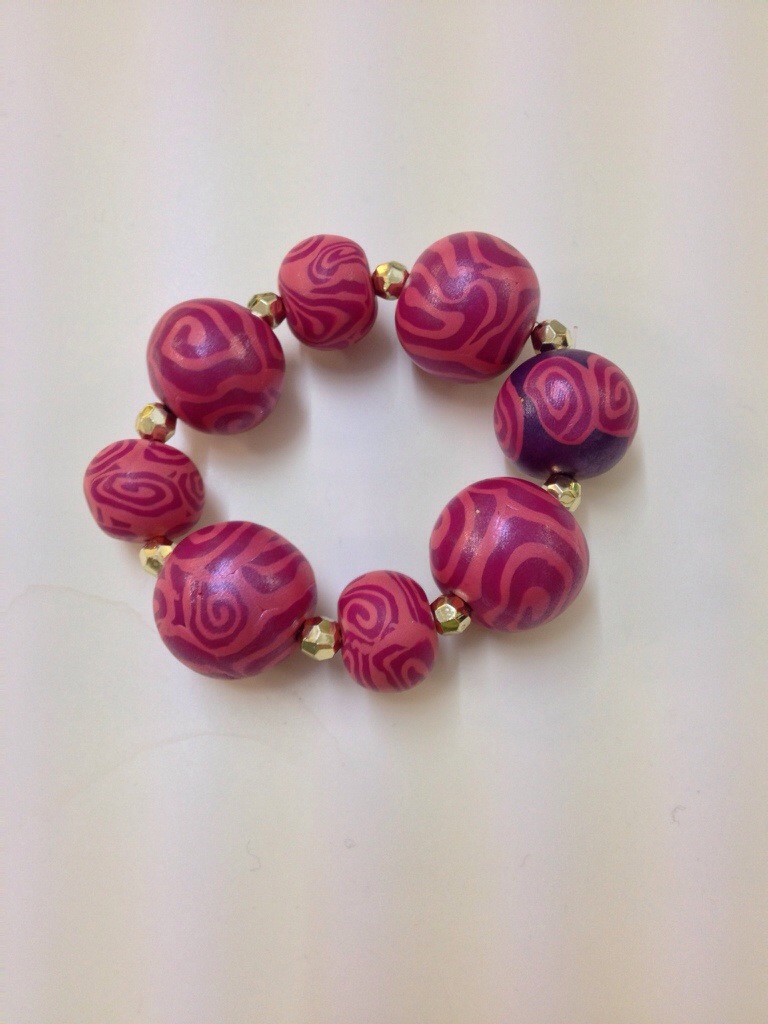
This bracelet used some of my larger beads. Spot the mistake?!
Our class tutor was Anna. Here’s her website – be prepared to crave sweeties after viewing!

The evening taster class lasted 2.5 hours, was a fab experience as I’ve never made any type of beads before, and great fun. I probably need to say that no one asked me to write a blog post or referred to blogging at all. We all completed a standard feedback form at the end of the class (others were paying customers I believe) and that was that.
If you can get to the London Jewellery School, based in the Hatton Garden area, I thoroughly recommend it. I’d definitely like to book some more classes sometime. I’ve just thought – if you’re struggling to buy a present for a crafty person then why not buy them a place on a class, preferably you should go with them!

Aha! Sometimes ‘cheek’ pays off Rachel! What a fab experience with beautiful results – and the colours are amazing! Joy x
Really interesting and I find you can buy the clay and it only needs an ordinary oven to bake it. Is it the same sort of stuff as Fimo?
You can buy Polymer from Hobbycraft. It’s cheap and bakes in an oven at home – being non toxic. Concertina an A4 sheet on a baking sheet. Place beads along fold, not touching – this folded paper cleverly stops beads rolling together.
The other polymer brand readily available here mentioned by the tutor begins with S…. But I can’t remember the name. I’ve messaged her to ask what it’s called.
Thanks for that advice. I wonder if I need a pasta machine? Though my daughter and son-in-law told me recently that home-made pasta is worth making.
I would say definitely for polymer as it’s so hard to work by hand with a rolling pin. But don’t use the same for both pasta and polymer.
Polymer brands readily available here are either sculpey or fimo
Lovely beads and they look fairly easy to make. I might have a go! By the way, I think the word you were looking for is ‘bradawl’.
Love the idea of using a pasta machine…. Got an unloved and neglected one somewhere!